Copingmechanism.com has alternated between being a general purpose blog and being a photography-only blog. It’s been mostly photography for months now, but I’m thinking of expanding the scope to include, well, everything I want to write about.
If I were a real photographer, it might make sense to have a blog dedicated to “My Work” but I’m just a putterer. I’m guessing that very few people who visit this blog do so because it’s only about my photographs, and so they shouldn’t mind if I write about other things here as well. Let’s try it!
I finally finished the roll that’s been idling in the M6 for a couple of months. I took it out of the camera only to discover it was a roll of Portra 400. Color, dammit. I didn’t have any fresh chemicals. The only reason I have some C-41 mixed is that I’ve been too lazy to dispose of it. Screw it, I thought, and fired up the JOBO anyway.
Surprisingly, they didn’t end up blank or completely unusable. The color is inconsistent, but that’s always the case with me and color processing. At least I proved that you can keep C-41 chemicals mixed for almost a year and still get images from your film.
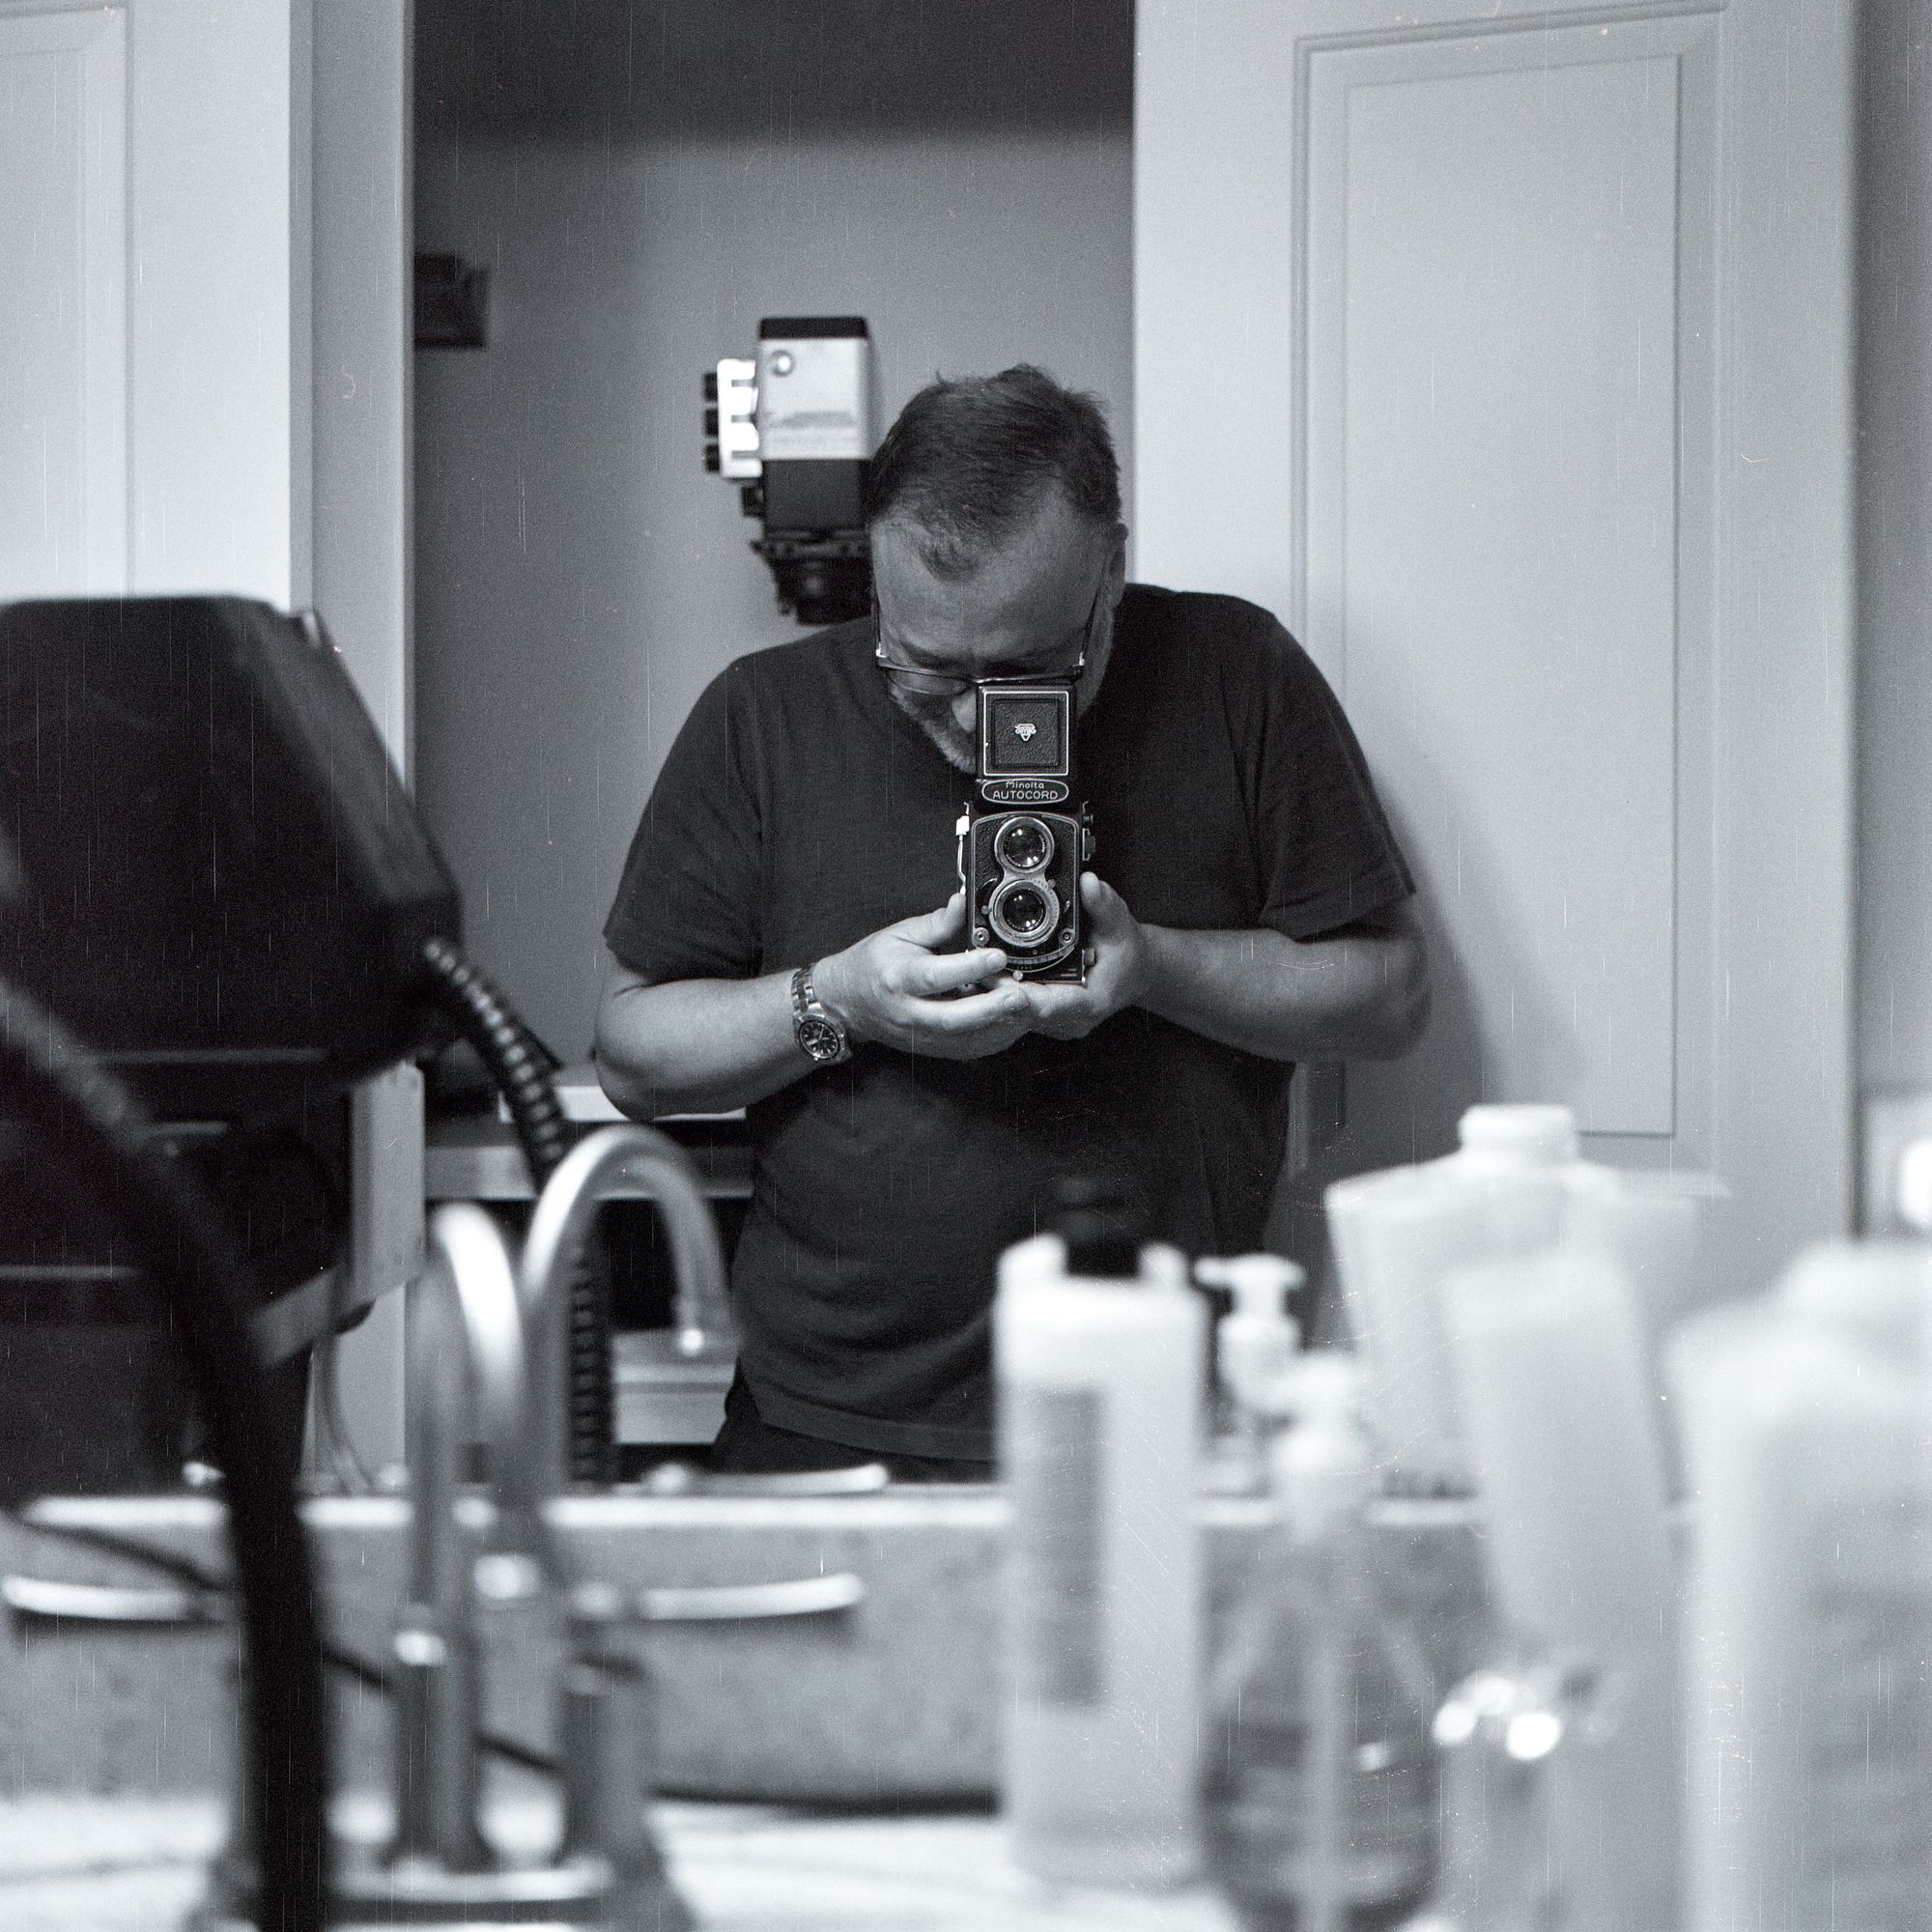
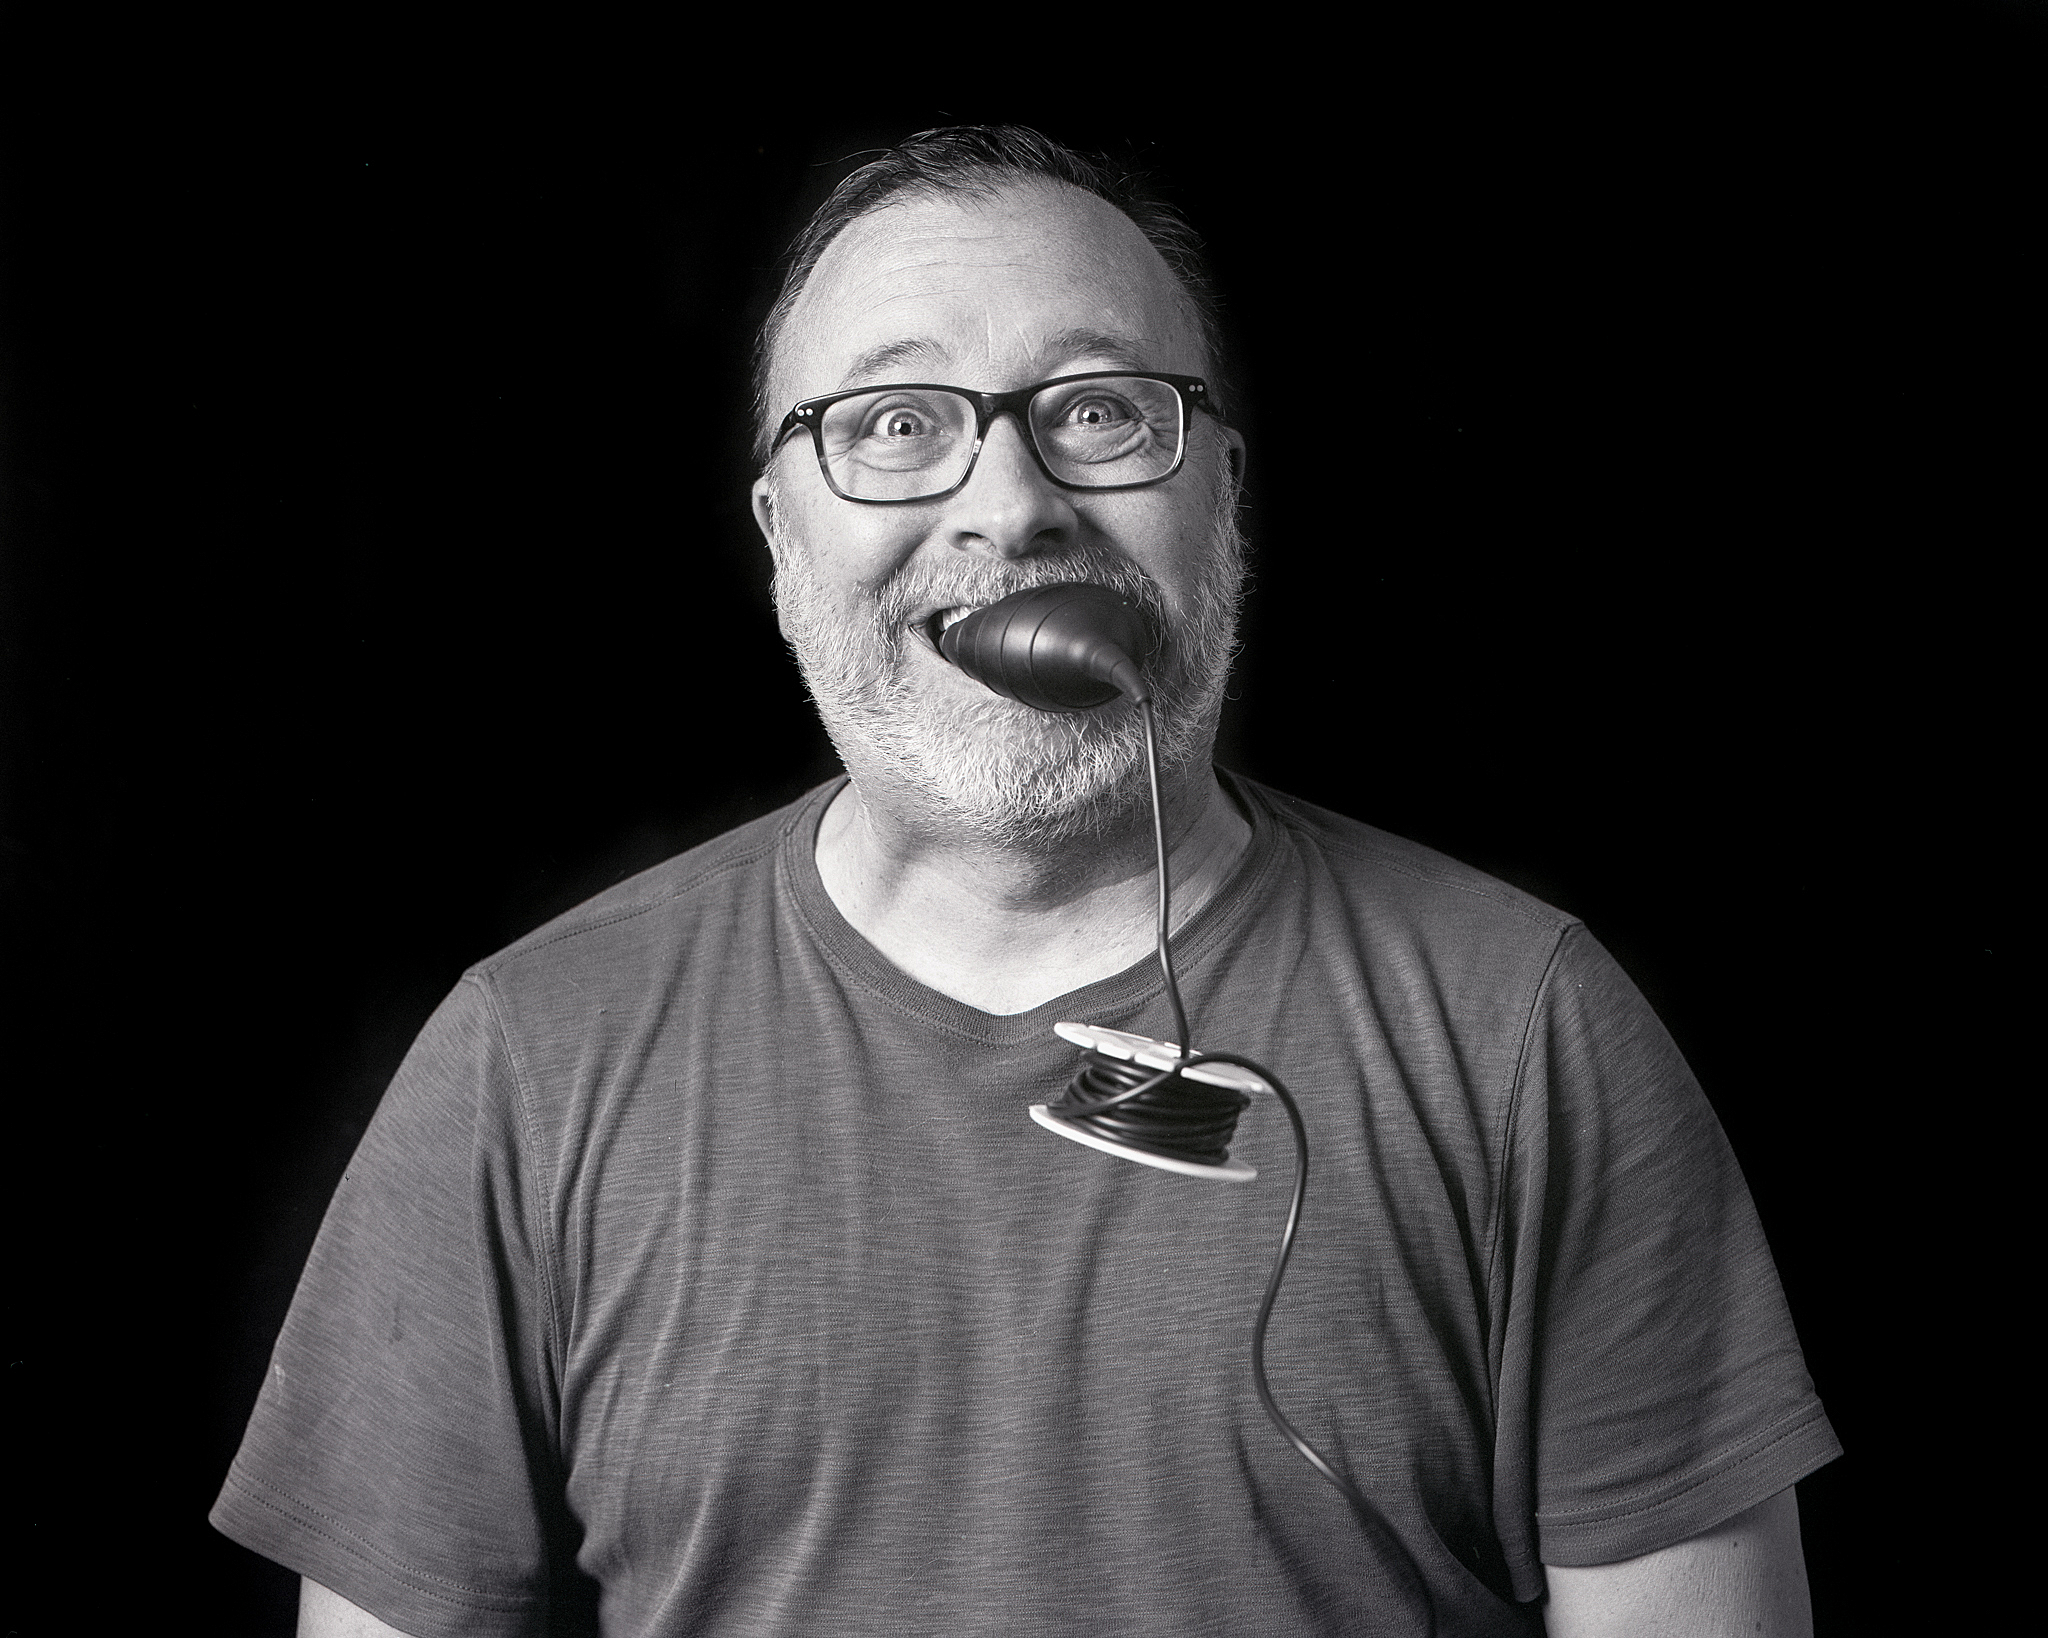
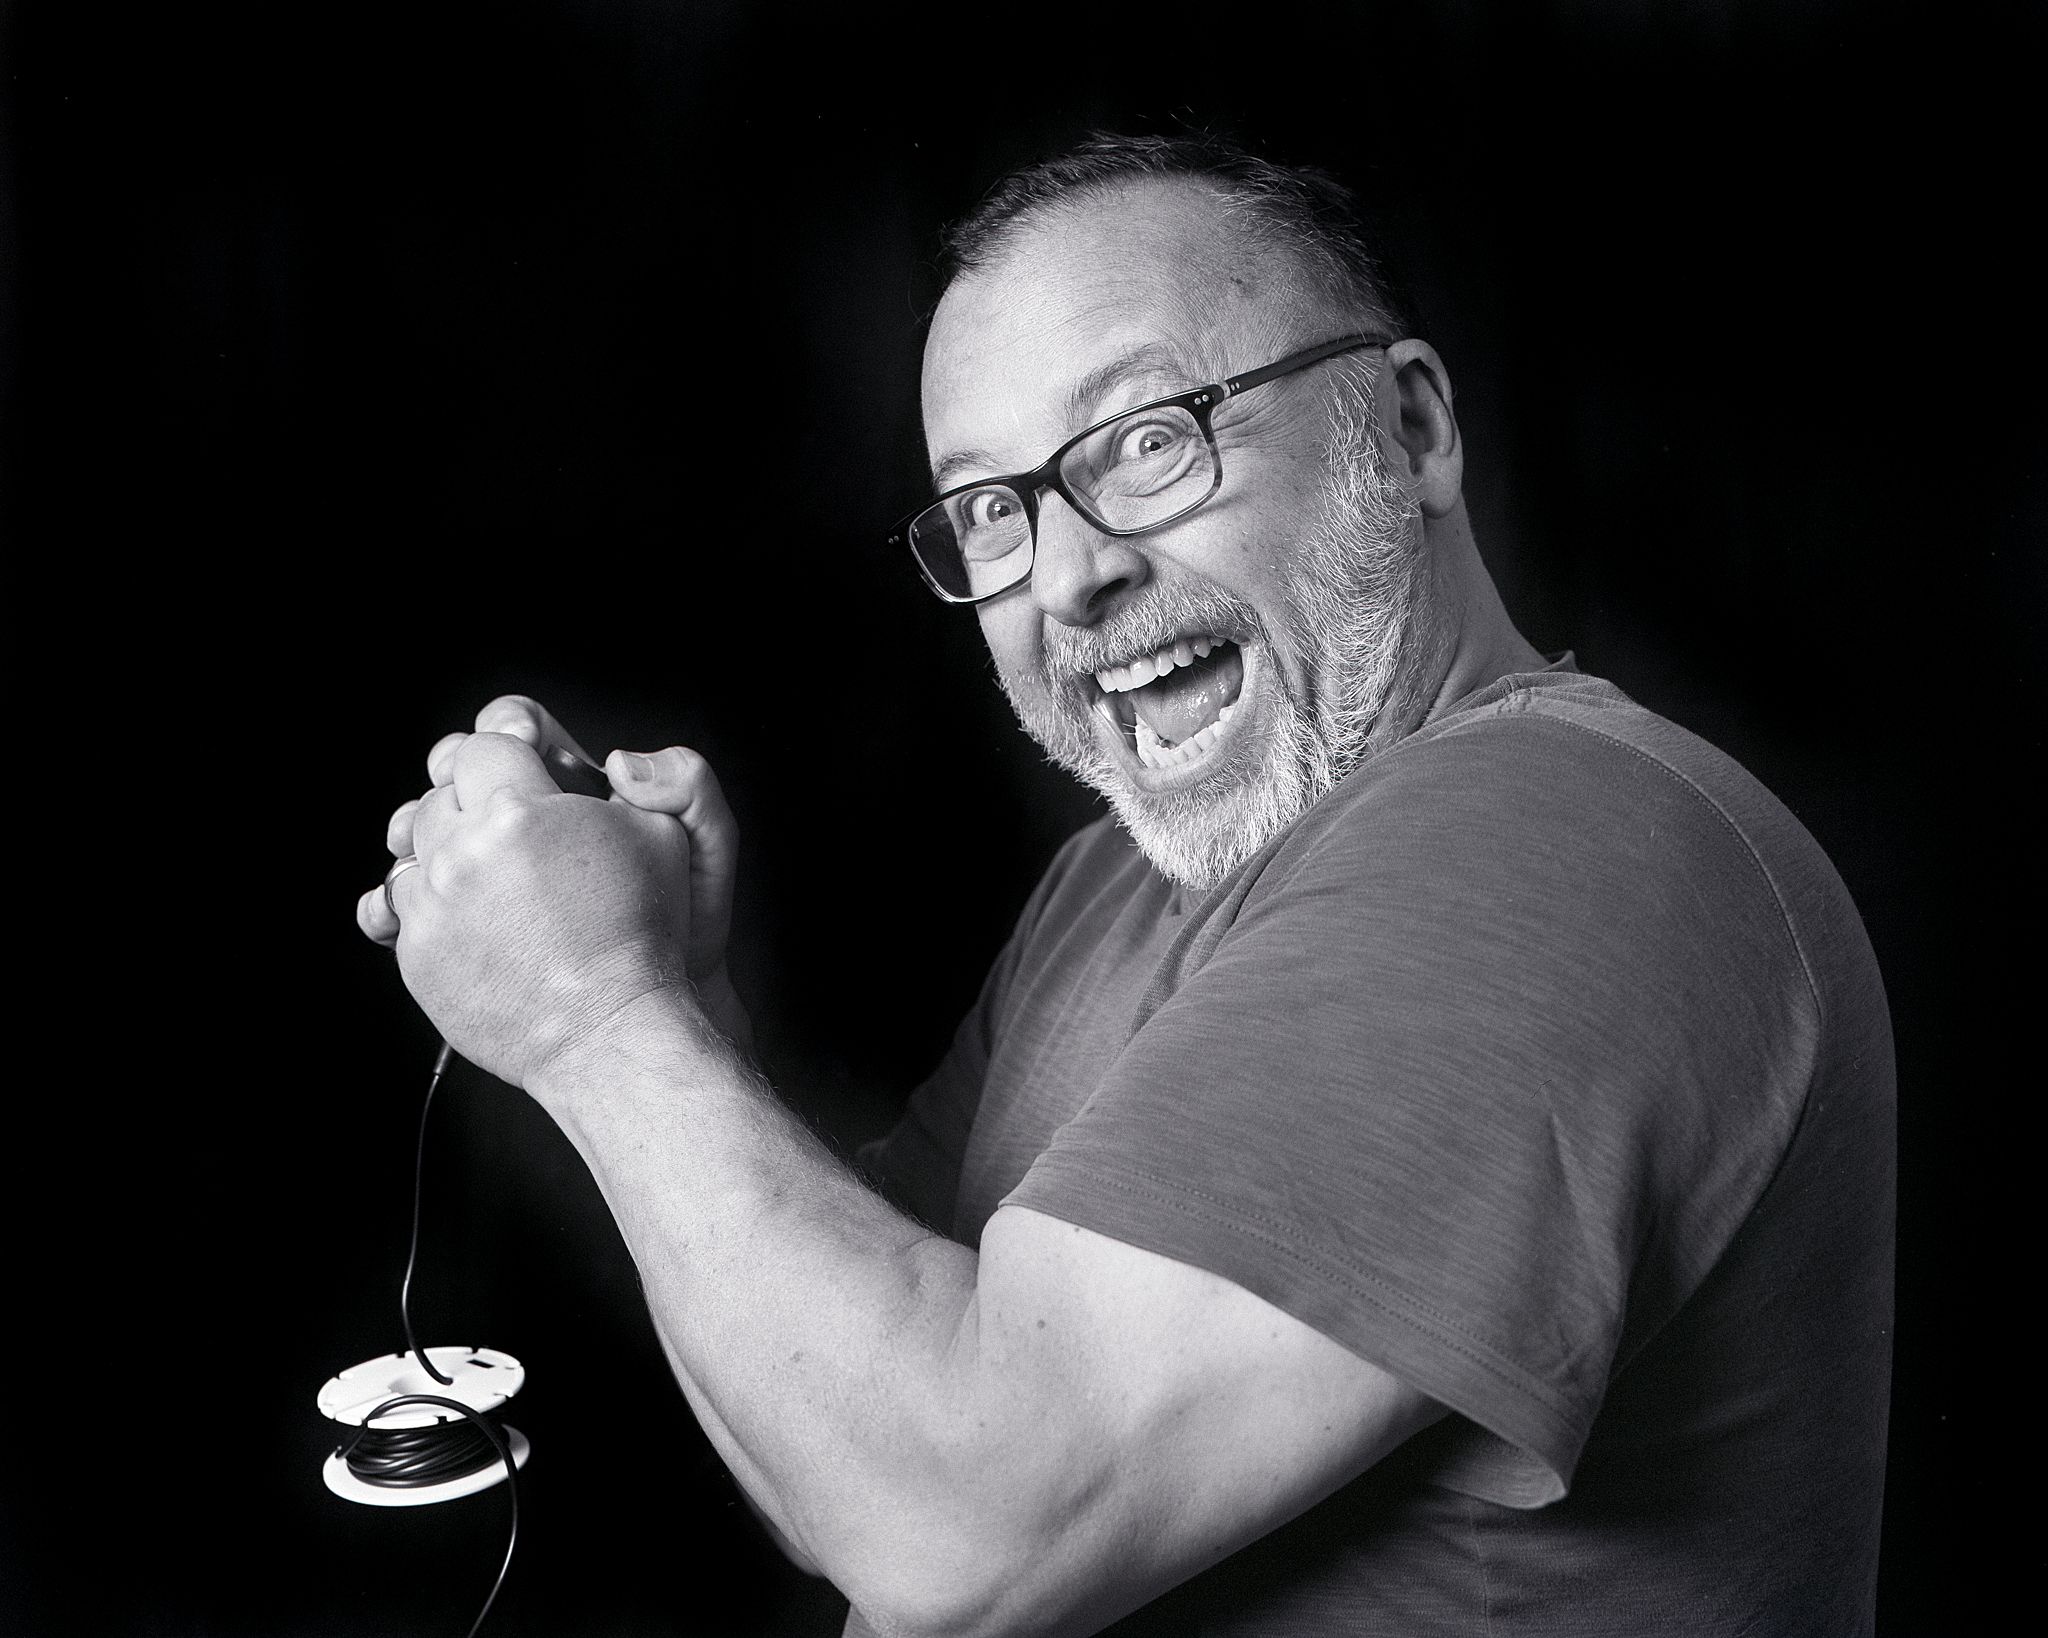
A roll of mostly self-portraits taken in the basement “studio”. A black cloth backdrop, Profoto strobe with an octobox on left, and a led panel off to the right.
I’ve printed a few from the roll, and a darkroom print at 5×7″ looks much better. Still, I think it makes more sense to bring a digital camera to places where I know I’ll struggle with light.
I keep this blog around so that I have somewhere to post images and maybe a little background as well as the ever-popular gearhead nonsense. So why do I so rarely post anything?
I don’t post often because a blog dedicated to photography makes me feel that each post needs gravitas. Each post needs to be worth something. Relevance.
Well that’s obviously not working, so I’d like to behave a bit more frivolous about things around here. Maybe I’ll post single images with a caption and that’s it. Maybe I’ll let you know what I’m thinking about cameras in general, or a specific camera I’ve been using or wanting to use.
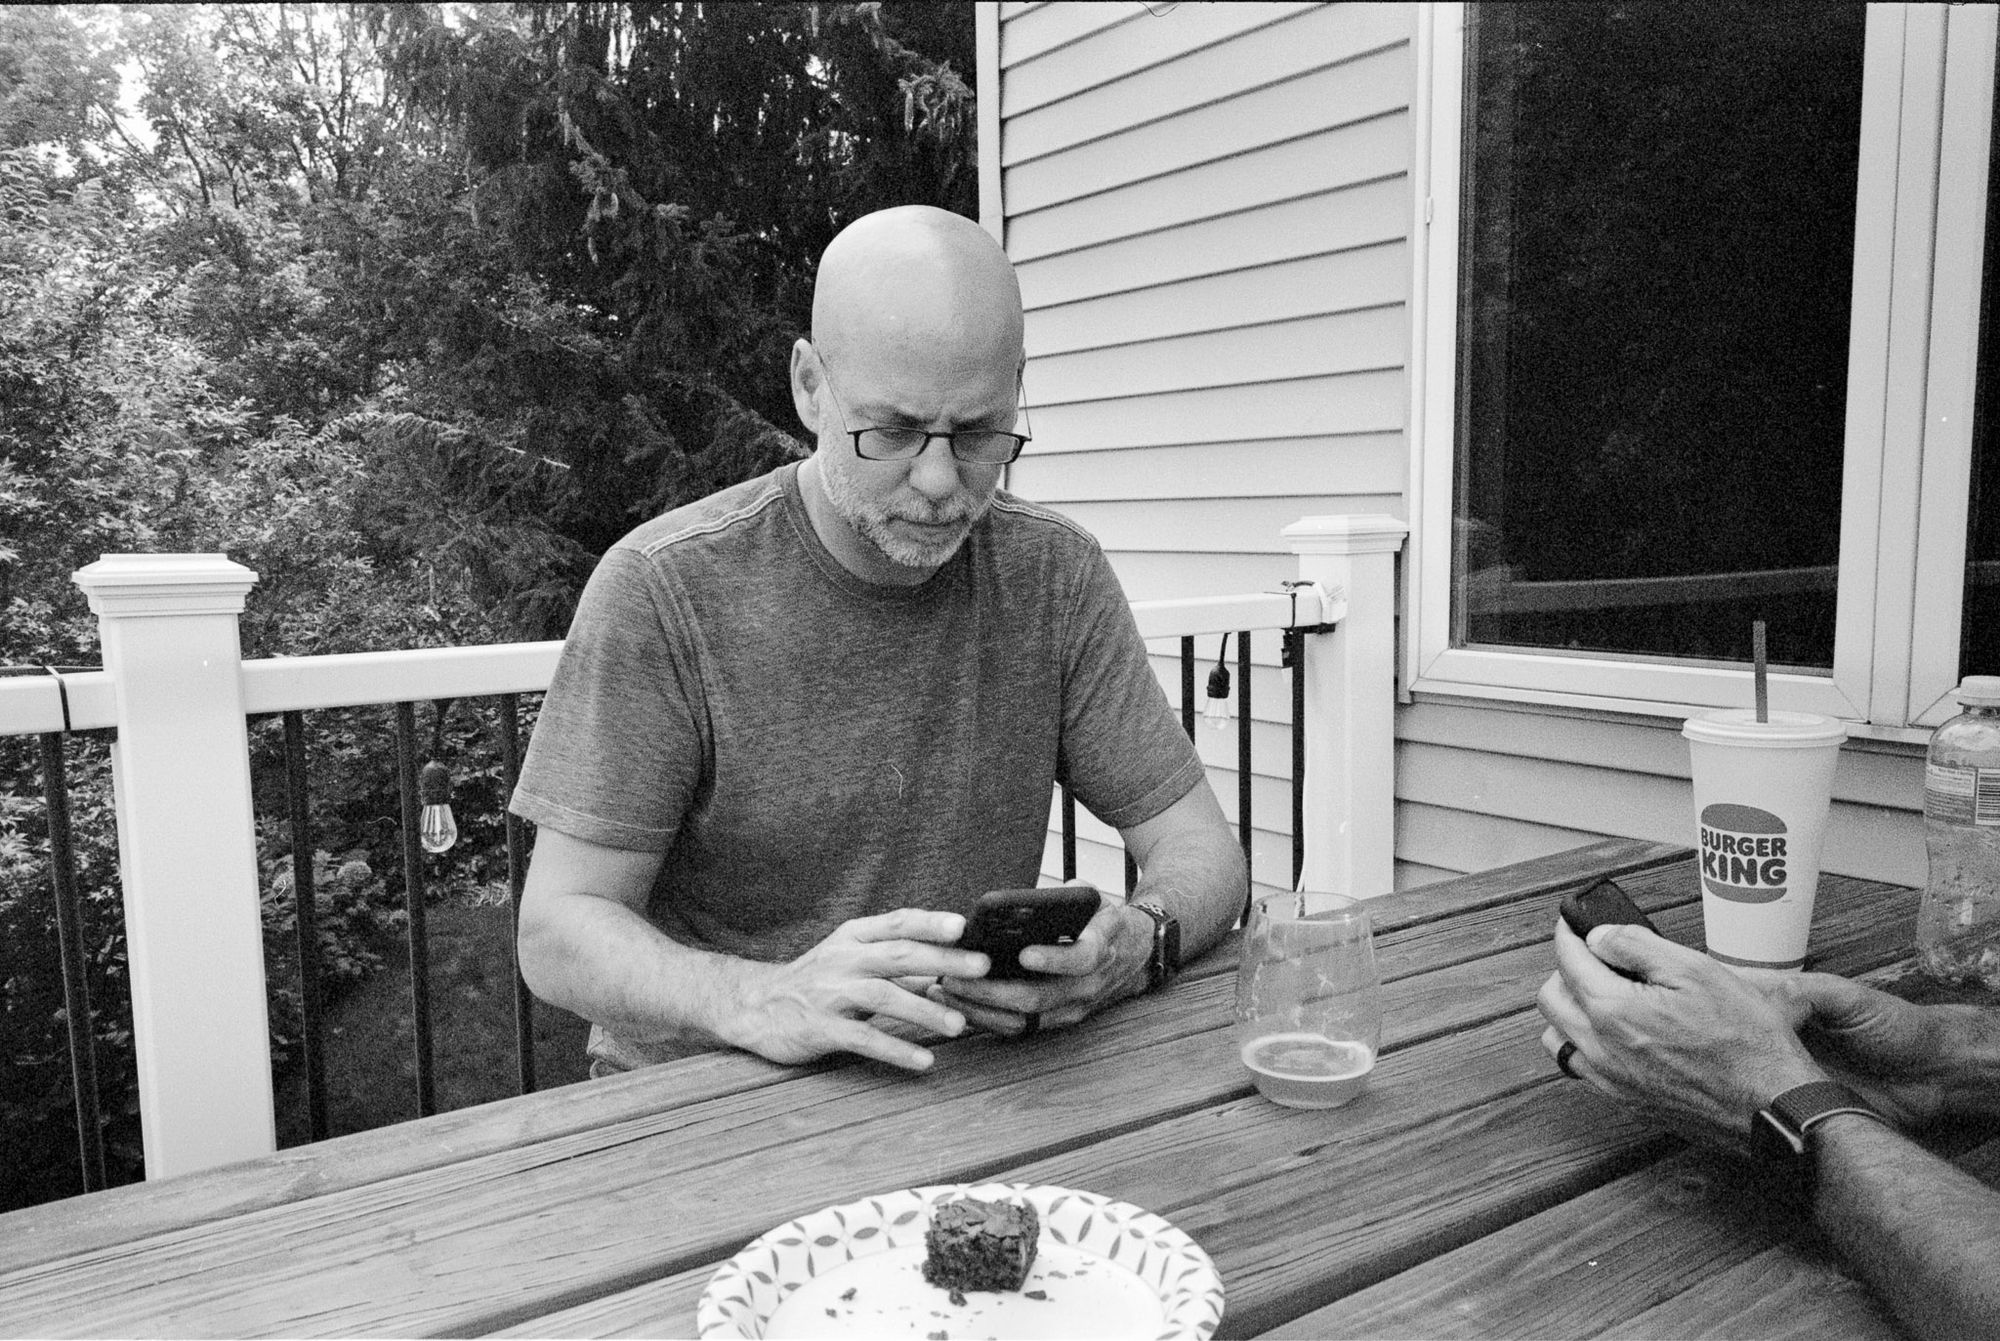
So hey, here’s a photo of the appetizer at dinner recently. How’s that for frivolous?
A few from the most recent roll from of the Leica MP. It’s HP5 Plus, processed in HC-110 (dilution B) for 5 minutes. Scanned on the PrimeFilm XAs.
This roll is concerning because many of the frames have horizontal scratches, which could indicate a problem with the film pressure plate. There’s also boatloads of hair and dust. My process needs refining.
Chuck the bulldogMy Polaroid SX-70 kitQuotes on index cardsSkeletonTrash, just finishing the rollCamera Identification Selfie
Short version: I am managing my TiddlyWiki wikis as stand-alone HTML documents using a WebDAV server accessed securely from anywhere via Tailscale and I can now drag and drop images into content and have them uploaded and linked automatically. It's brilliant!
As much as I love TiddlyWiki, I've never enjoyed managing images with it. Embedded images are easiest but can quickly bulk up the wiki's HTML file size, so I reference them instead. I've done this a couple ways.
The cheat version is to just use the embed code of an image I've previously uploaded to Flickr. The second best option is to put the images in a /files directory within the same directory as the wiki itself and reference it using something like [img[files/my-image-file.png]].
It's not hard to do, but having to move each image to my wiki/files directory, then hand-write the path/filename to create a link adds just enough friction to prevent me from using images as freely as I might otherwise.
TiddlyWiki 5.2.0 was released recently, and it includes a great new feature that lets me drag and drop an image into an open "tiddler" which is then embedded and linked automatically. This is a terrific improvement, but it still embeds the image within the wiki file, which I was hoping to avoid.
Installed the File Uploads plugin and the accompanying PUT plugin via simple drag and drop into my wiki file (TiddlyWiki is cool that way).
Configured the plugin by telling it to use the "PUT" uploader and where I'd like uploads to go (relative to the wiki file itself). I chose "files/2021".
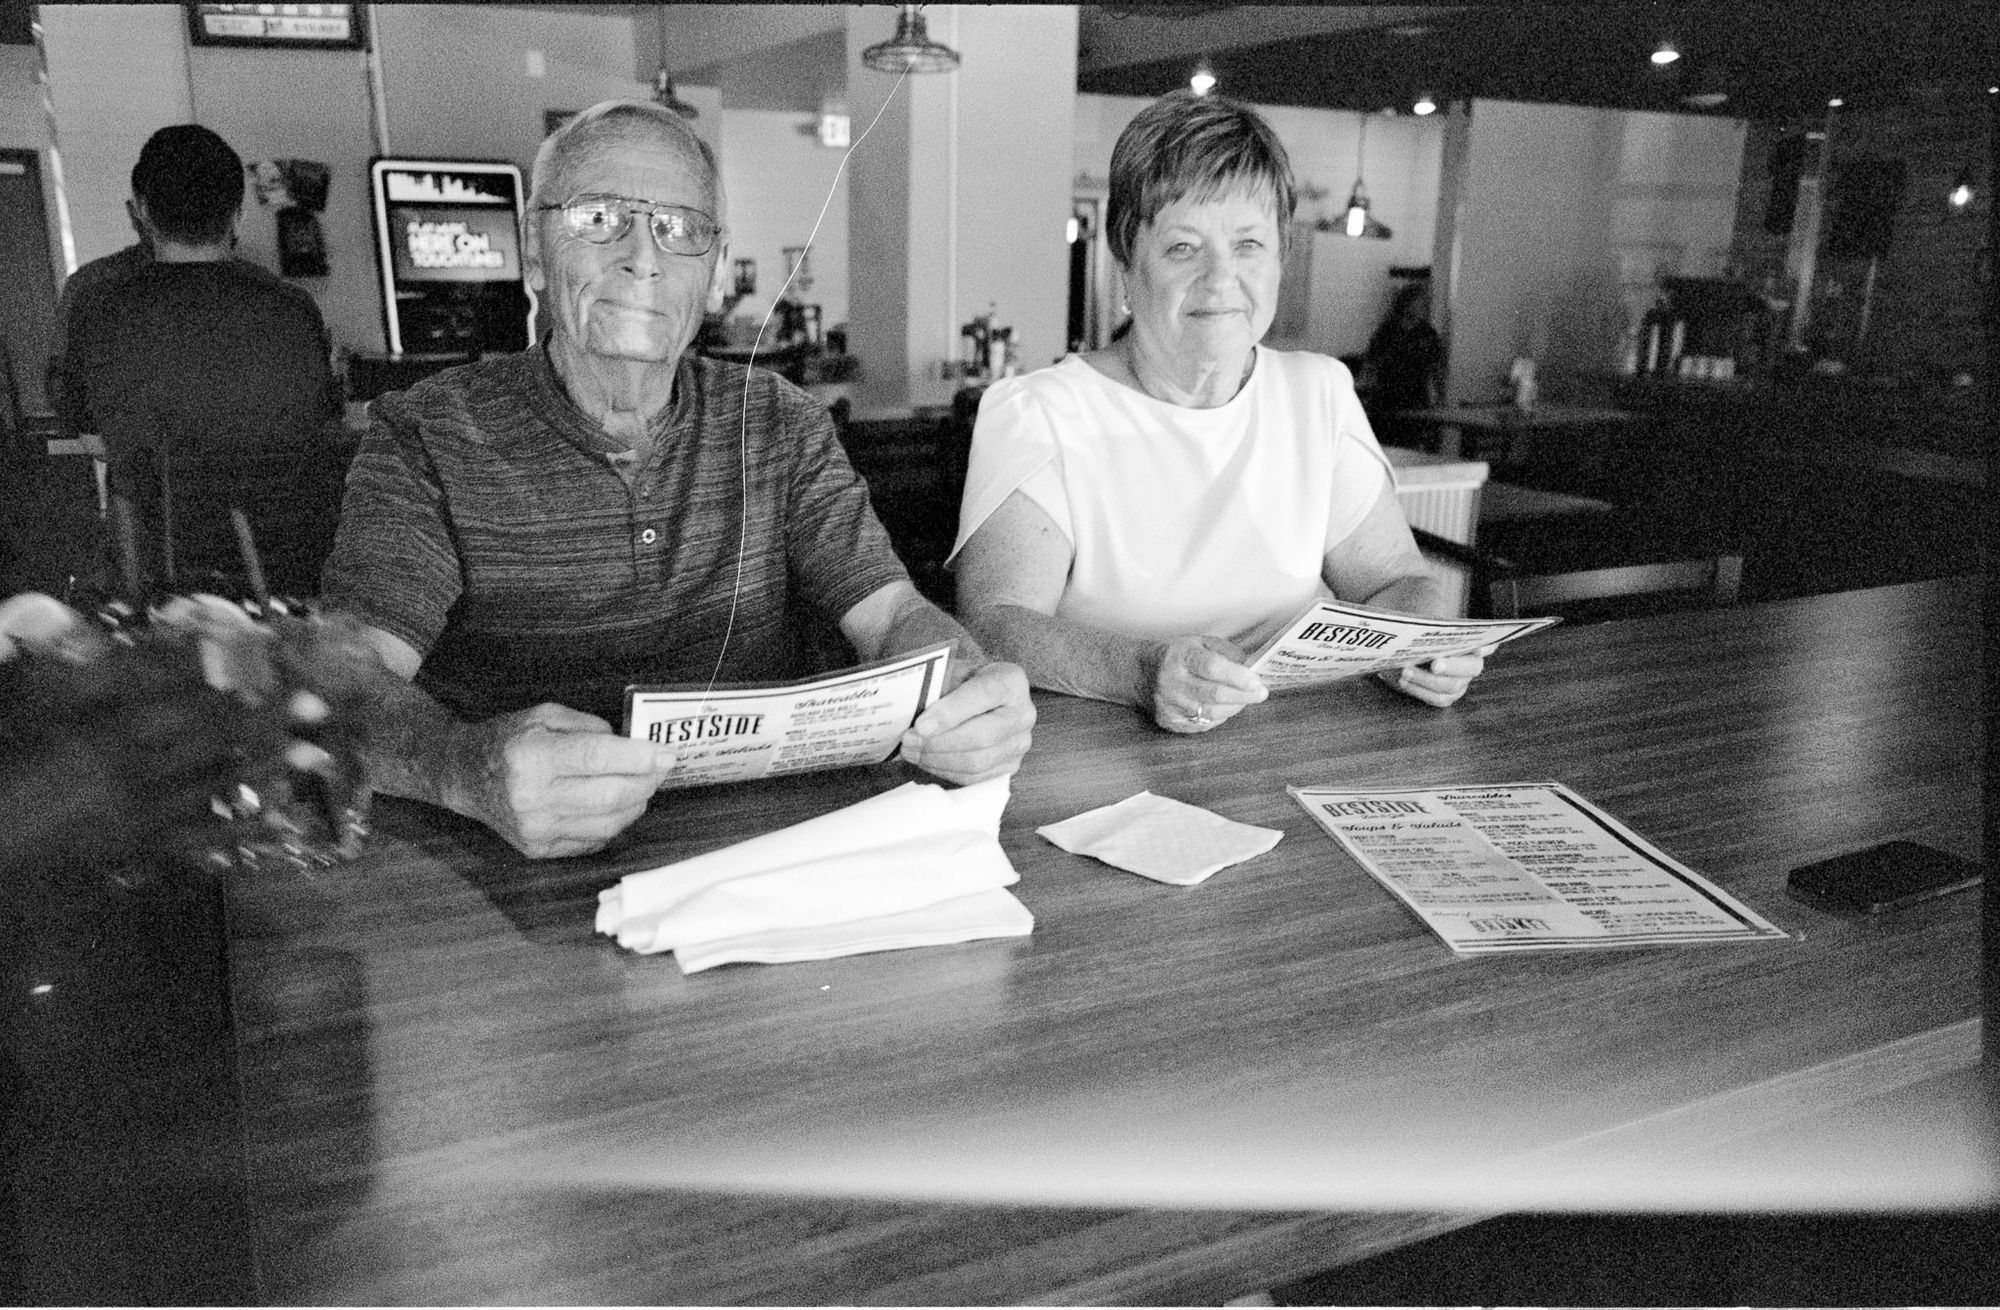
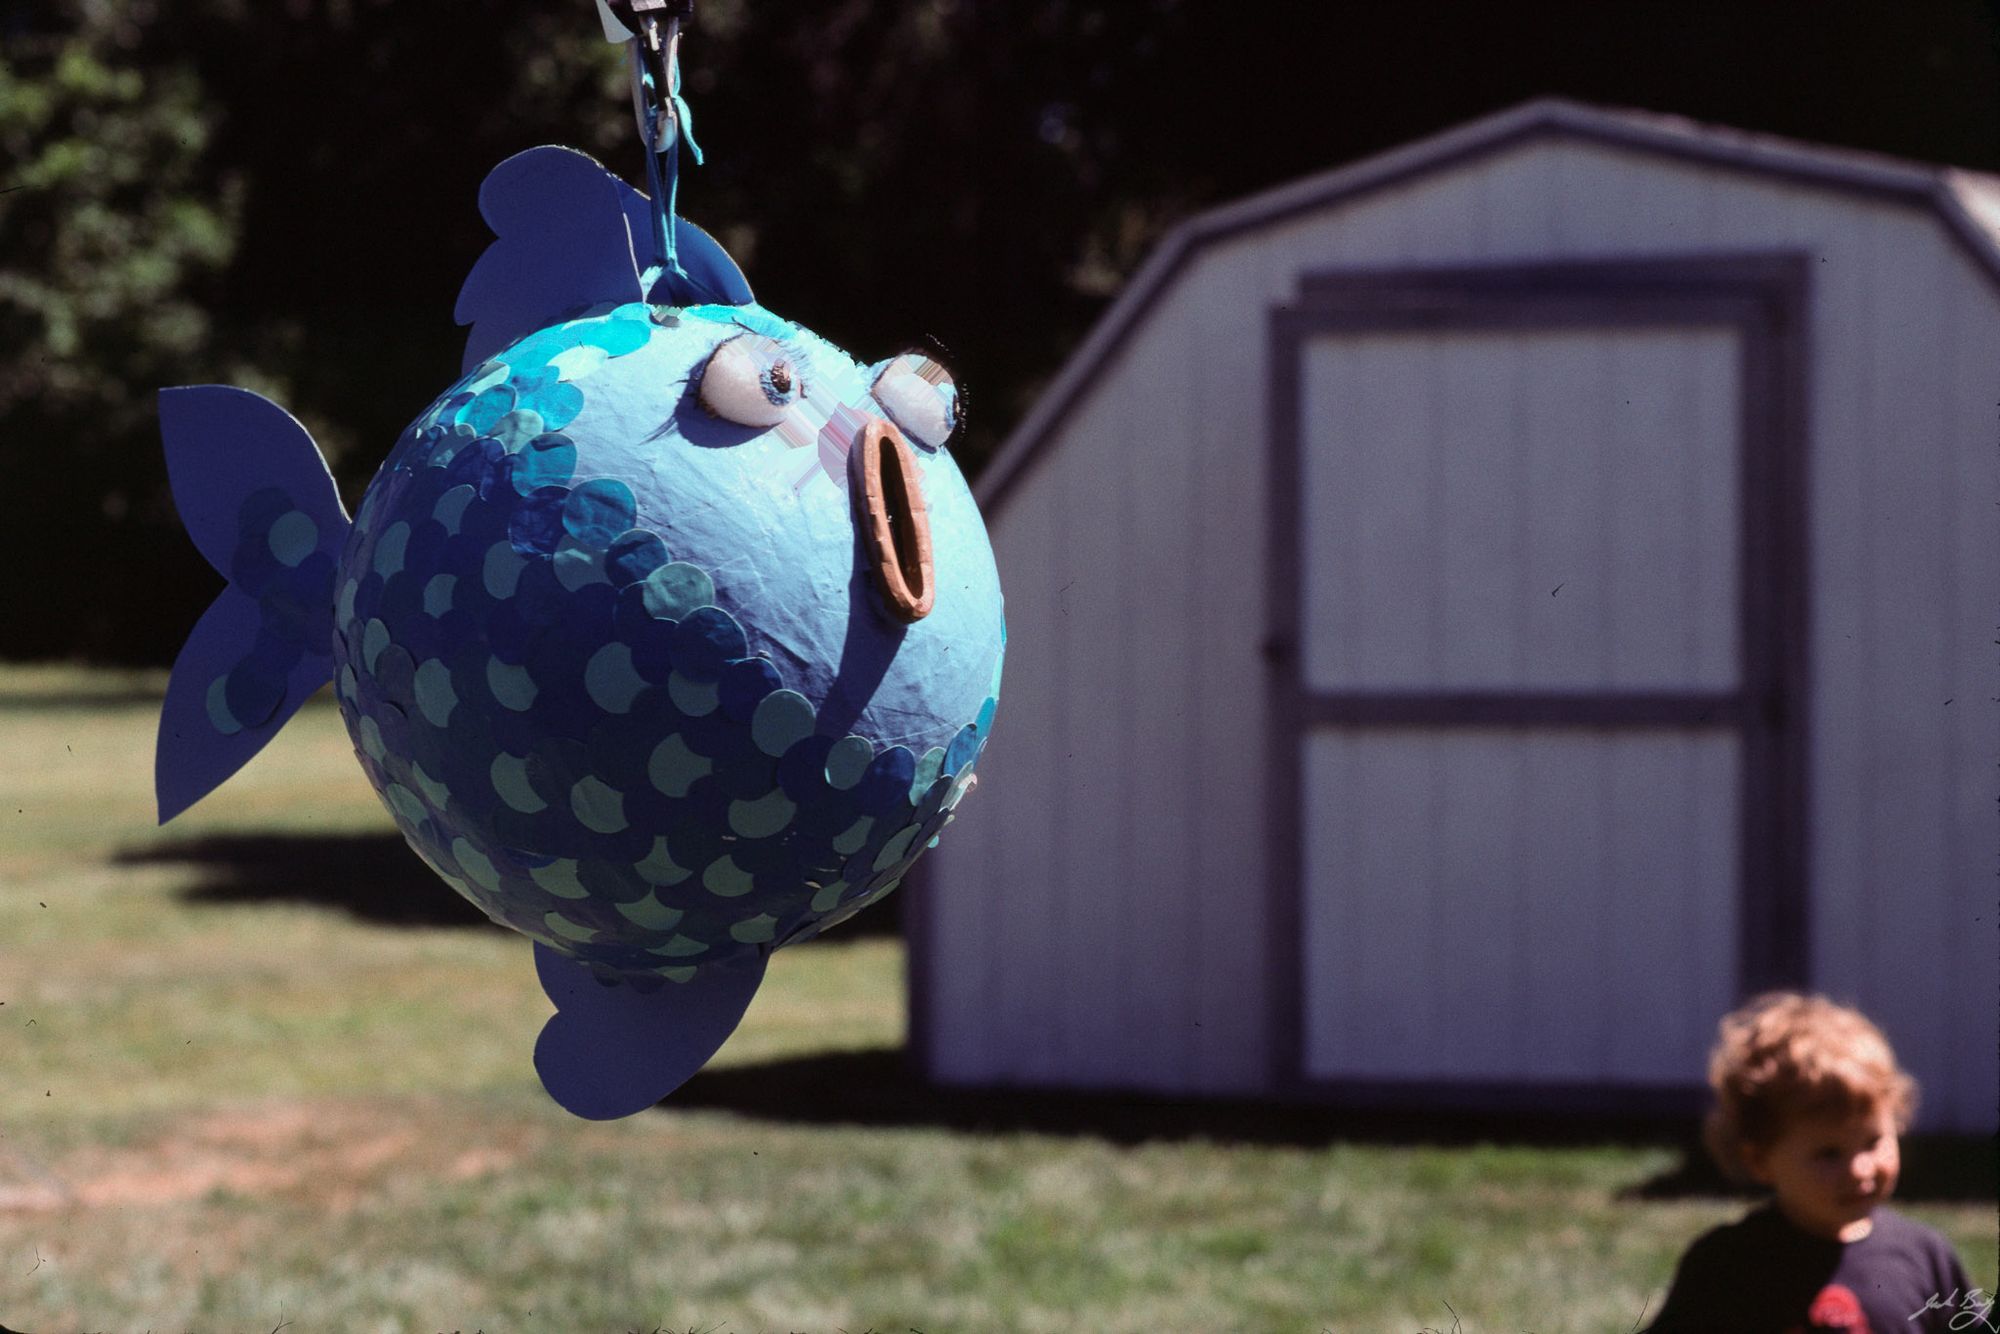
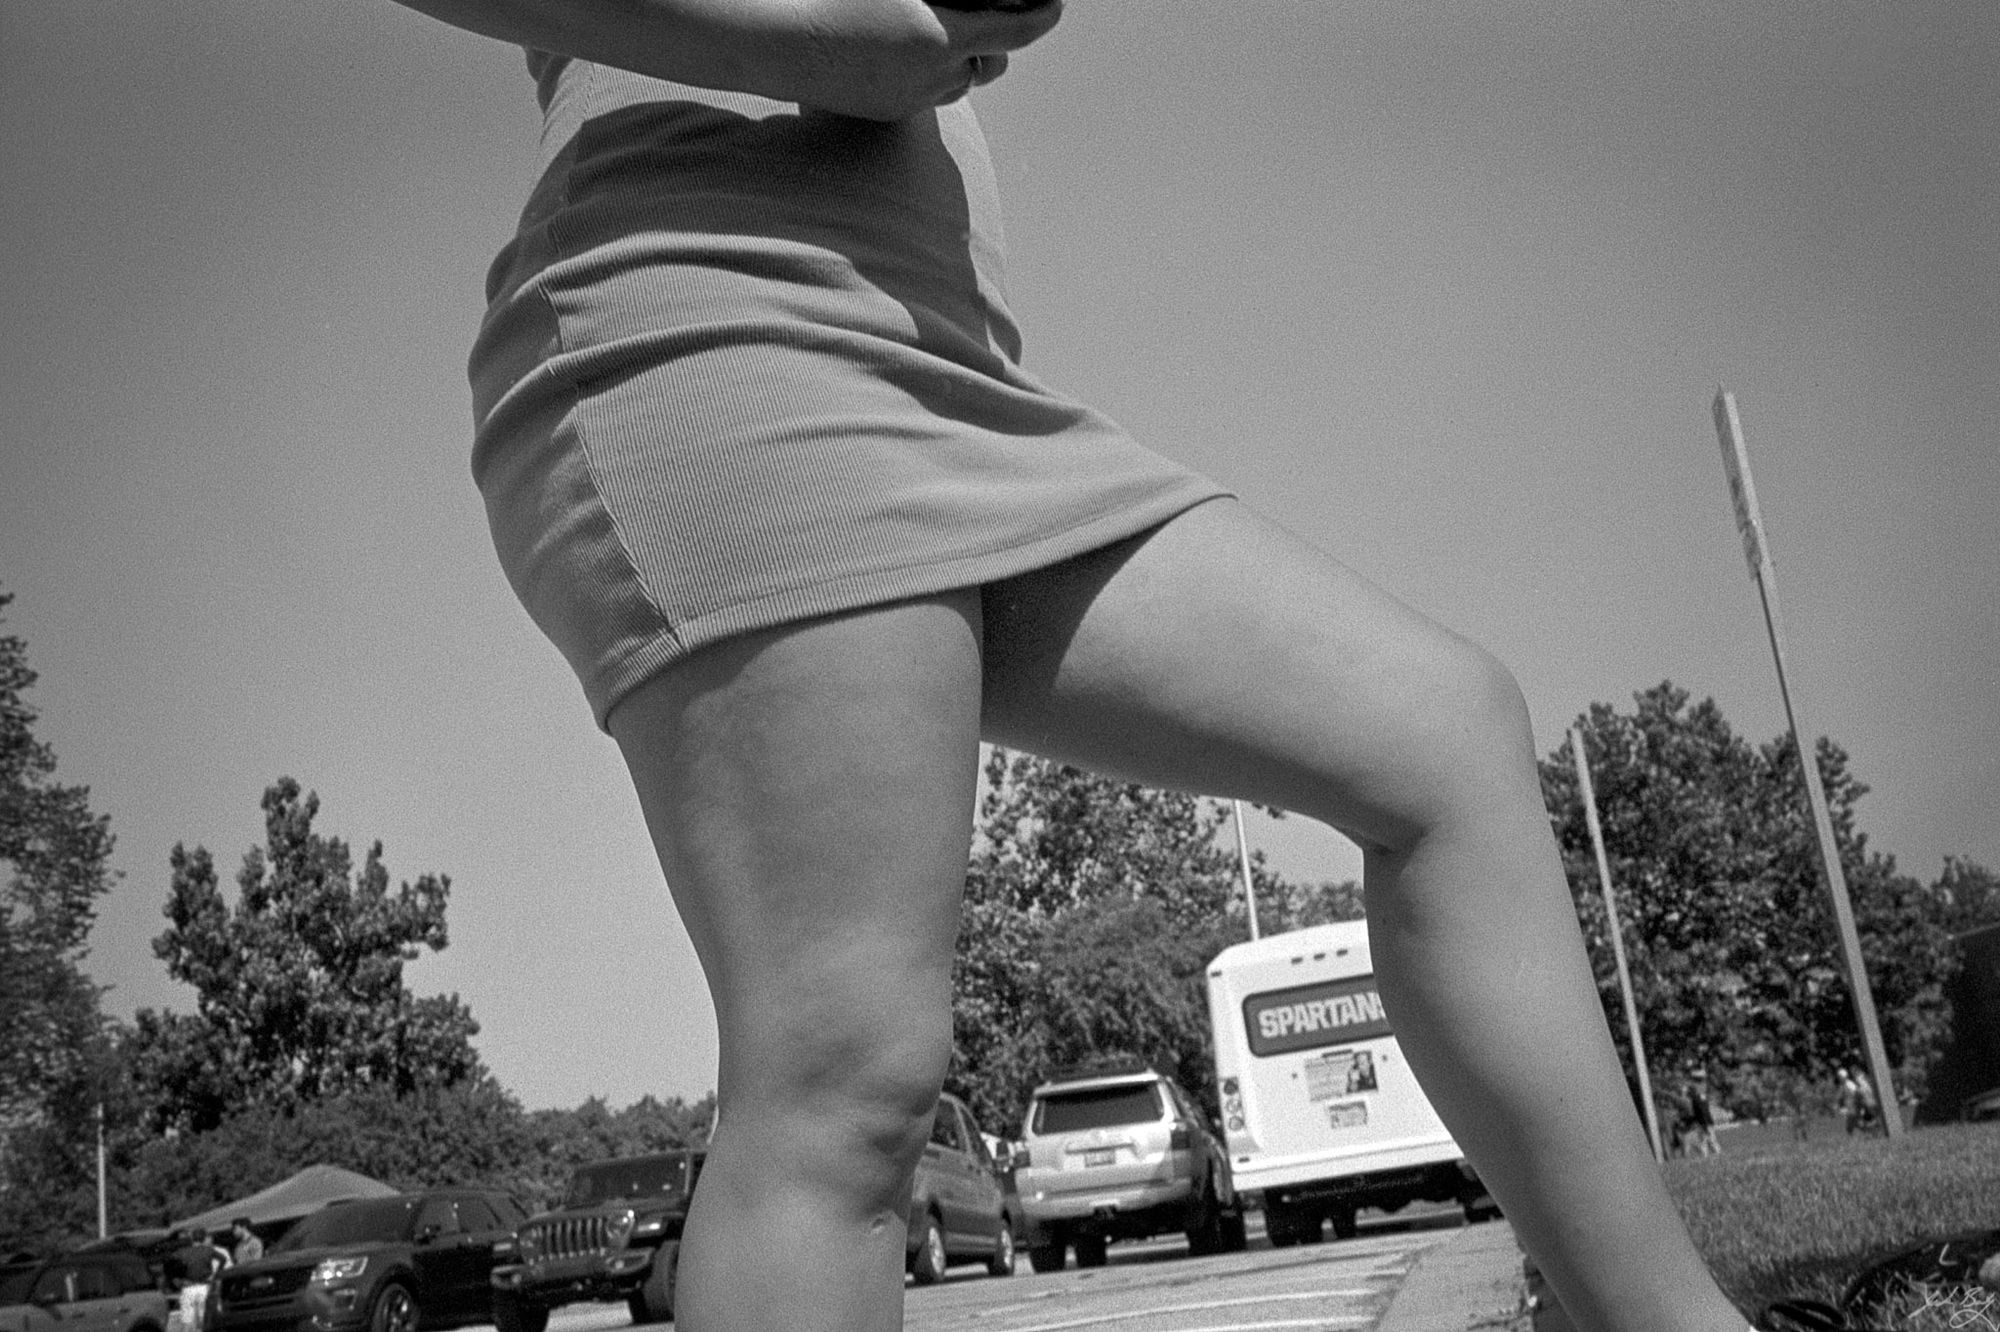
Two rolls shot at the MSU tailgate. One with the MP and HP5 and one with the Olympus OM-1n with expired XP2. Lots of missed focus. Lots of too-far-away. Lots of dust. It’s dampening my enthusiasm for film, but here are a few anyway.
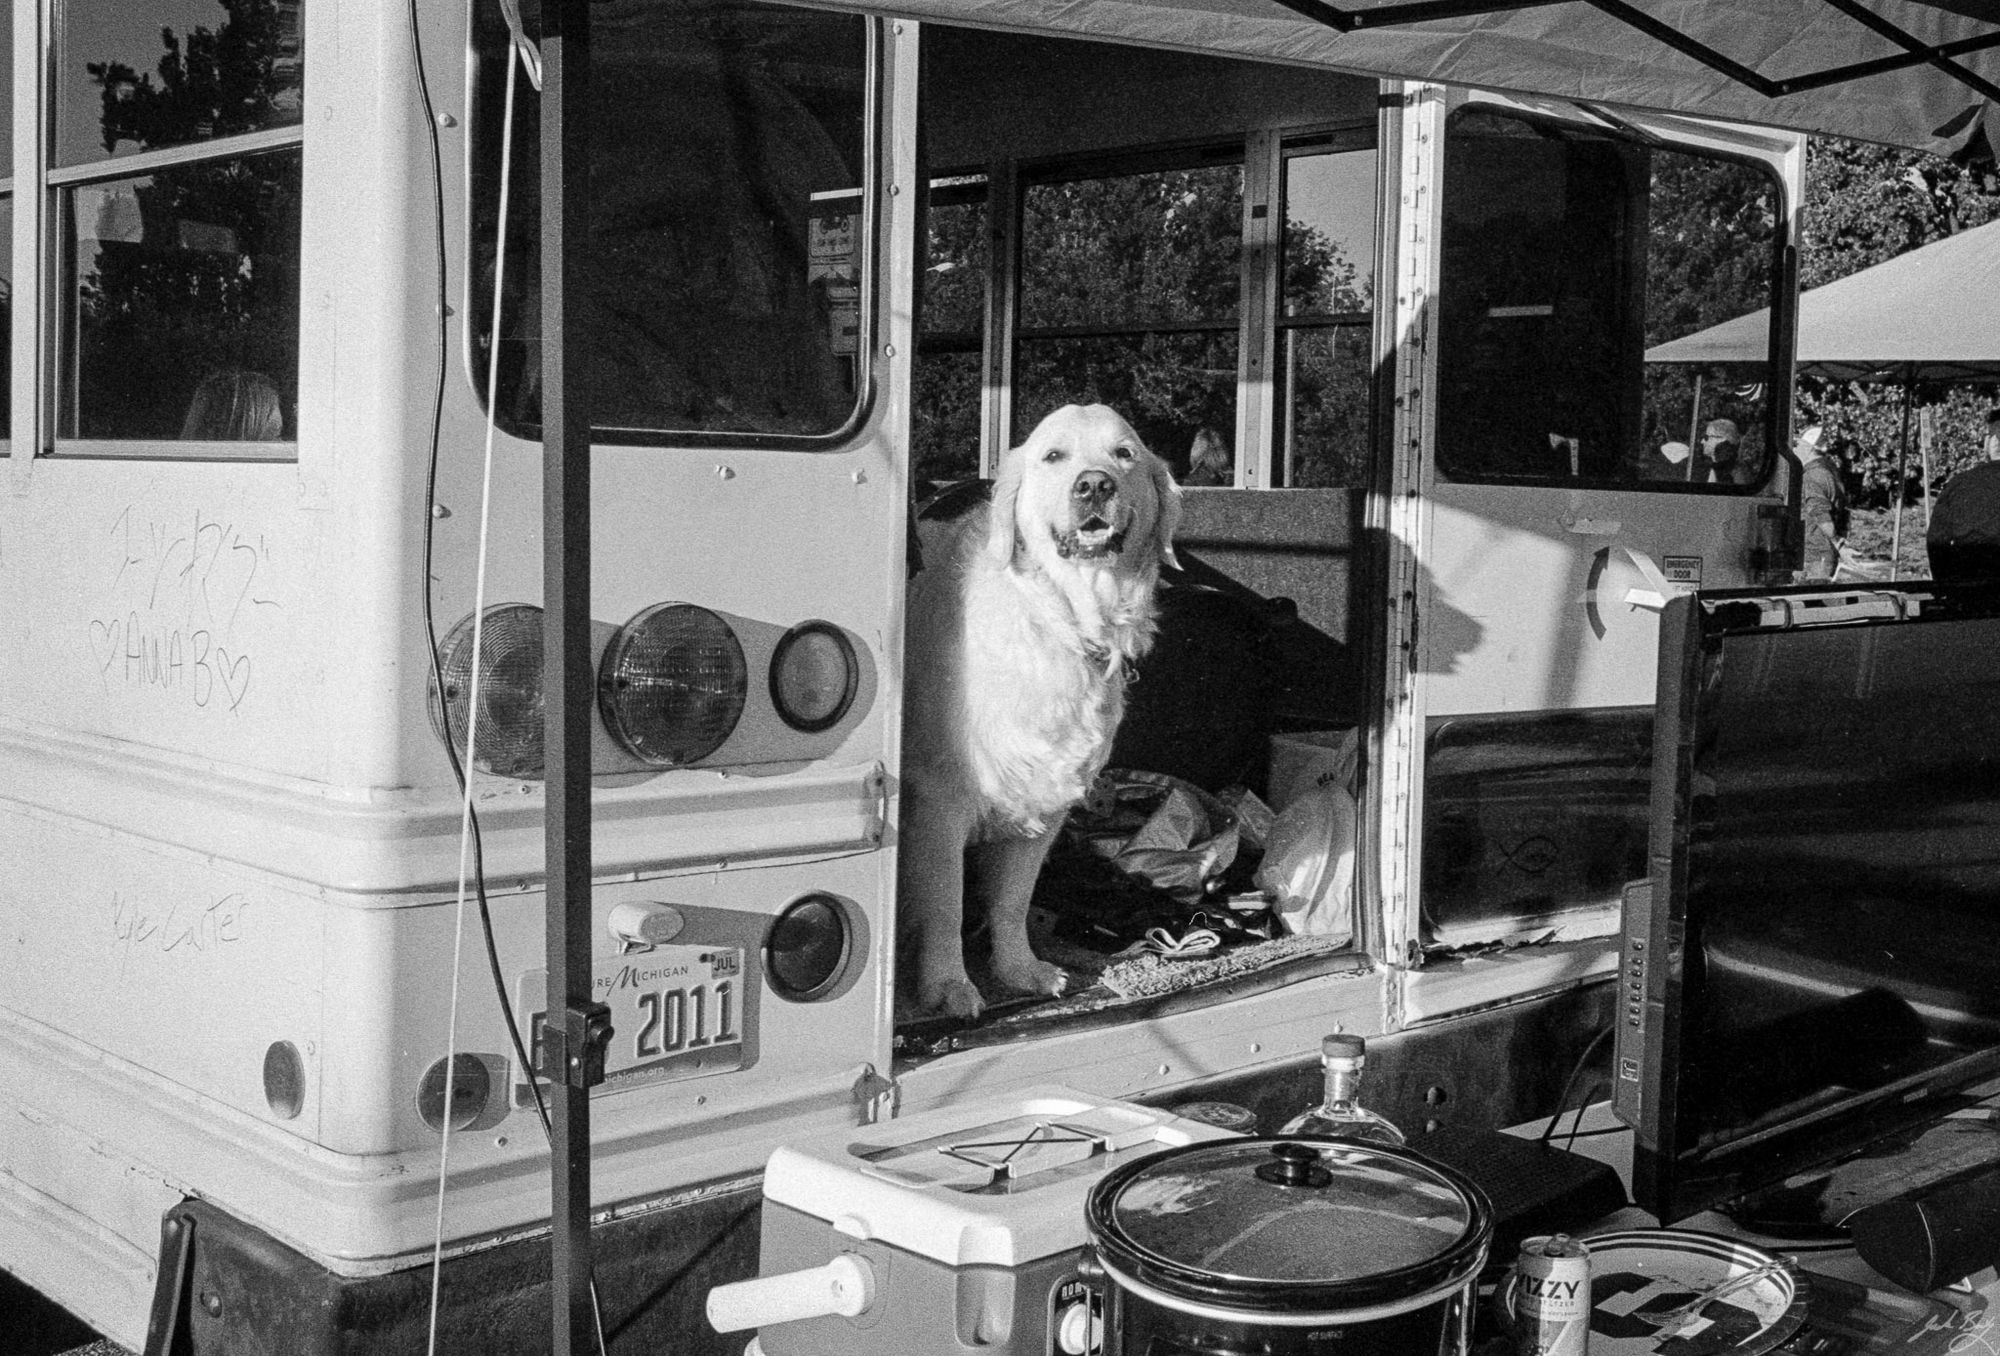
Golden looking out back of party bus. (Leica MP. Summicron-M 35mm ASPH)
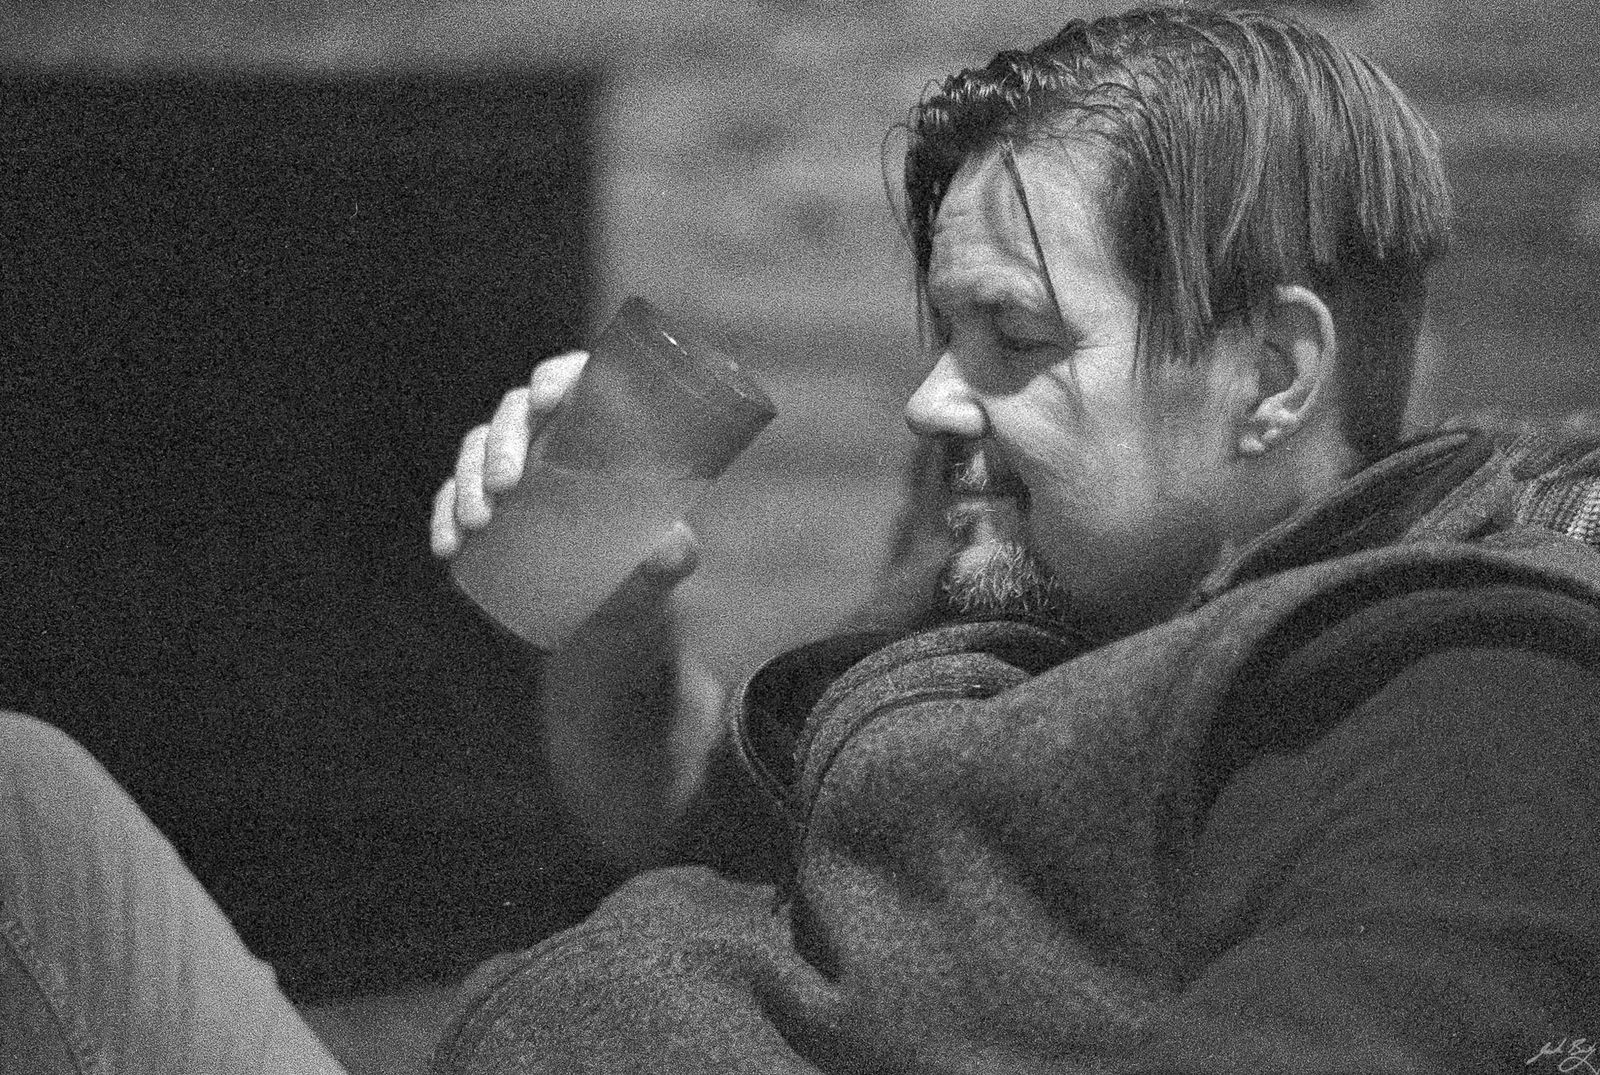
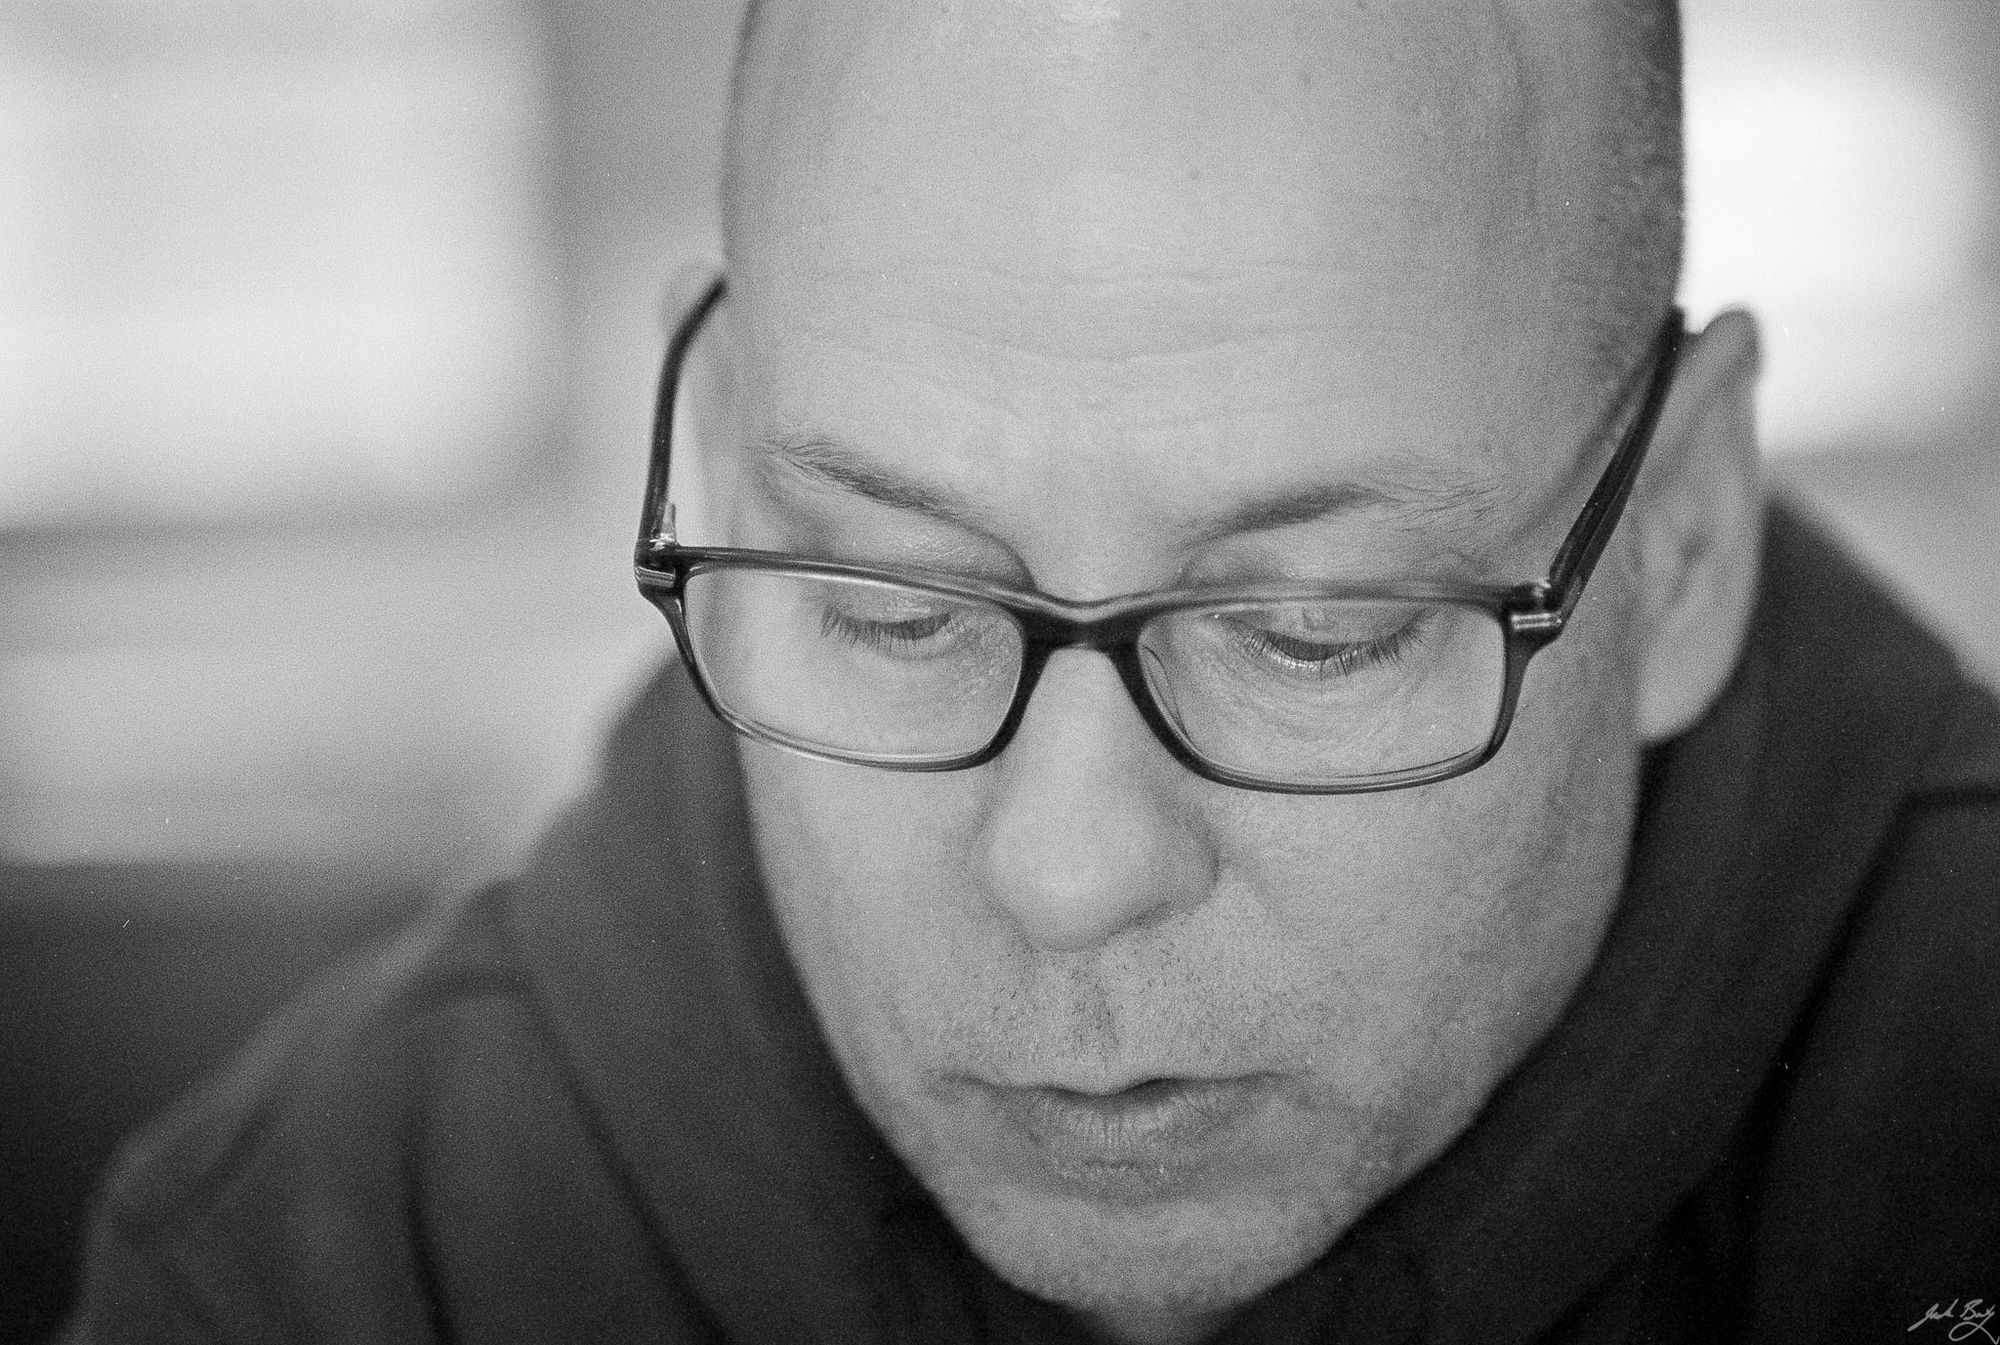
Jeff. (Leica MP. Summicron-M 35mm ASPH)
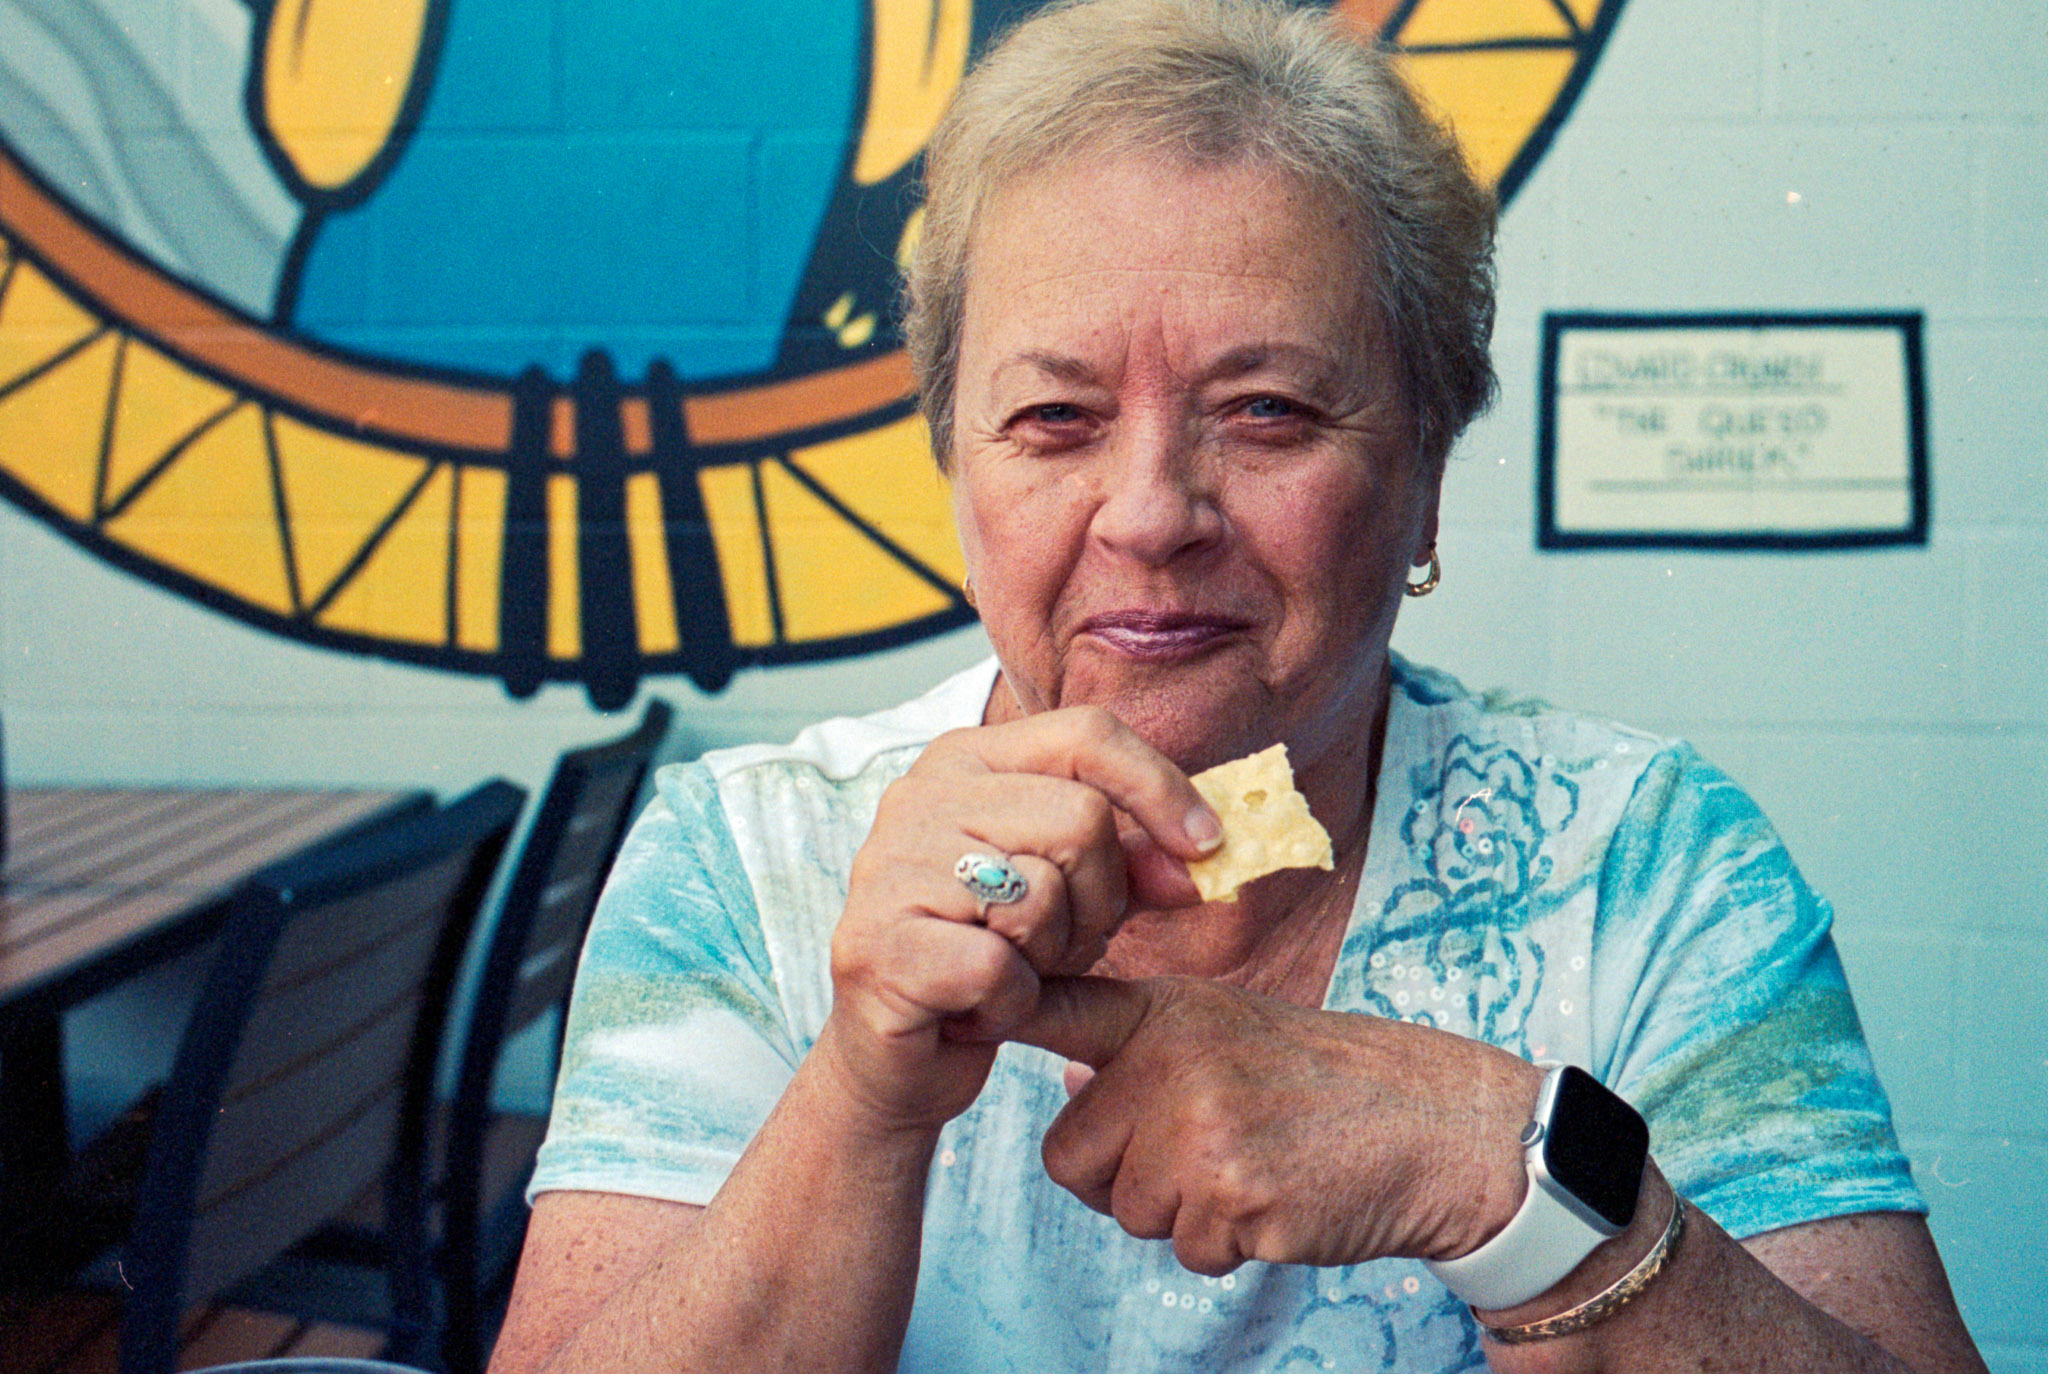
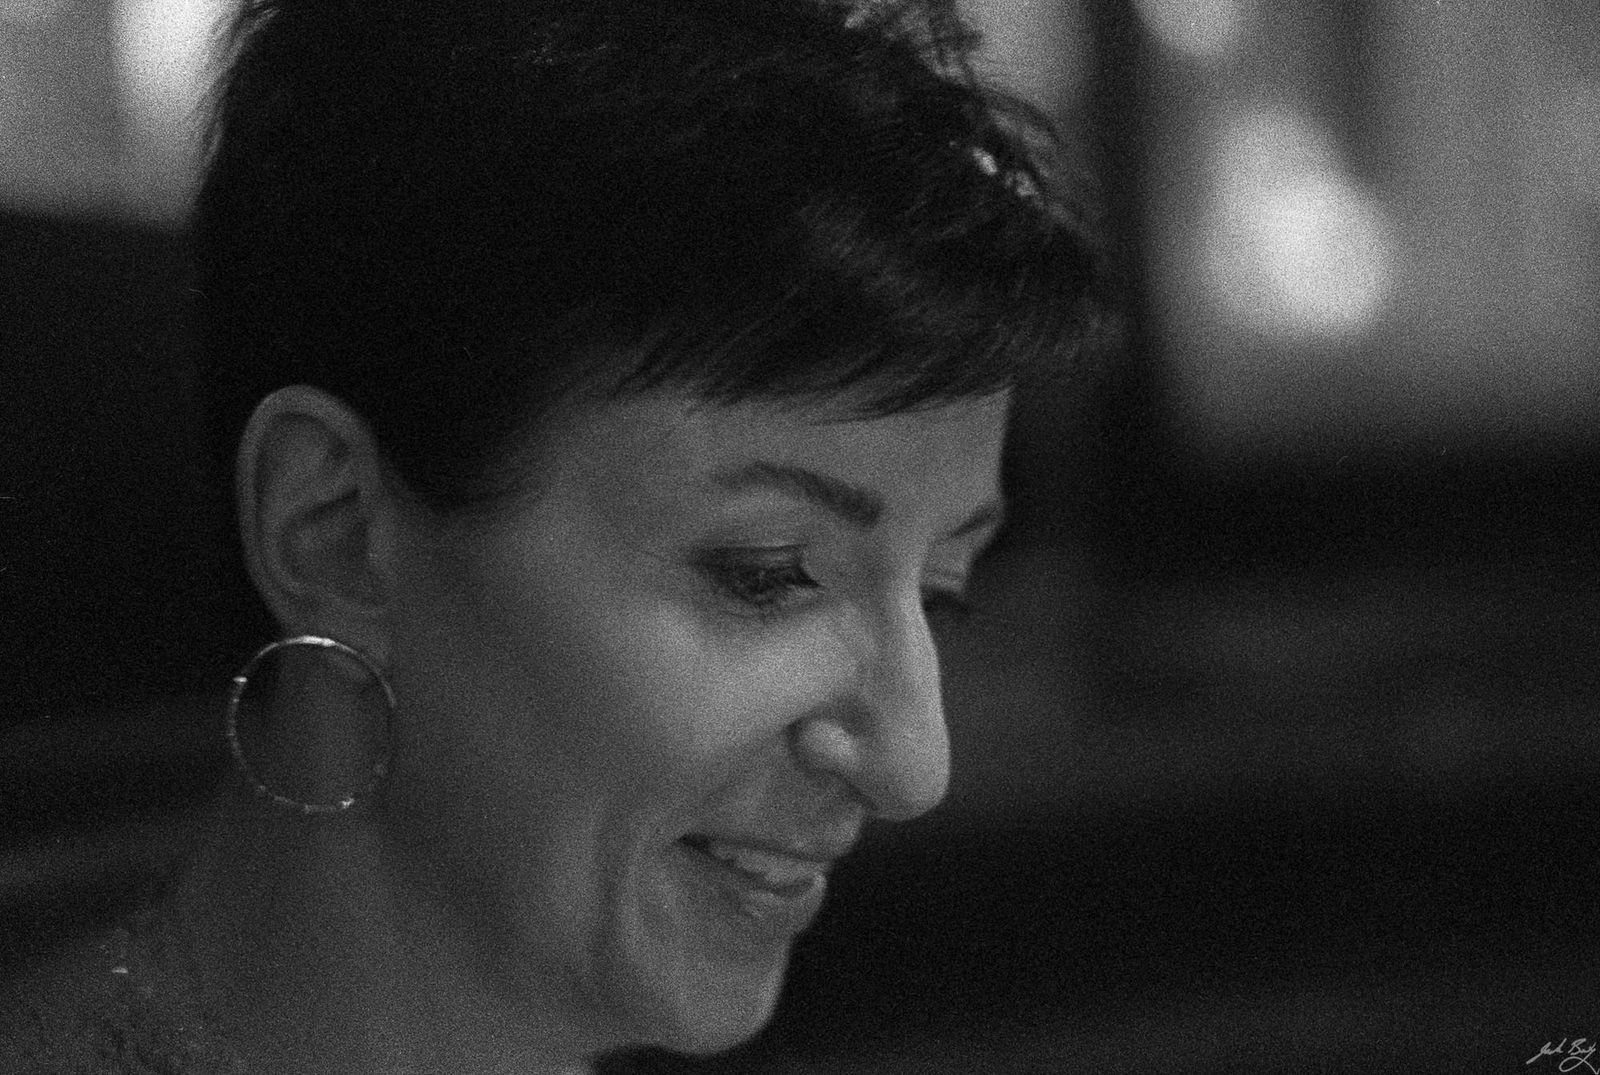
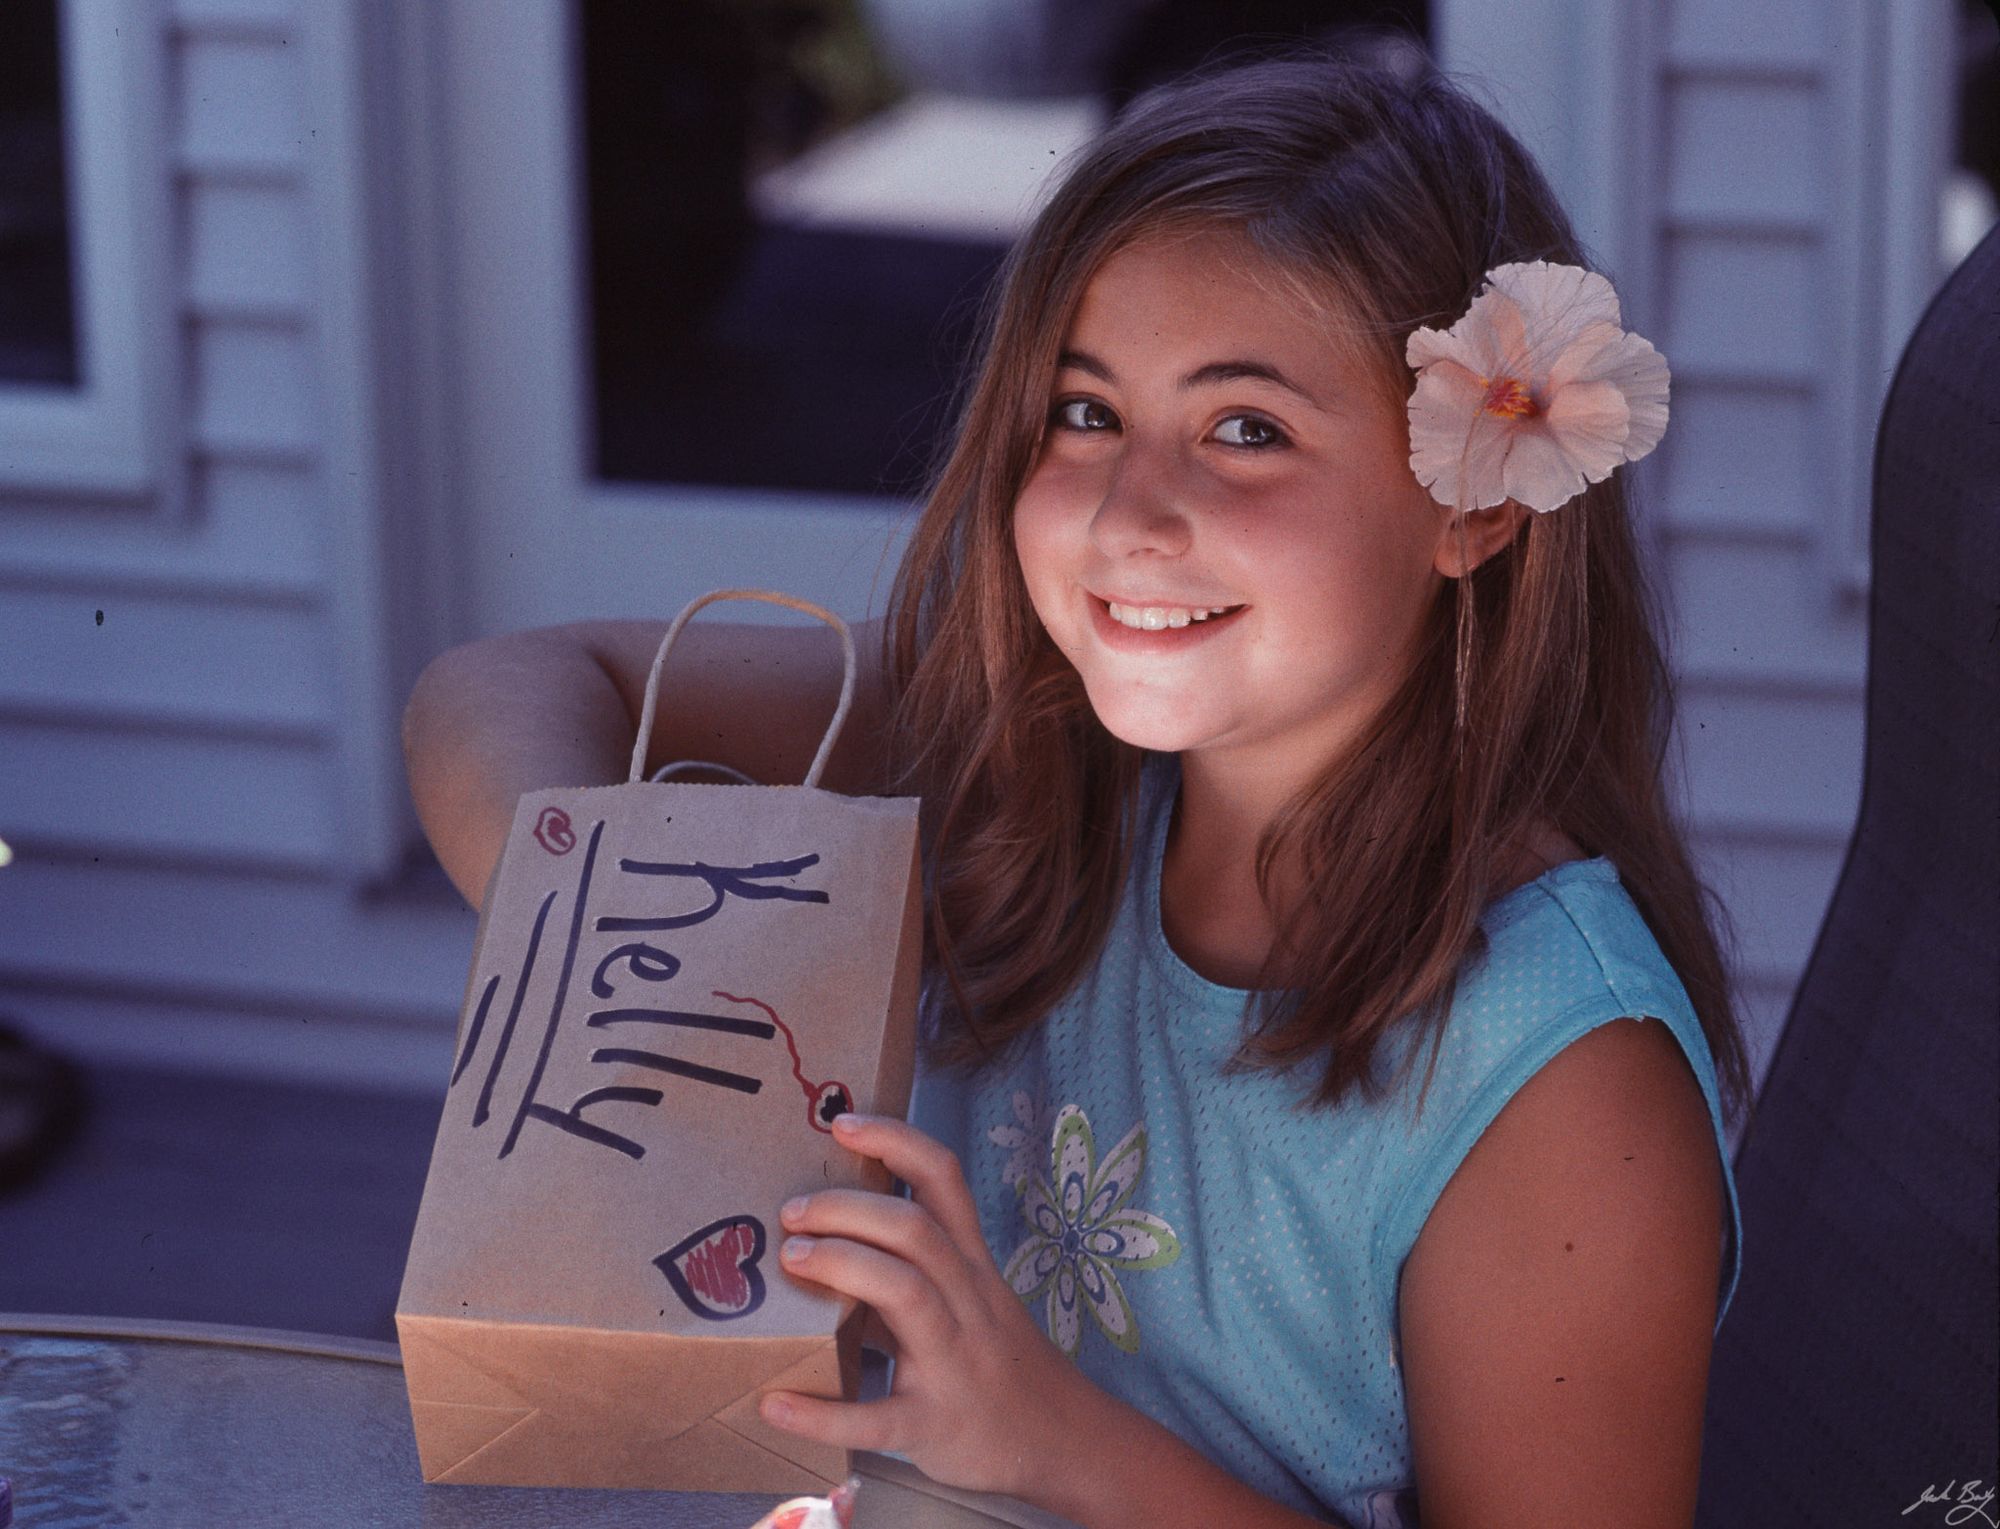
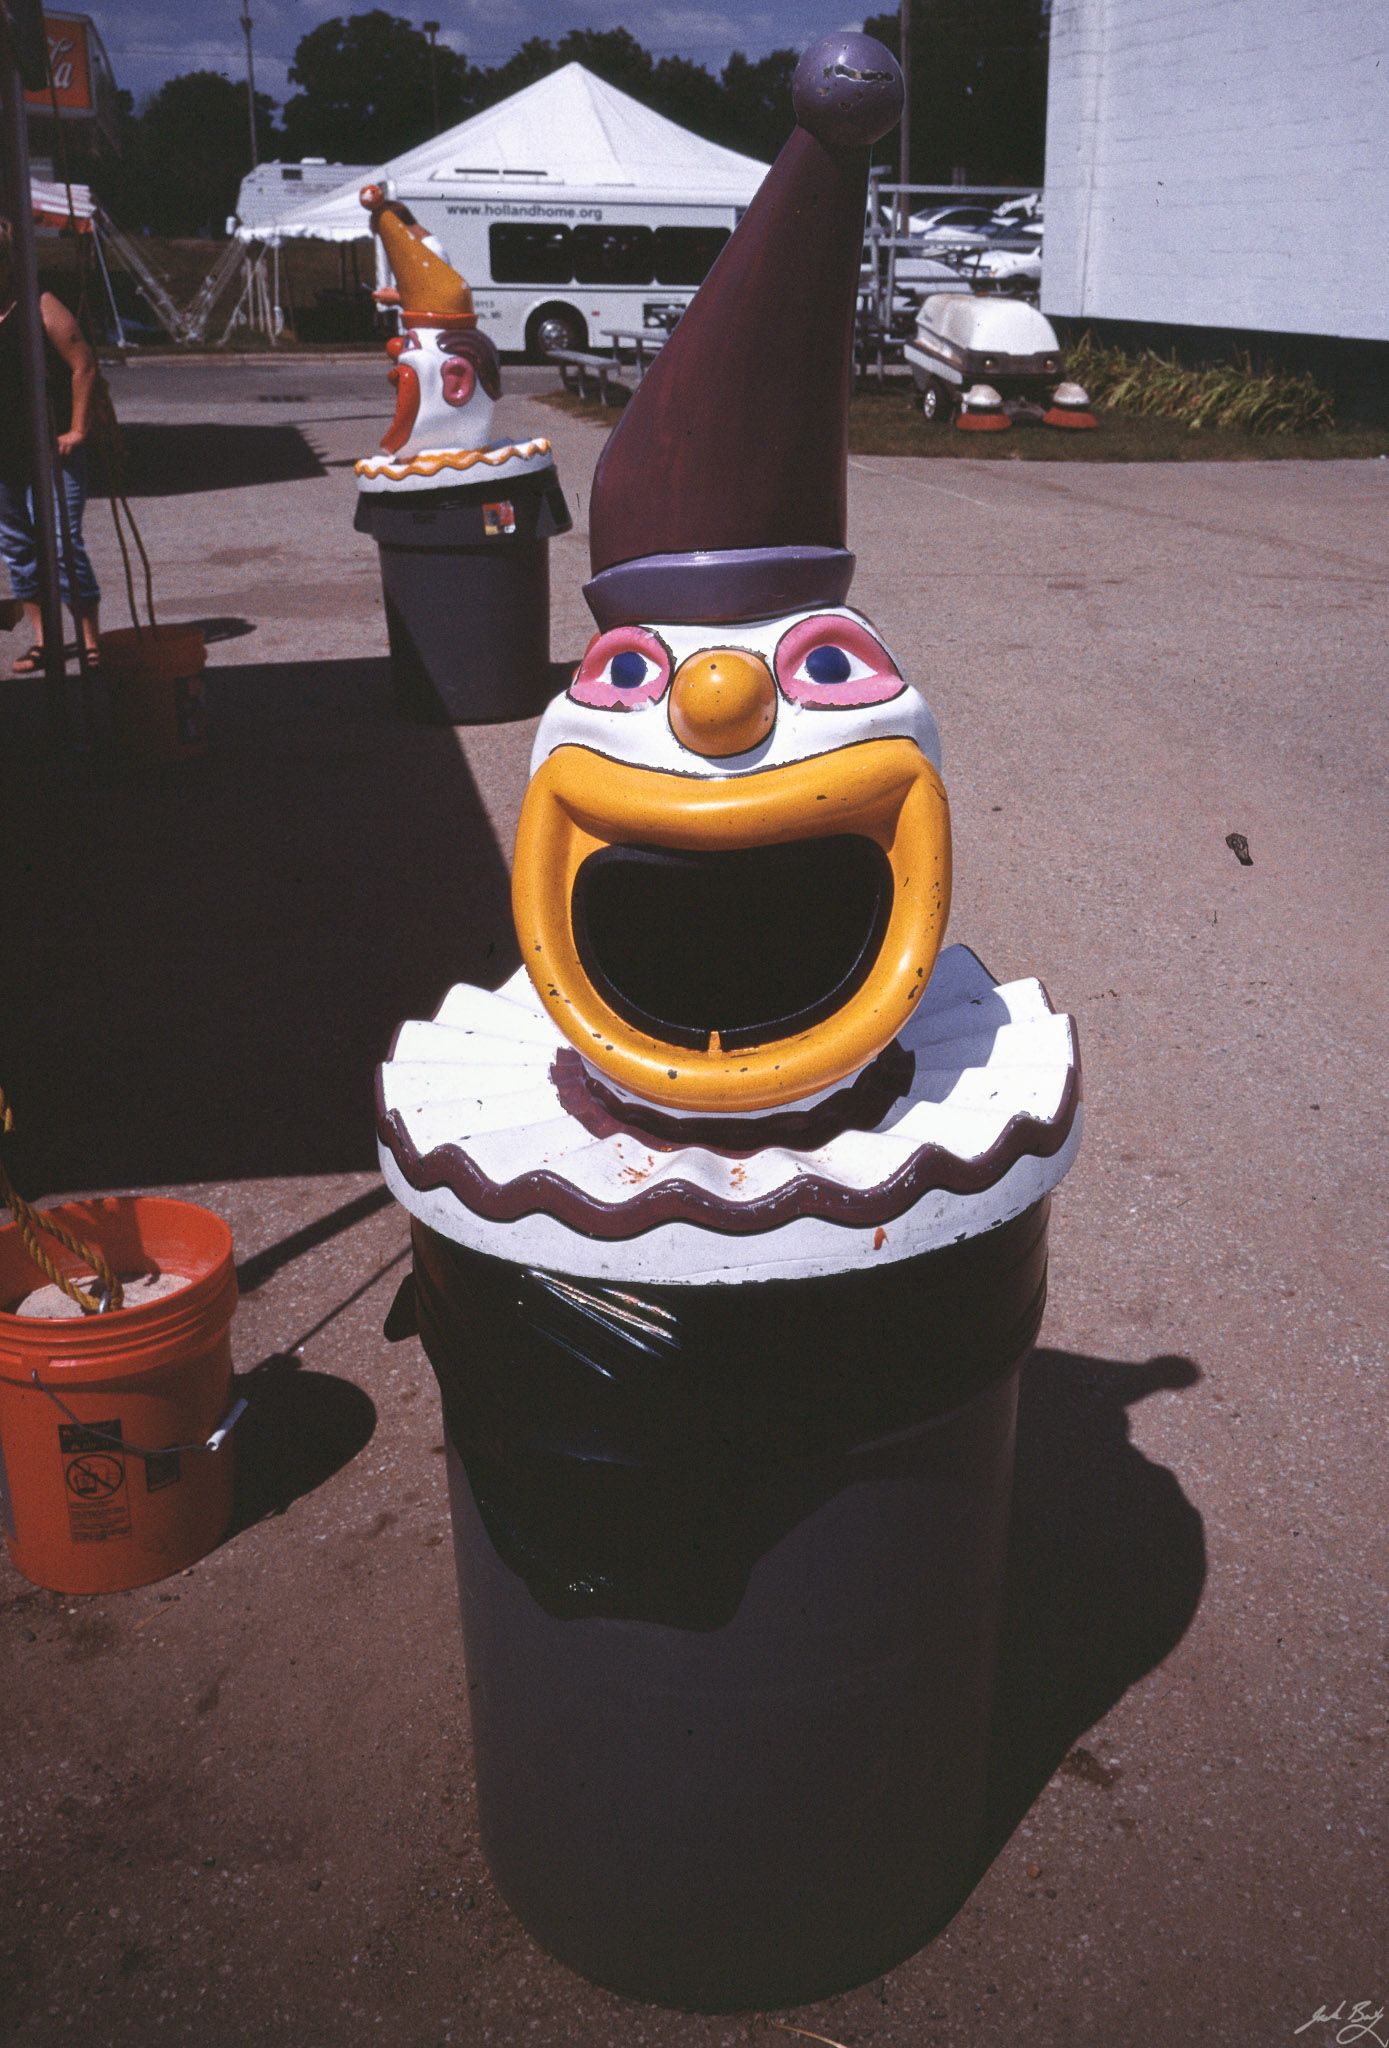
Shelley enjoying the tailgate. (Olympus OM-1n. Zuiko 85mm f/2.0)
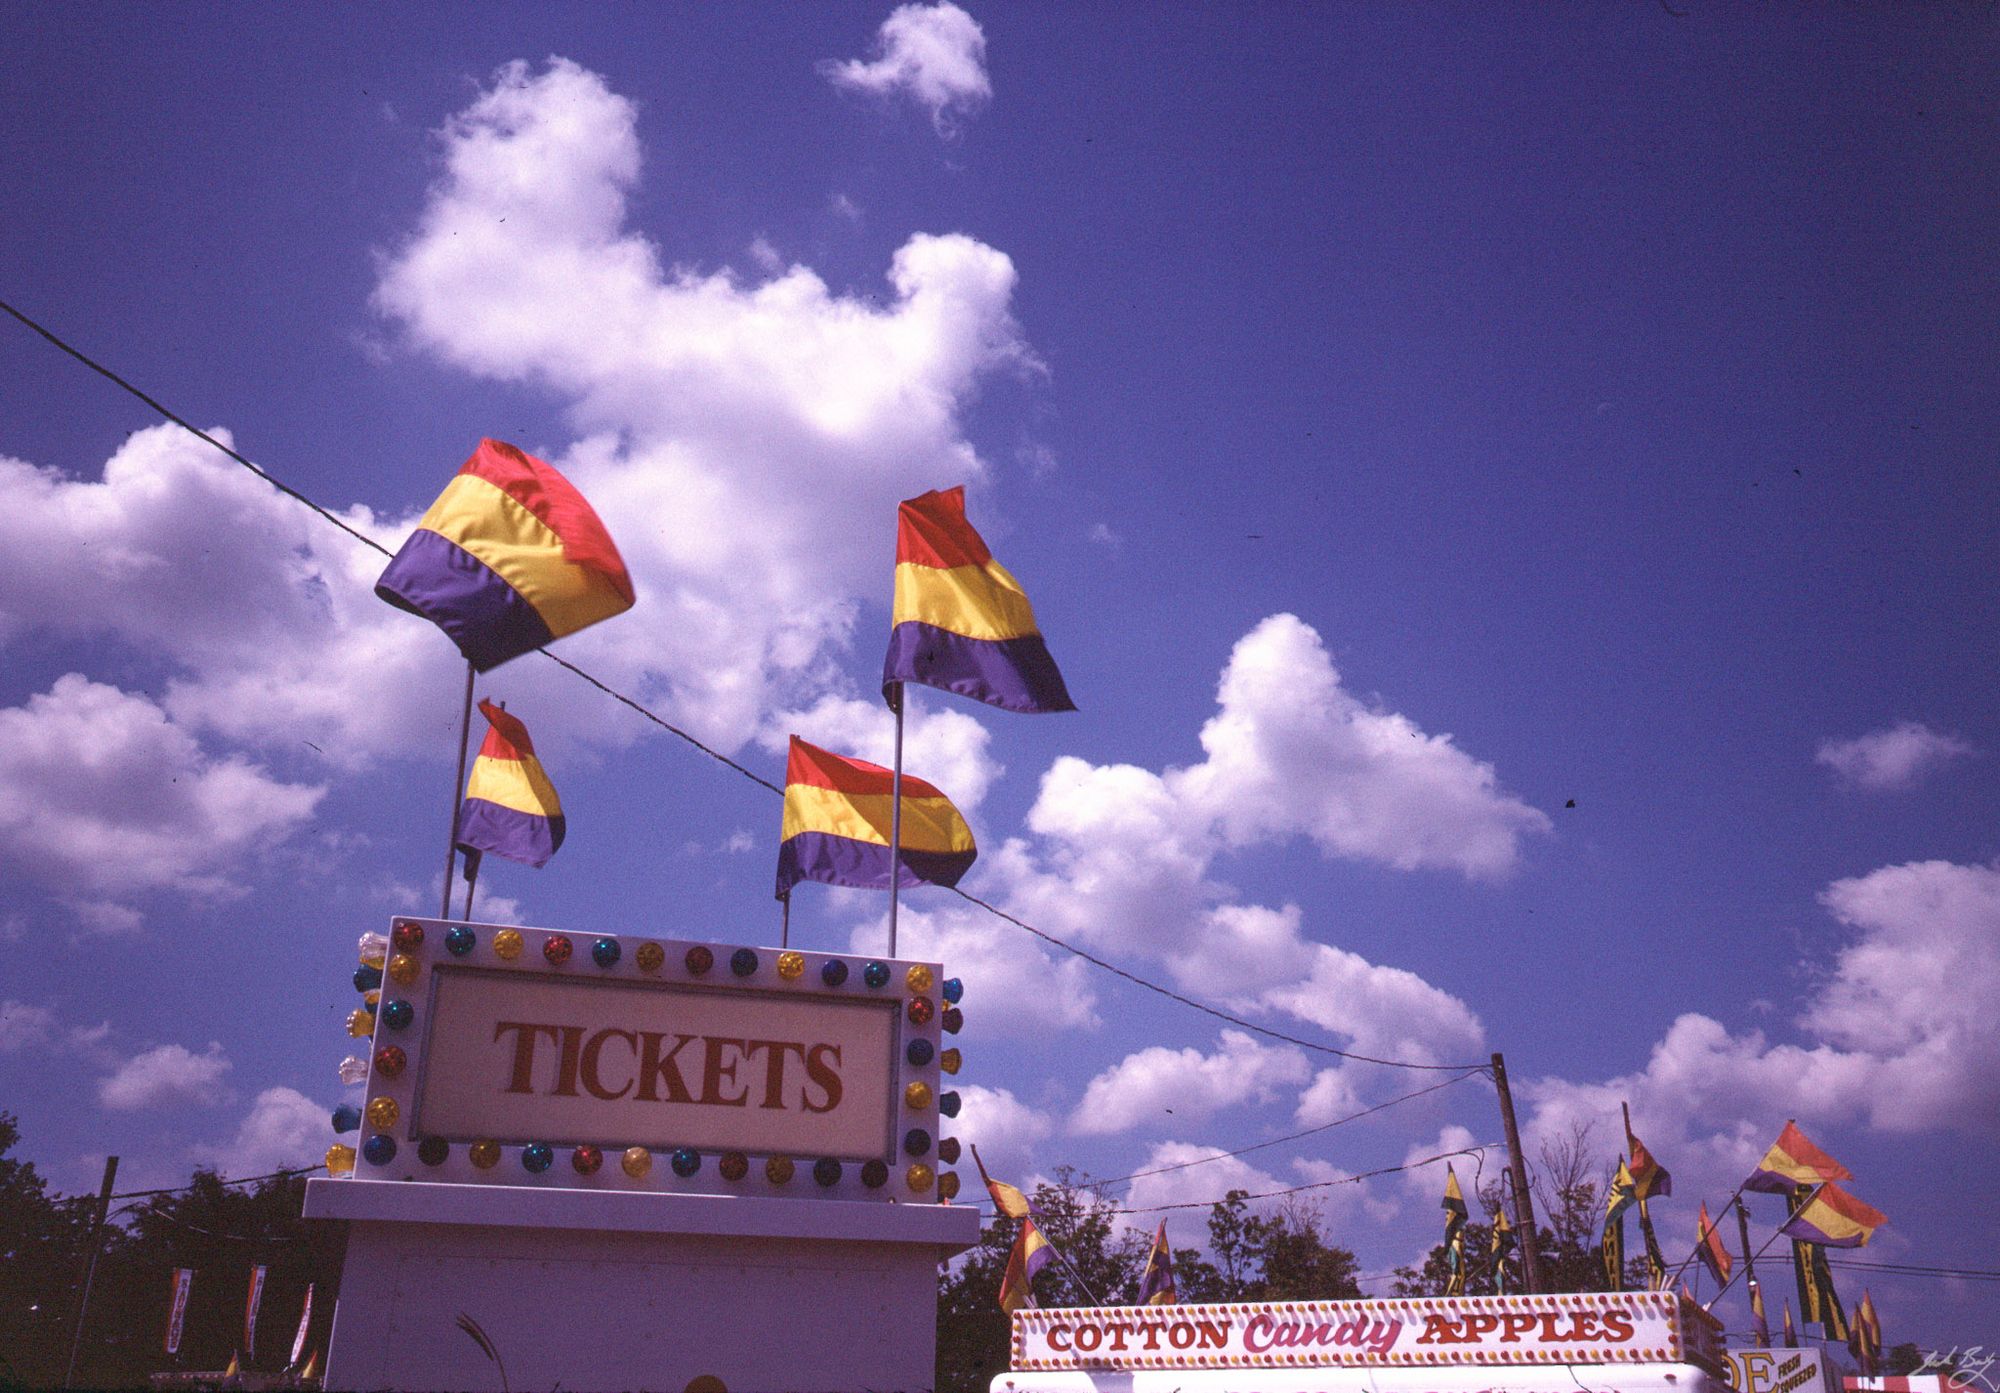
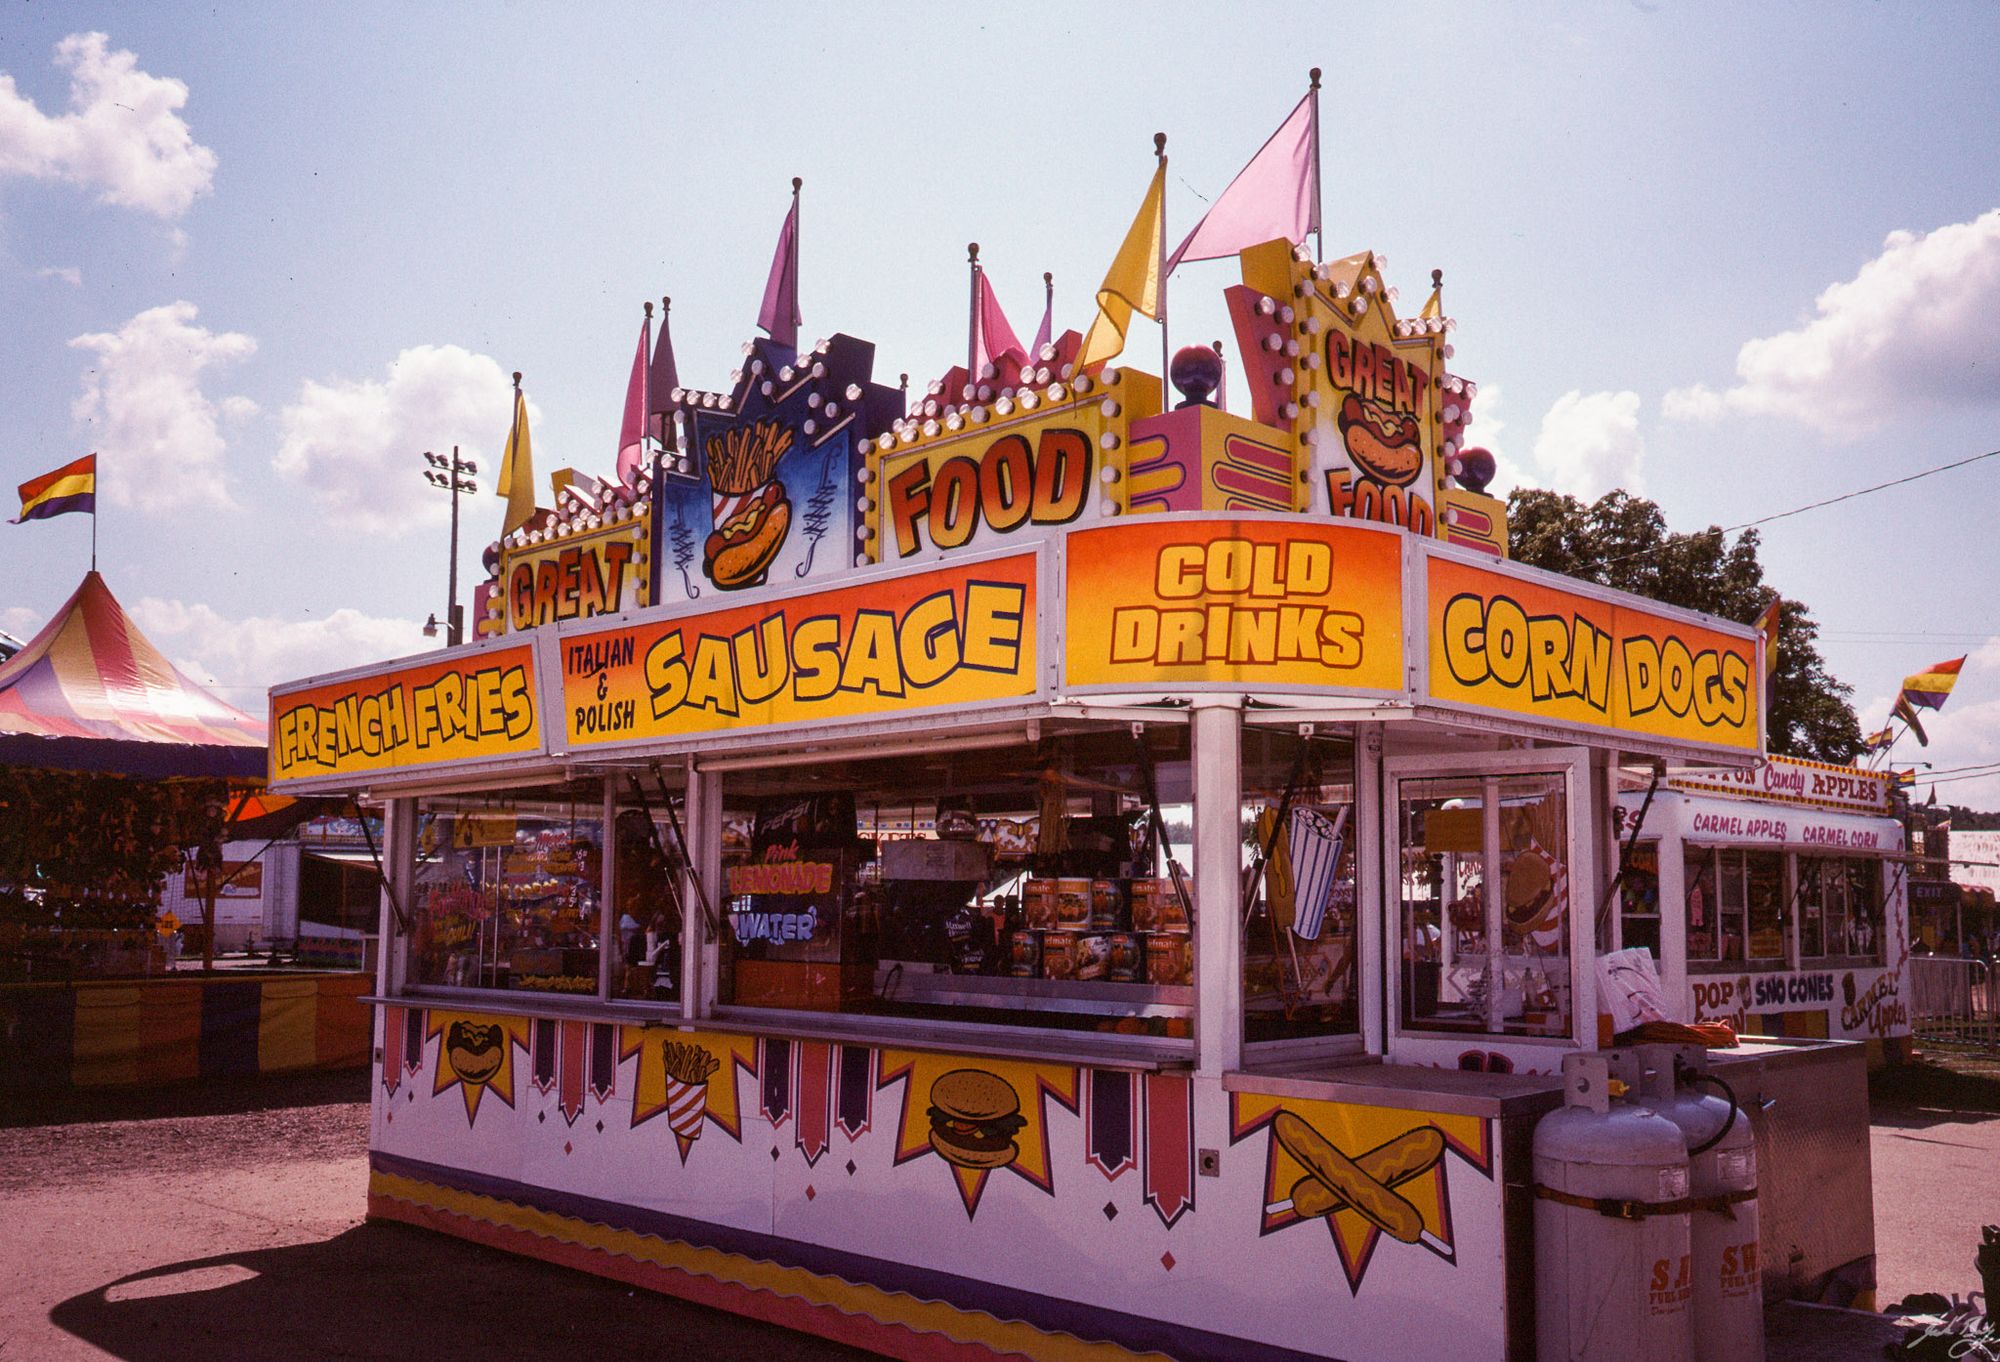
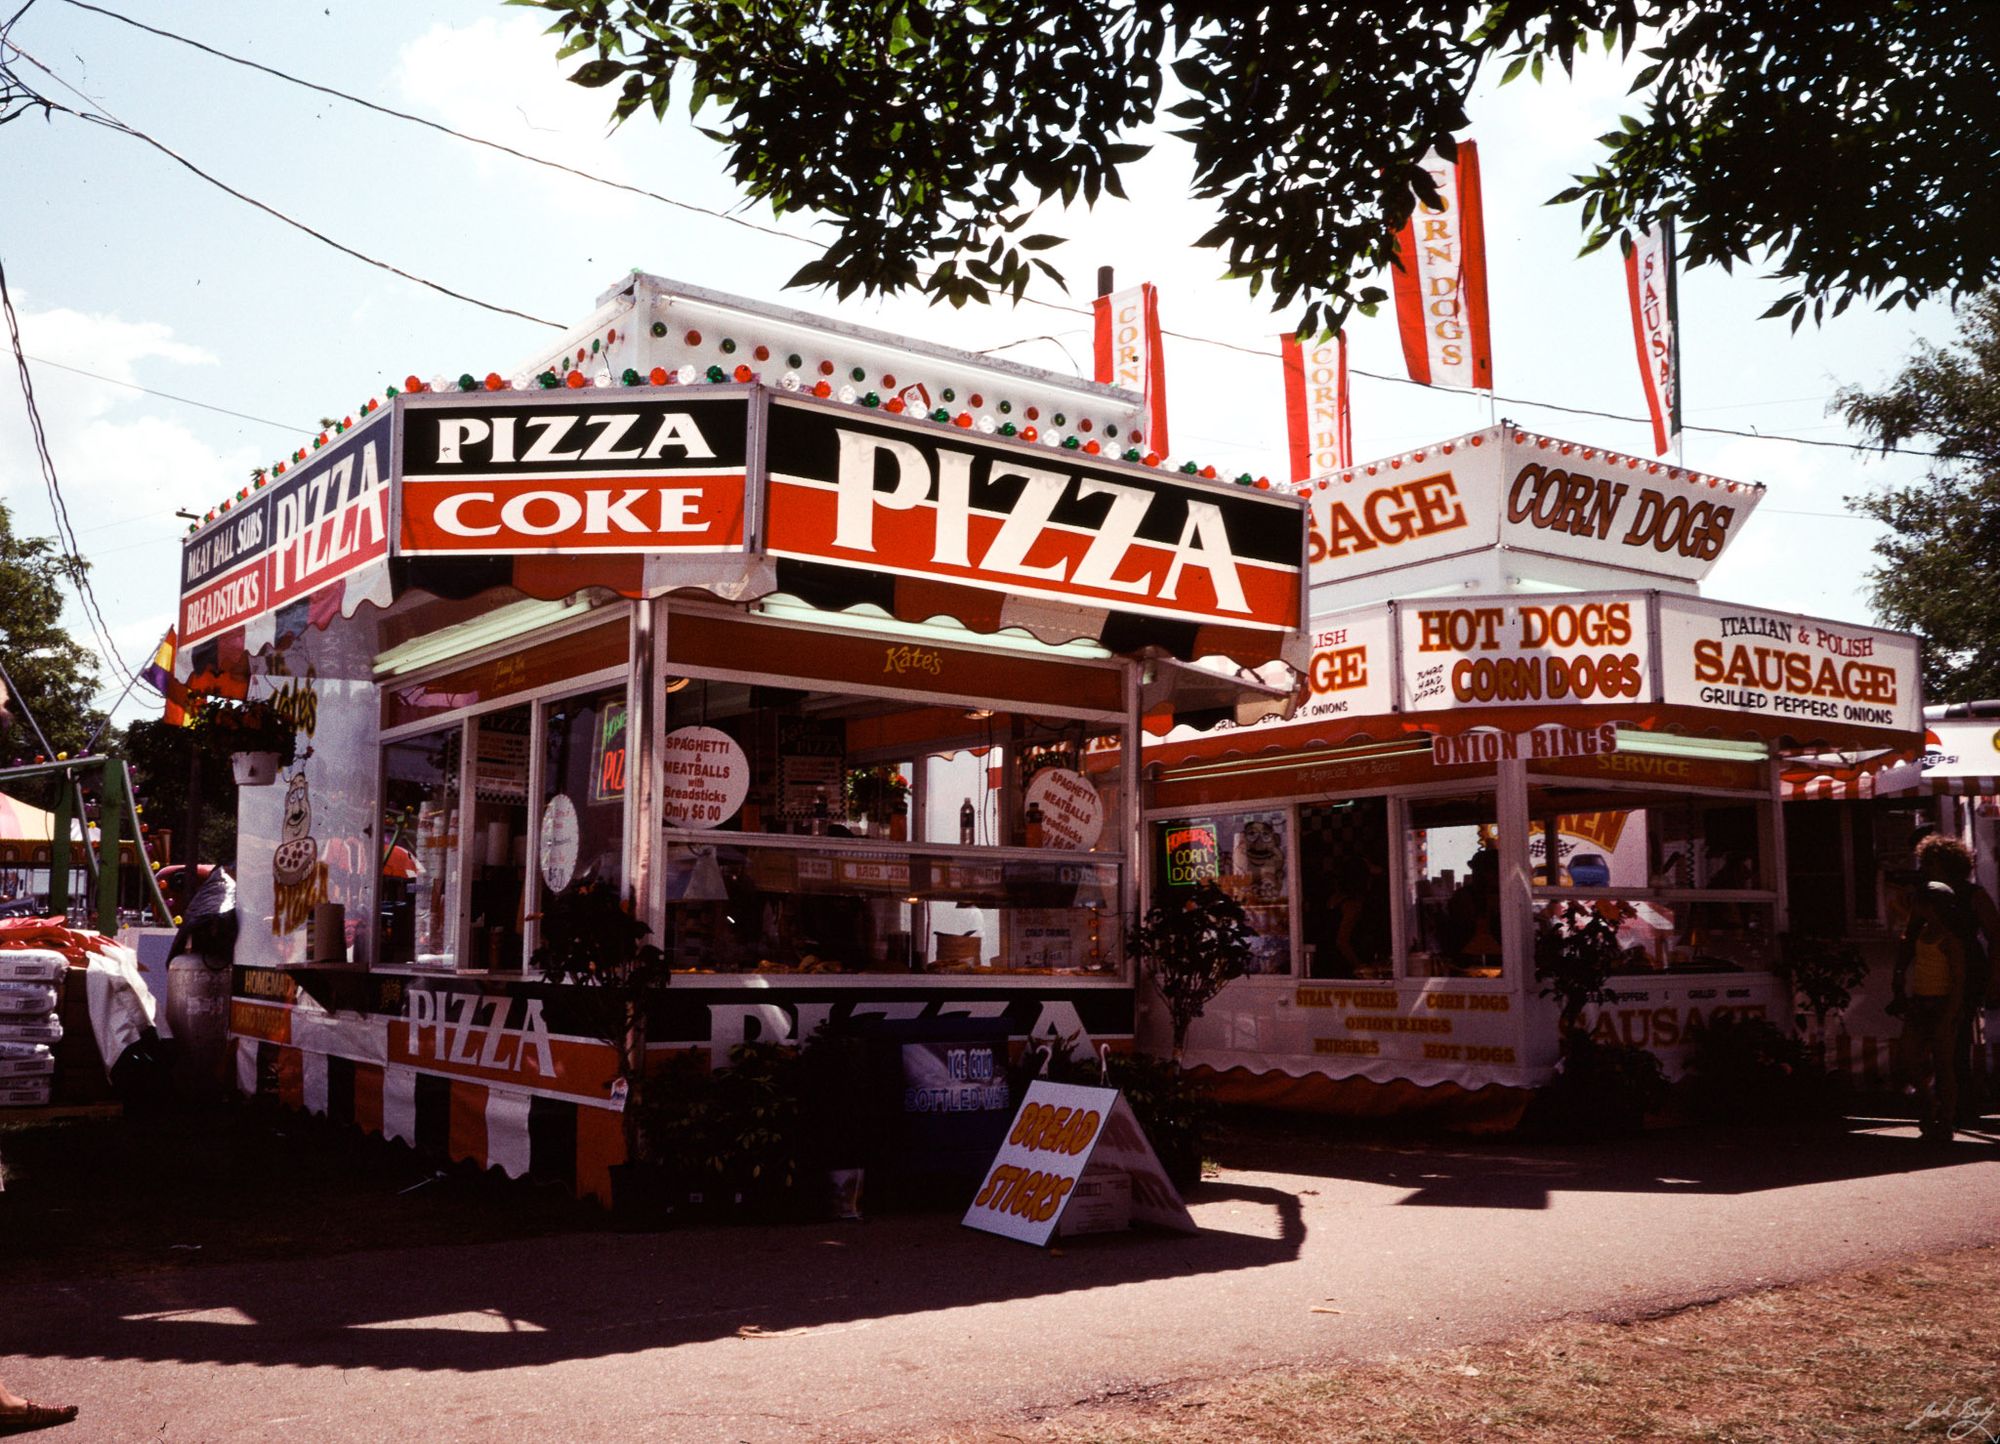
I was able to shoot a few rolls before Dwayne’s Photo, the last shop capable of processing Kodachrome, stopped processing it for good. The last roll was processed on January 18, 2011.
For some reason, all of my original Kodachrome scans are fairly low-res, so I re-scanned the better images using my new Prime Film XAs scanner. Here are a few examples. It was beautiful film.
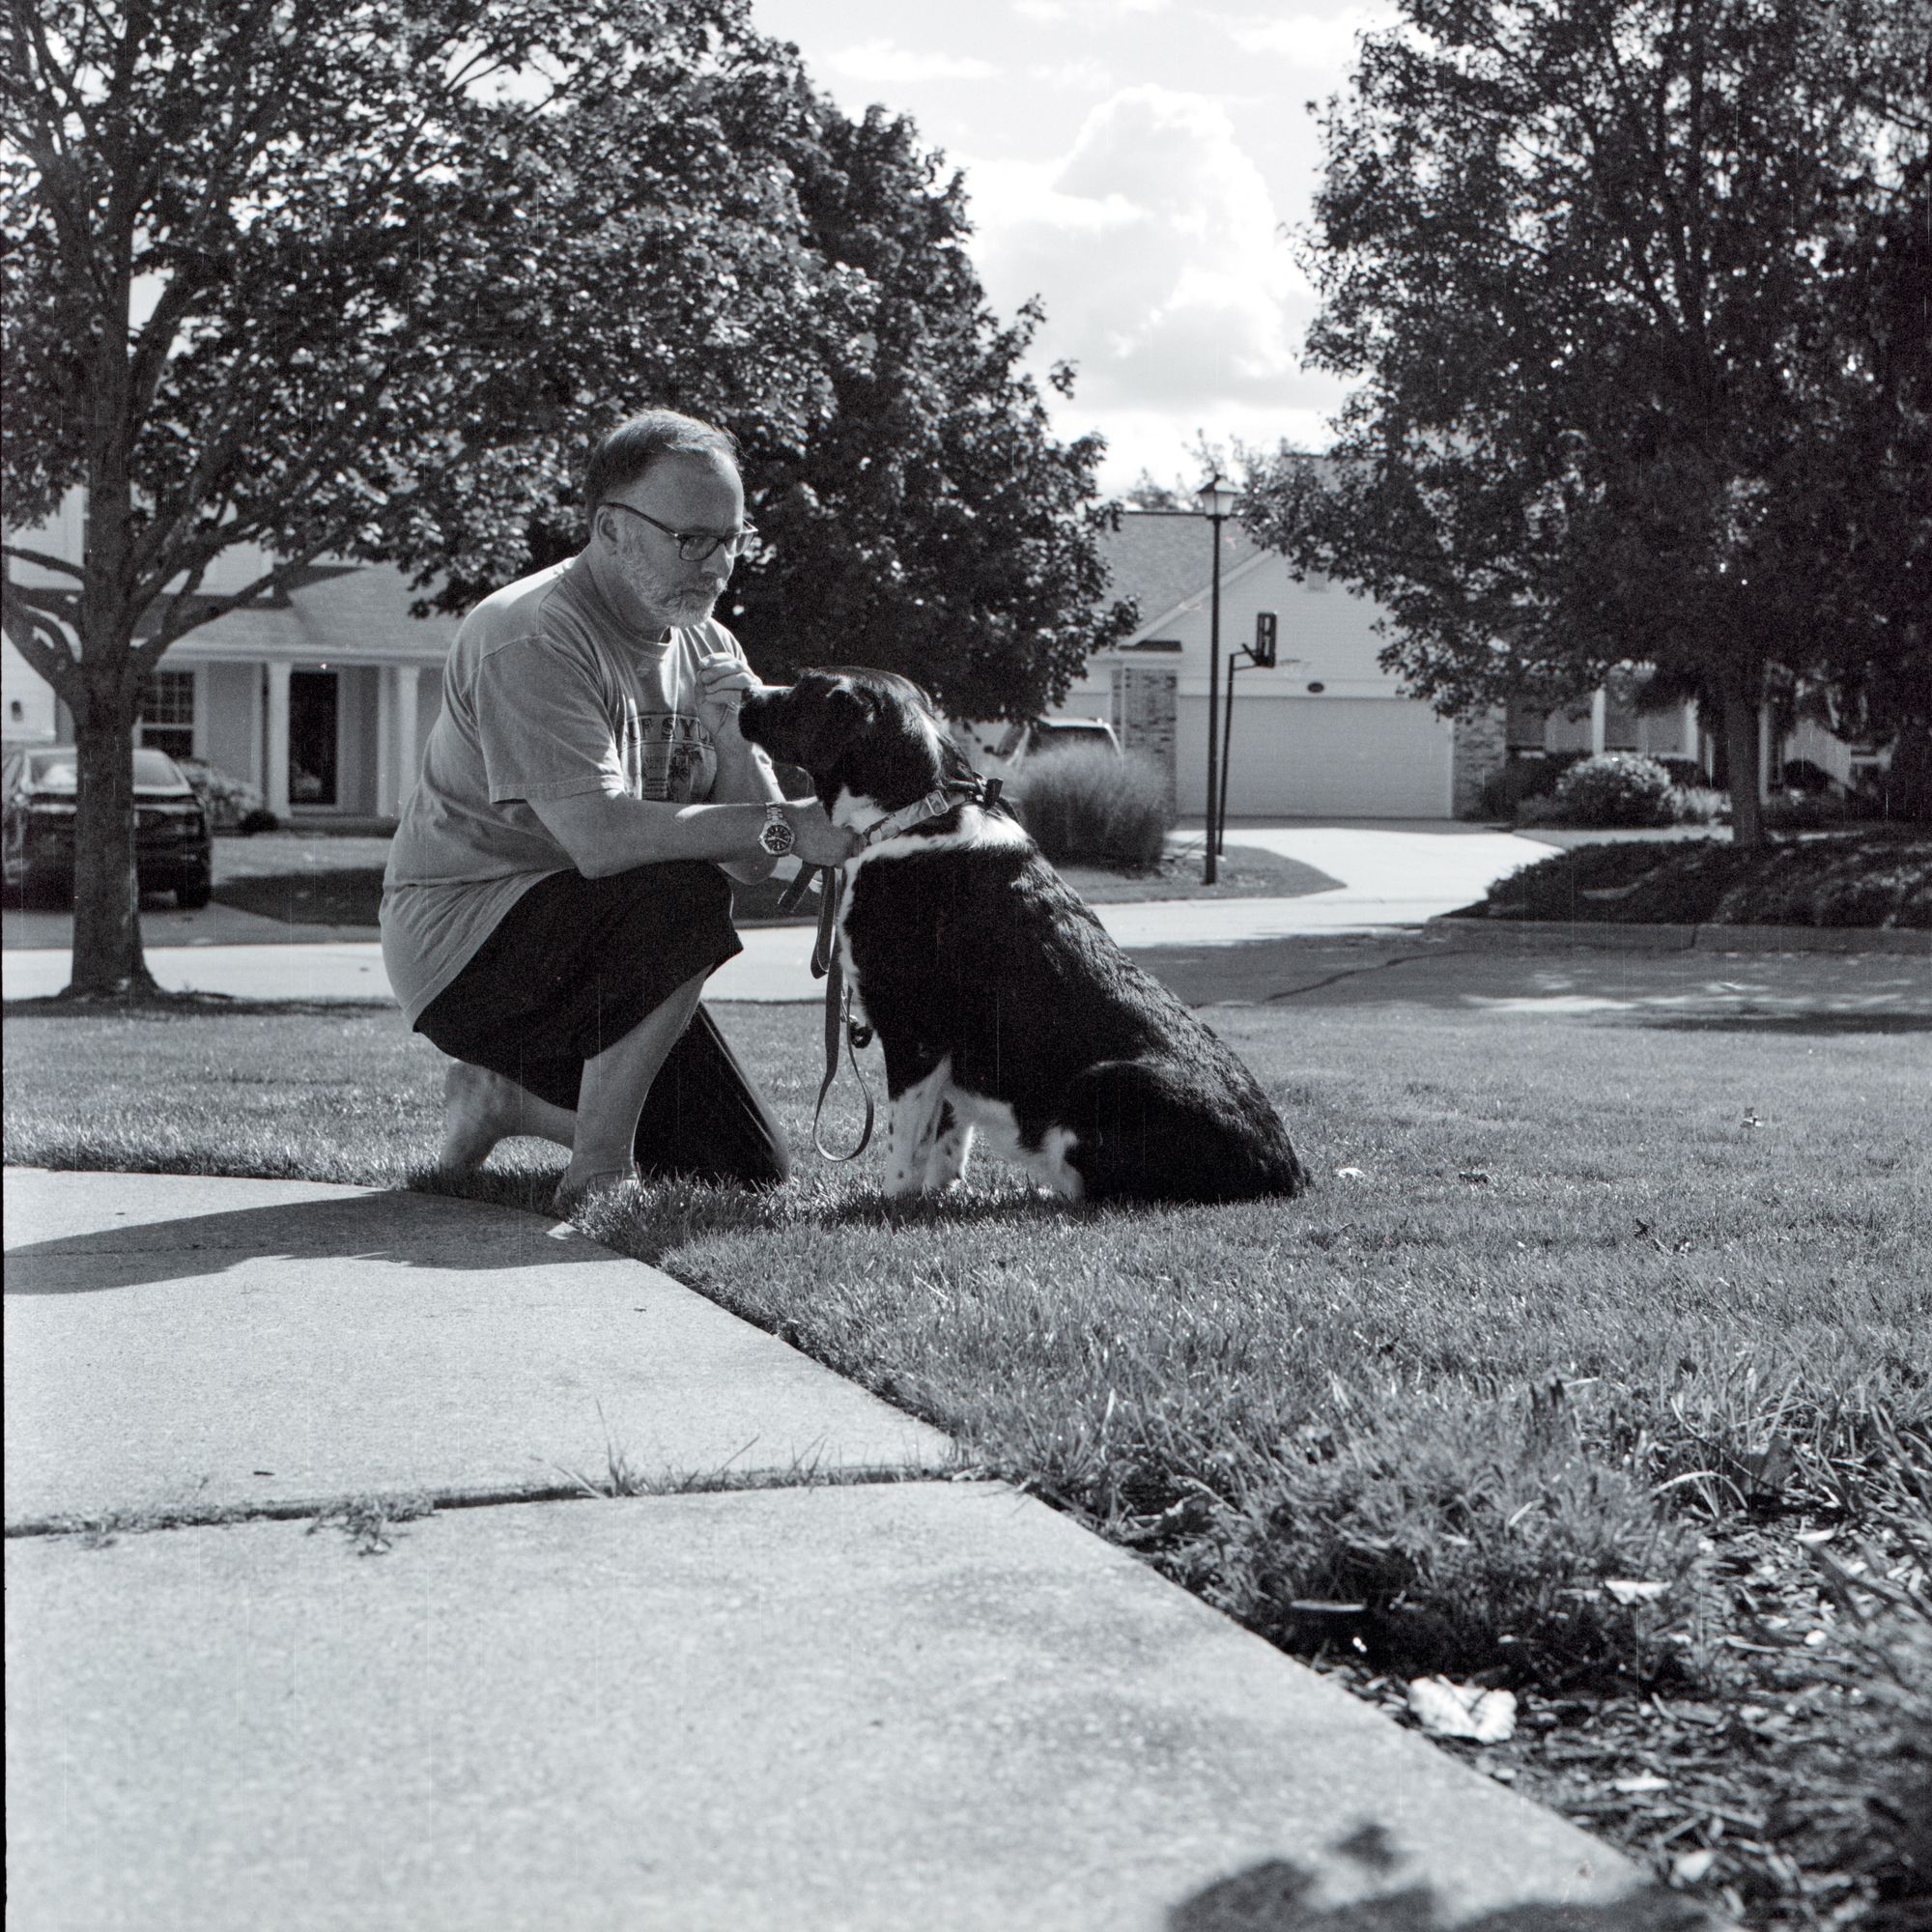
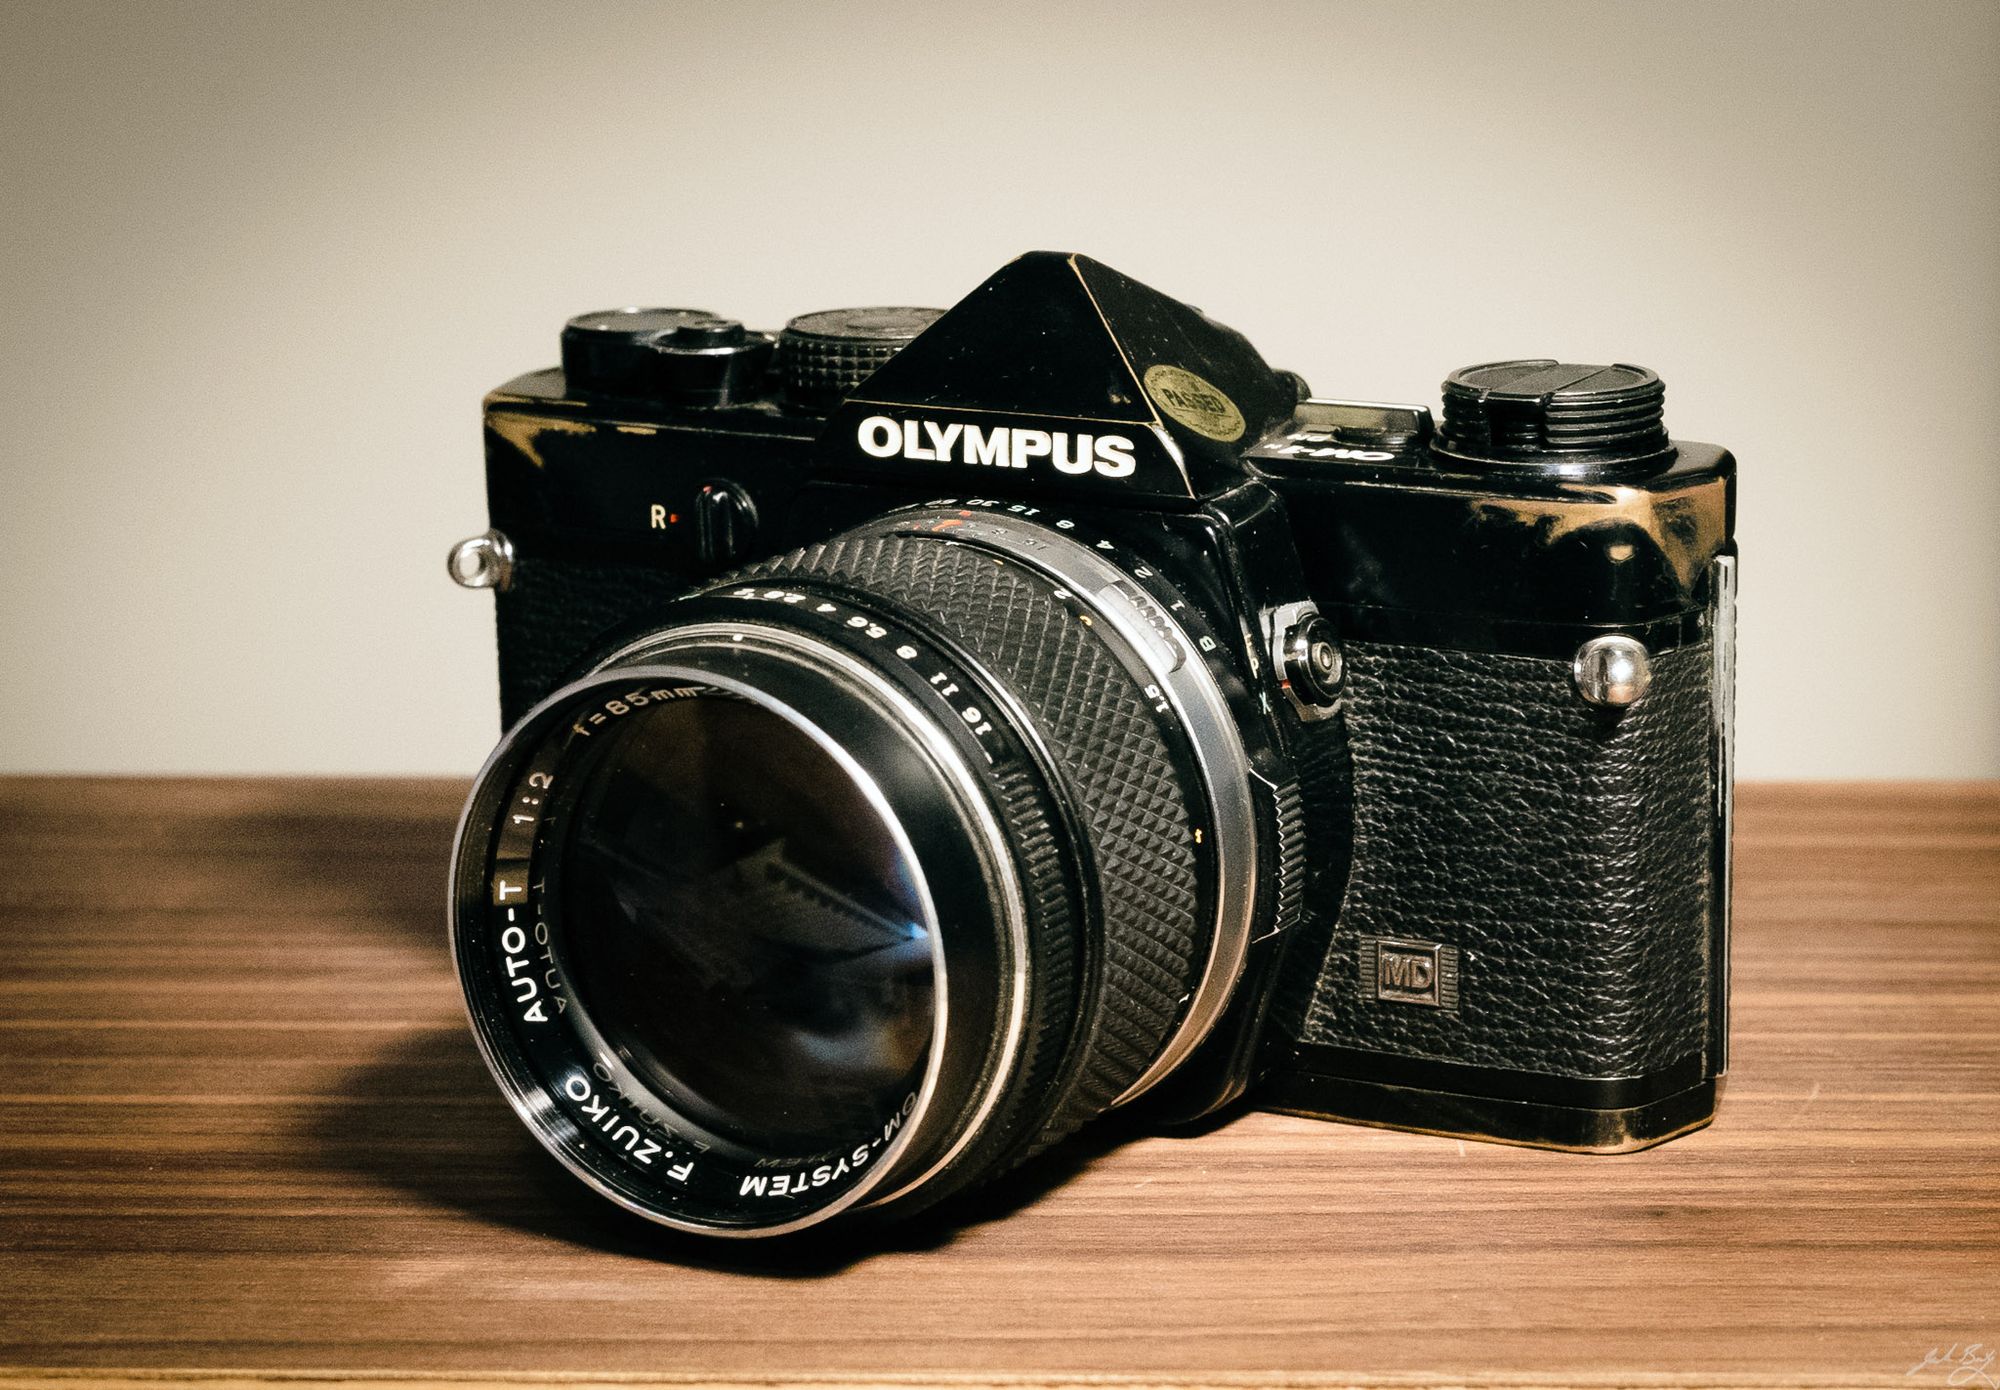
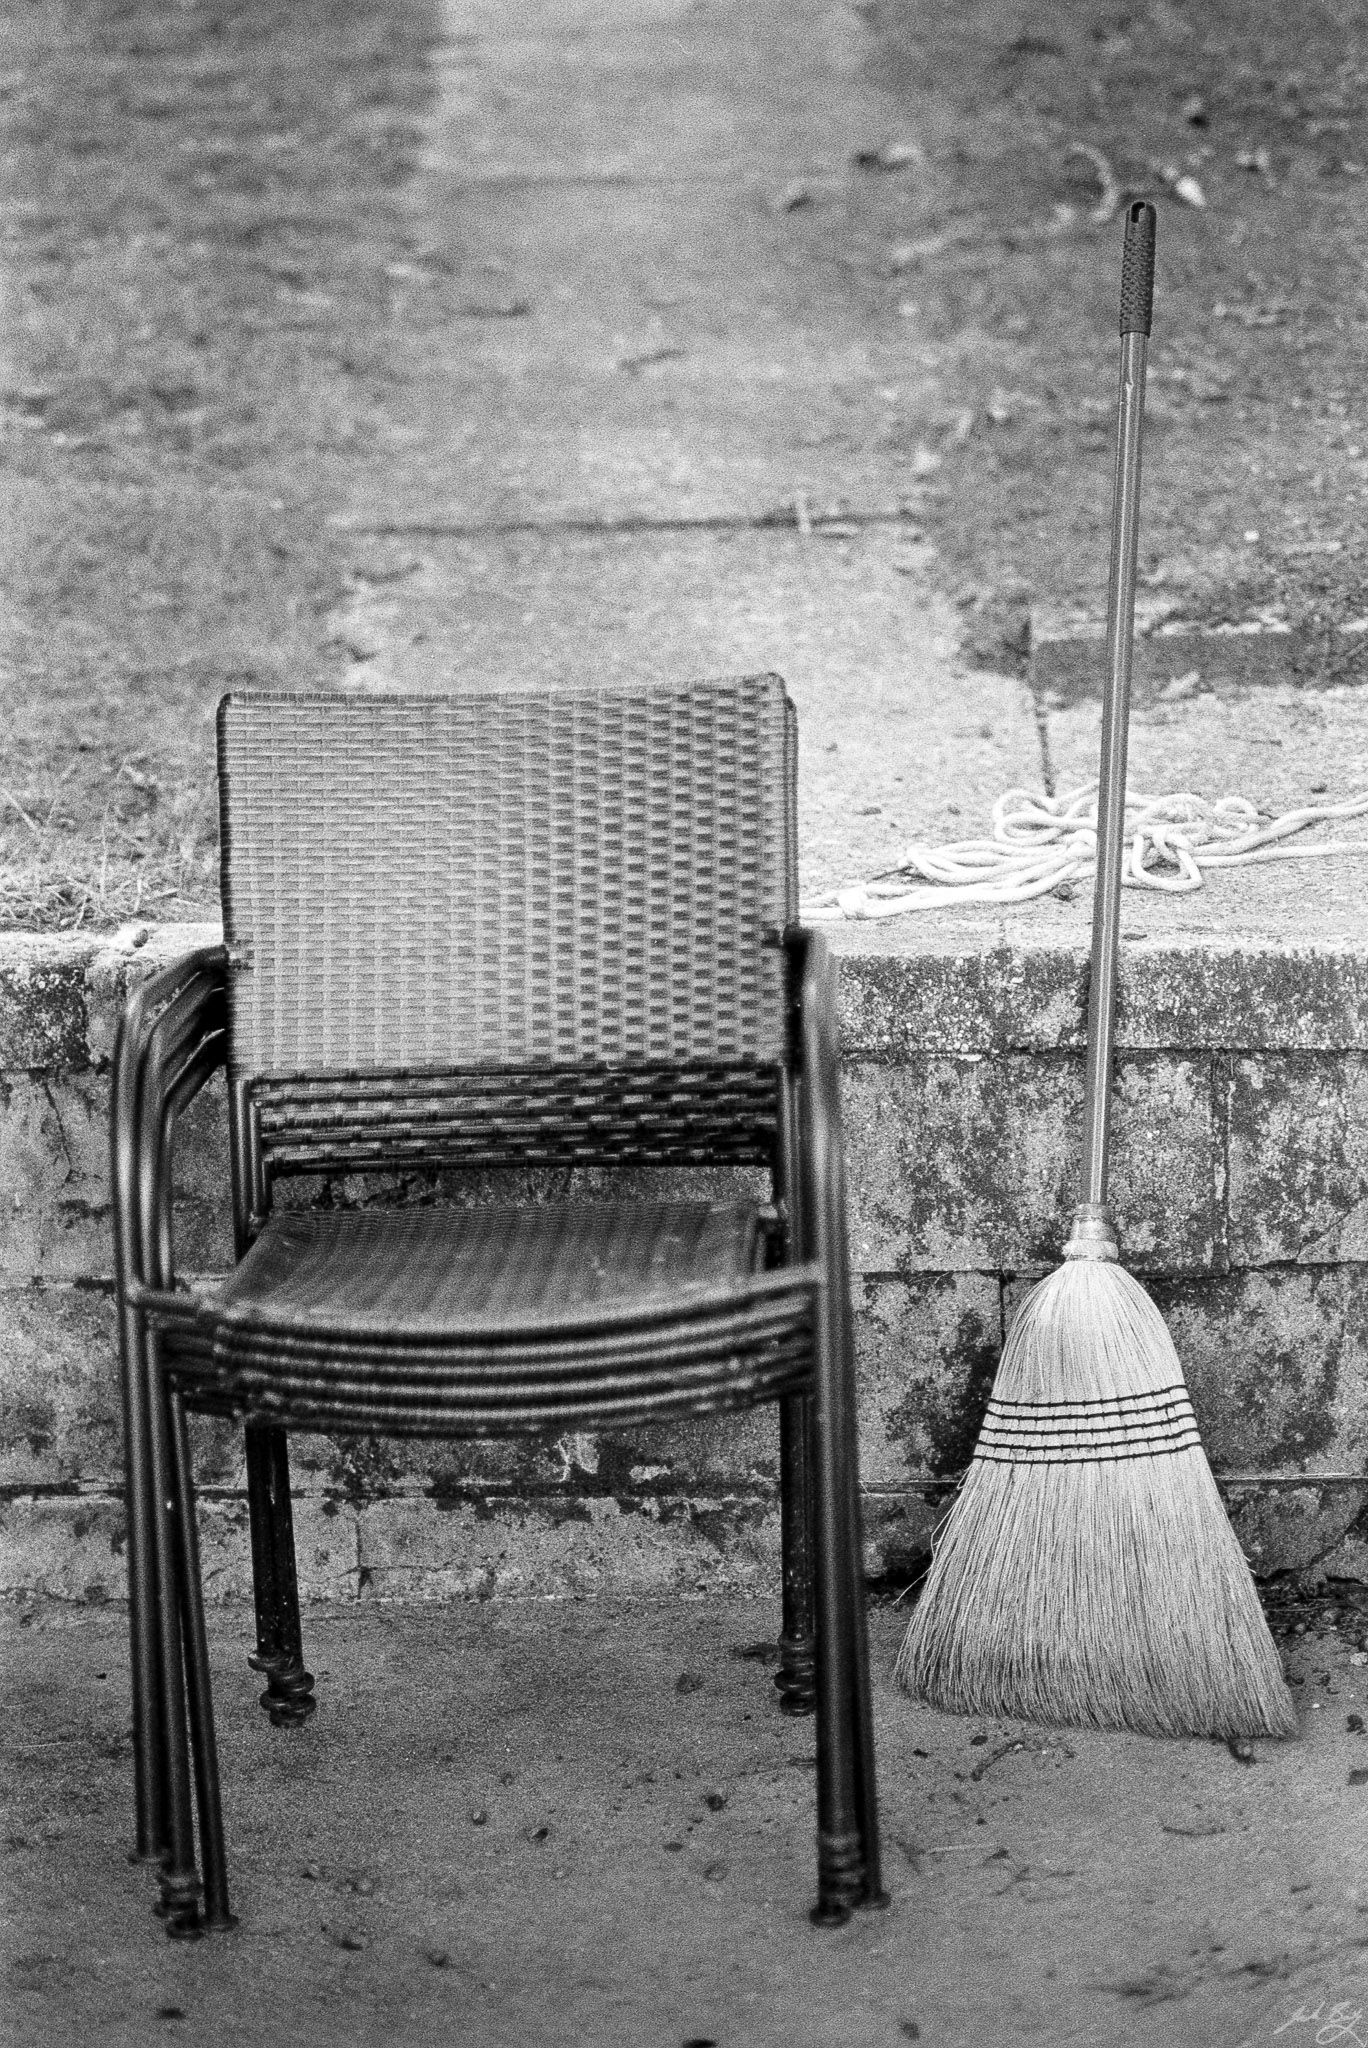
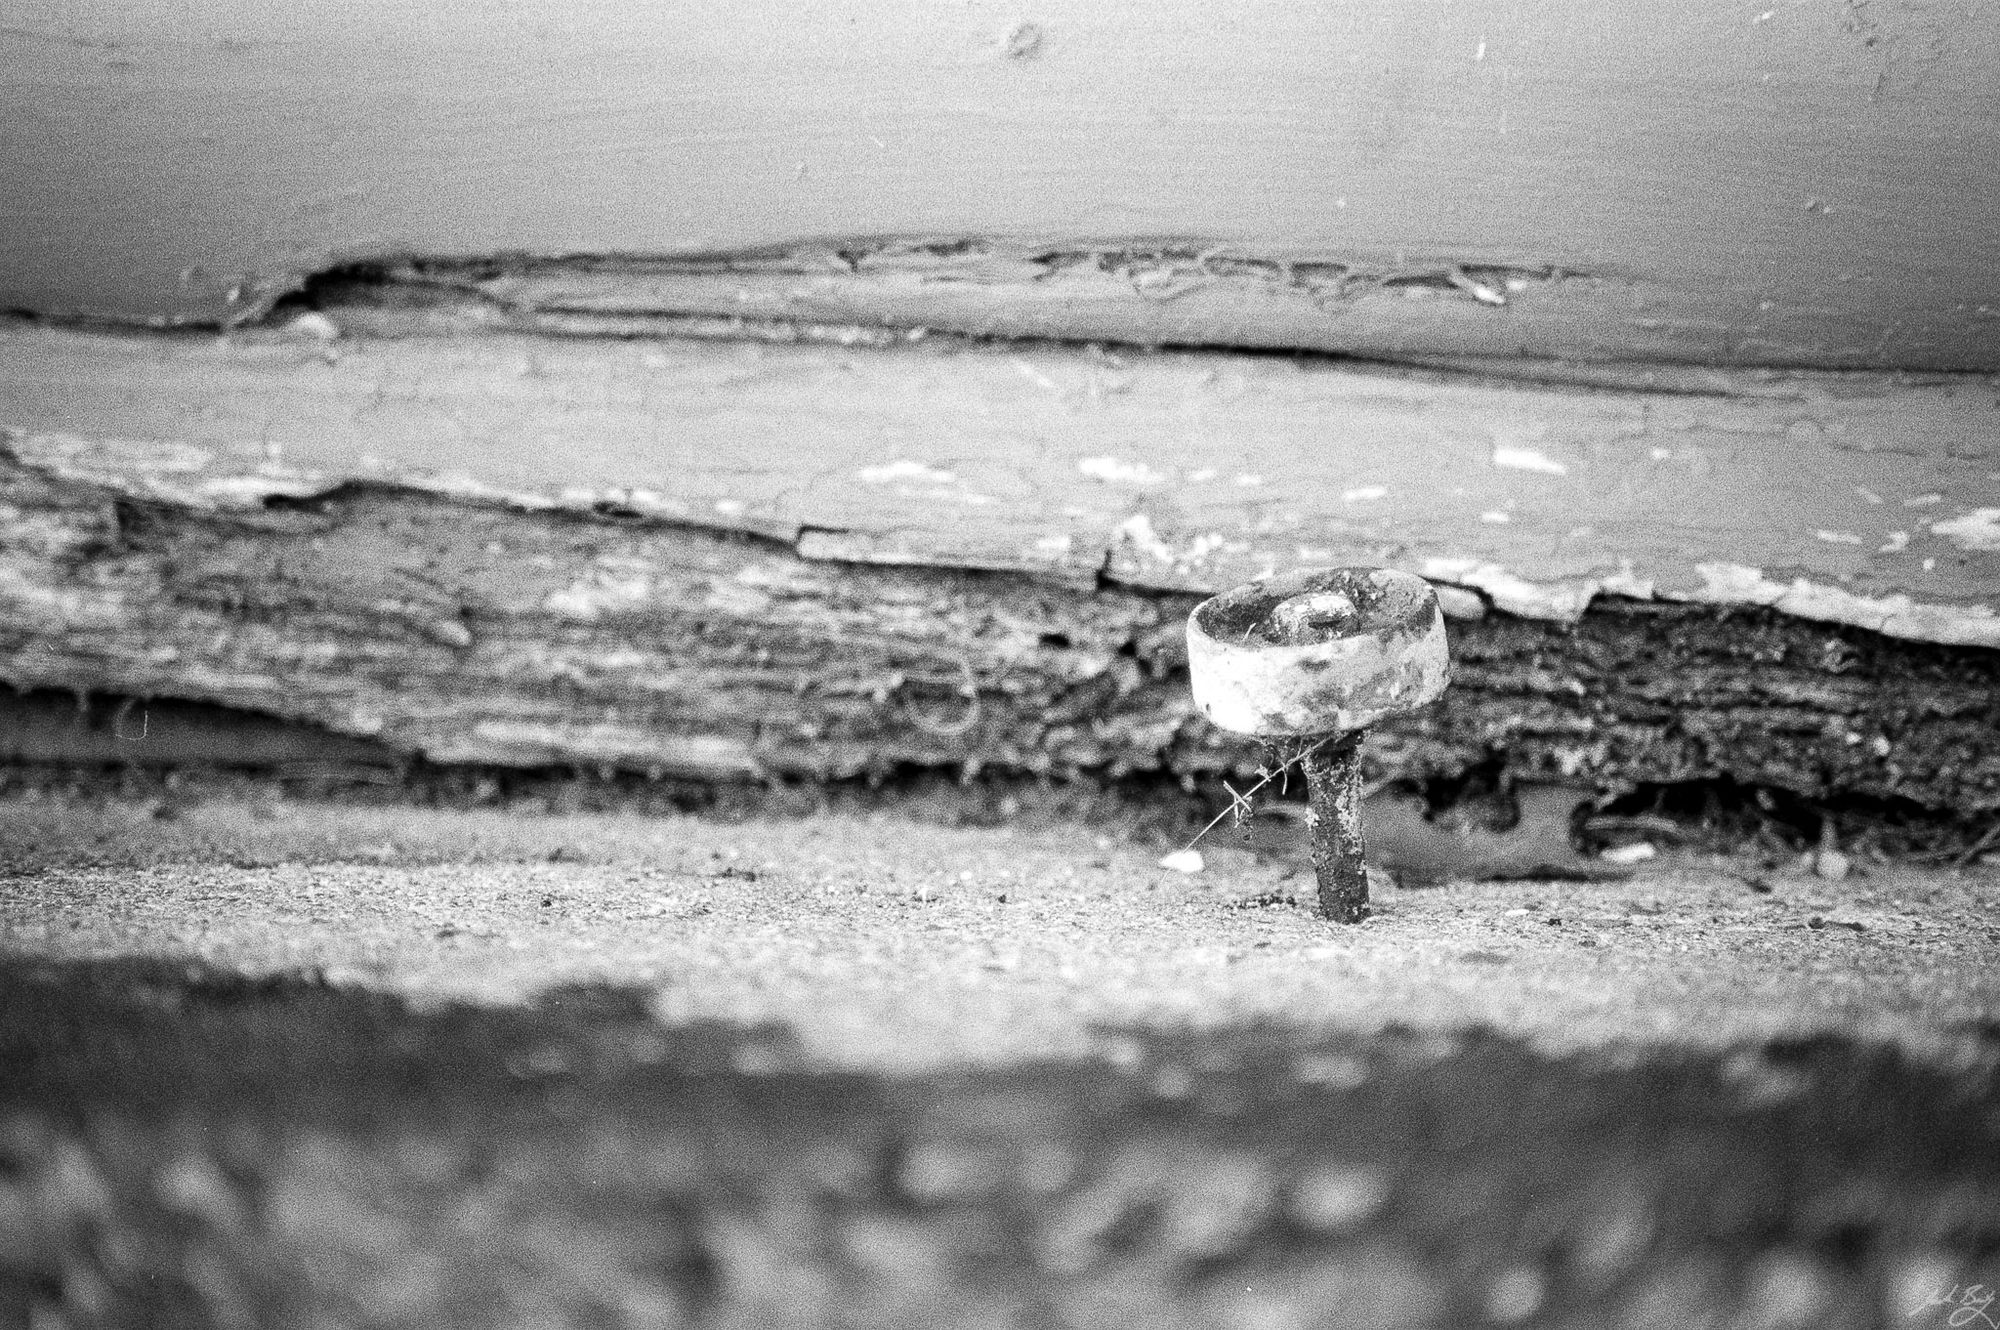
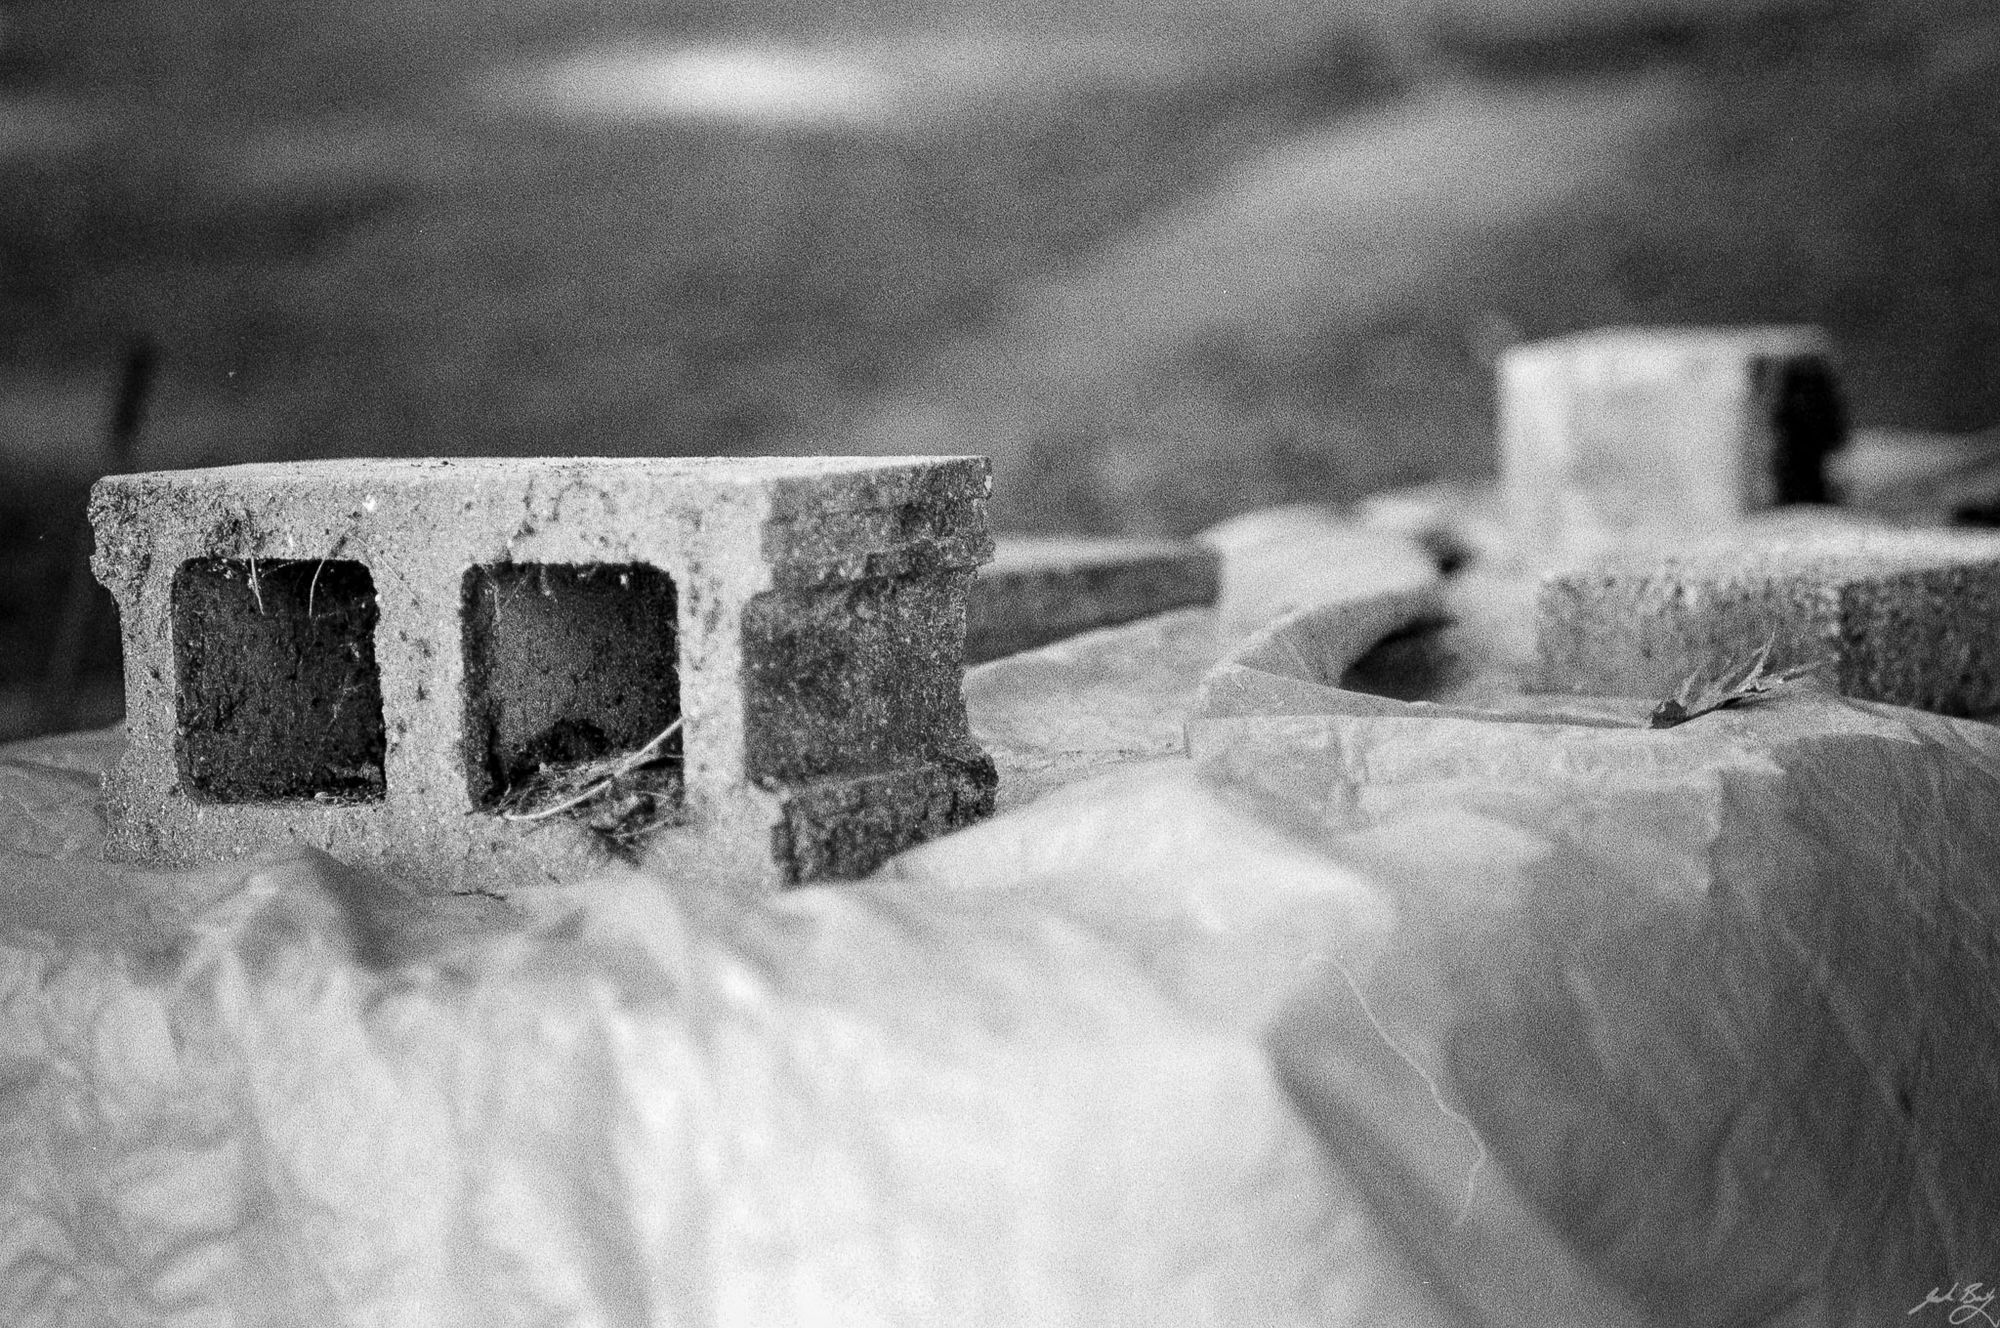
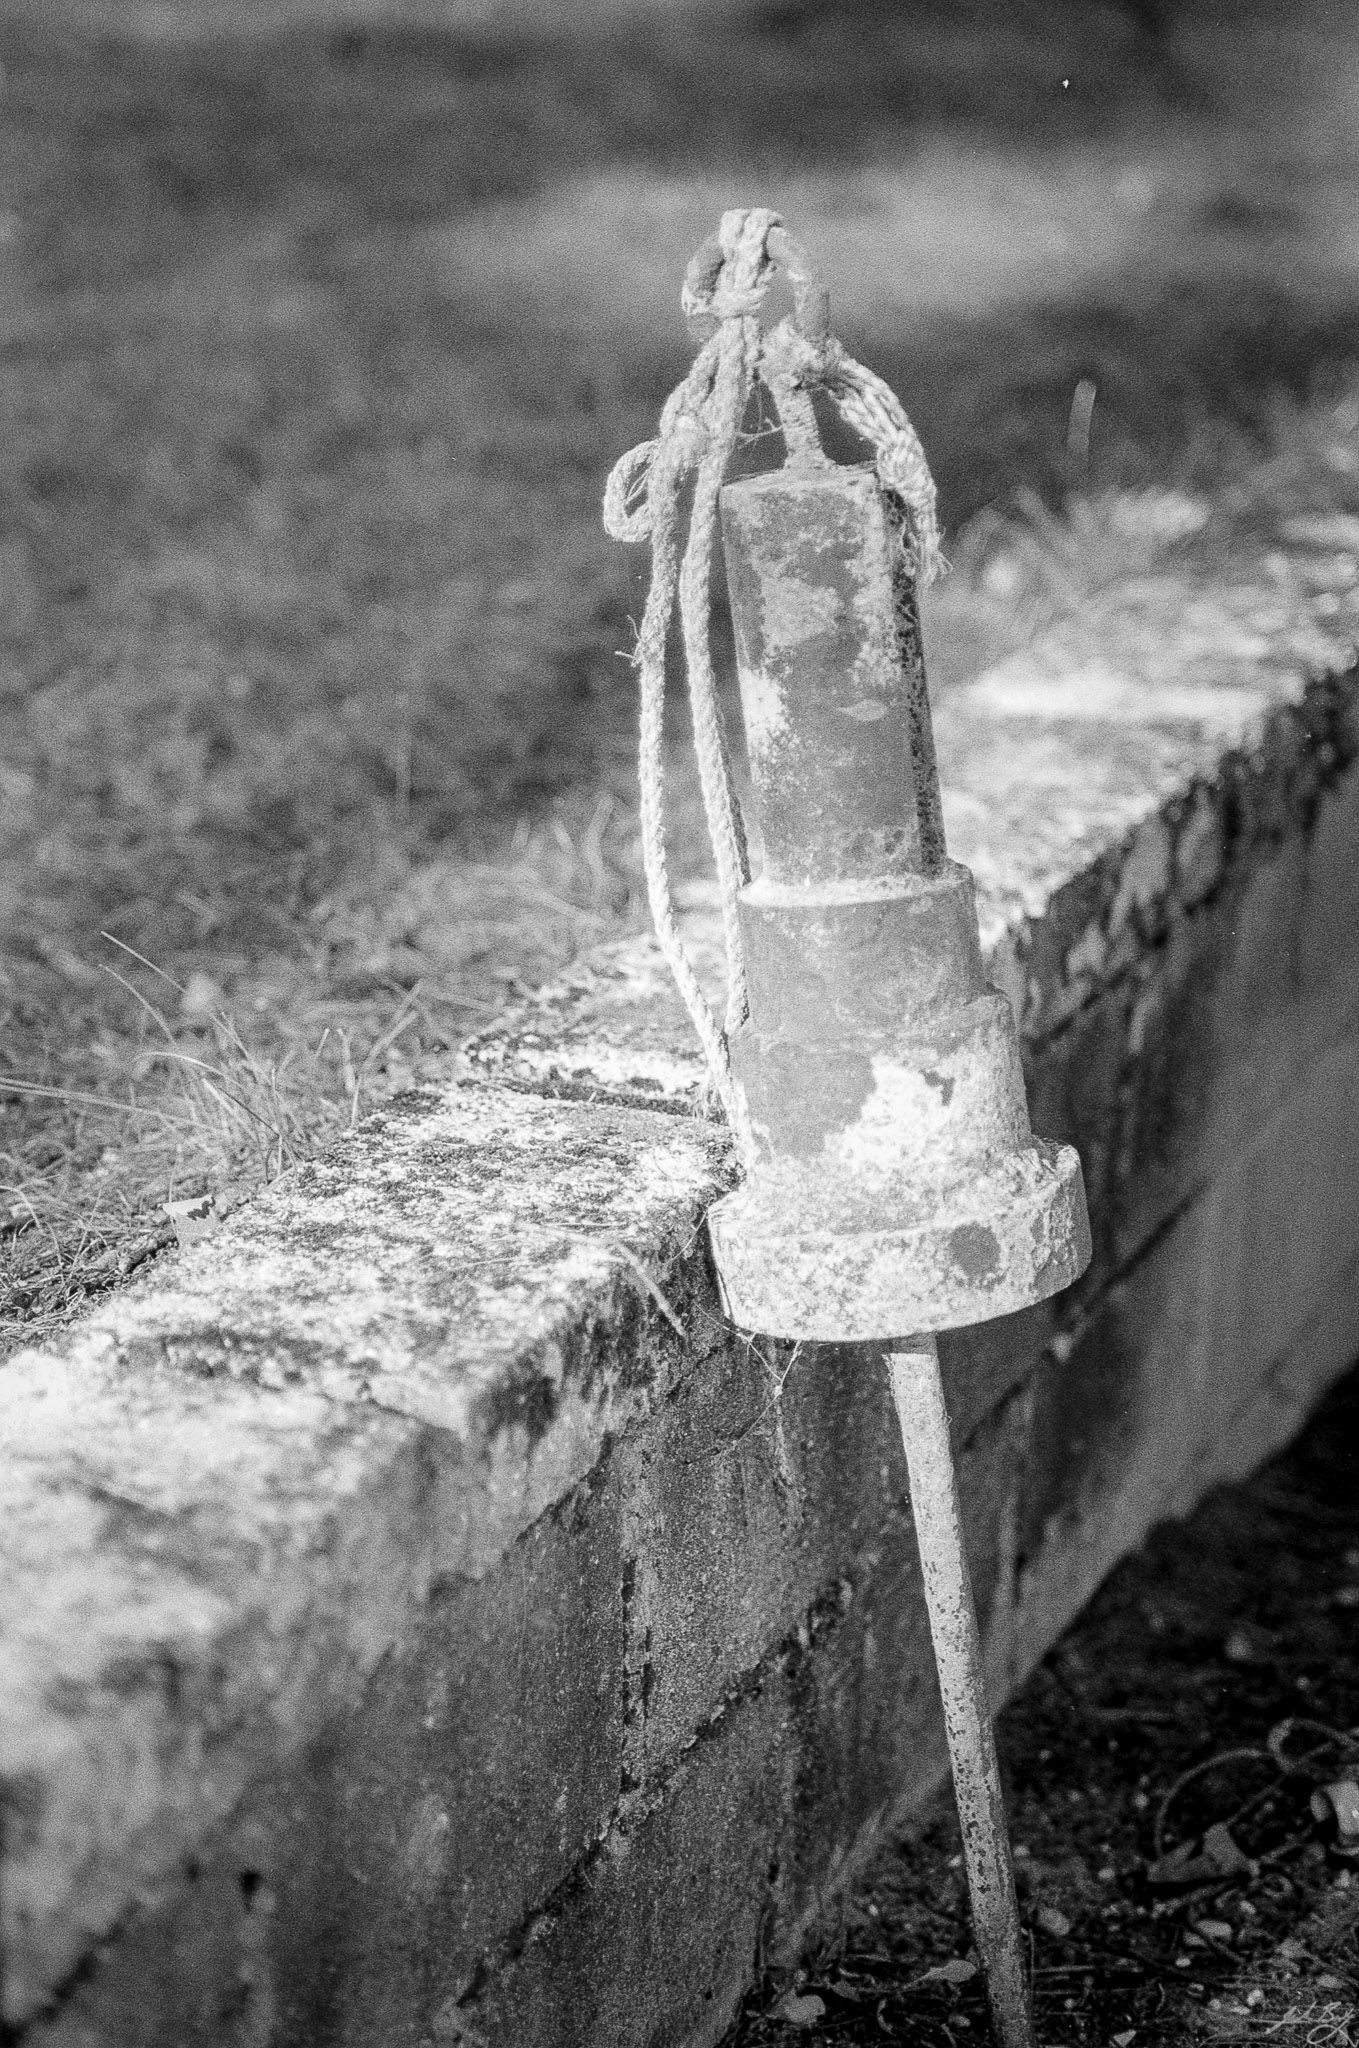
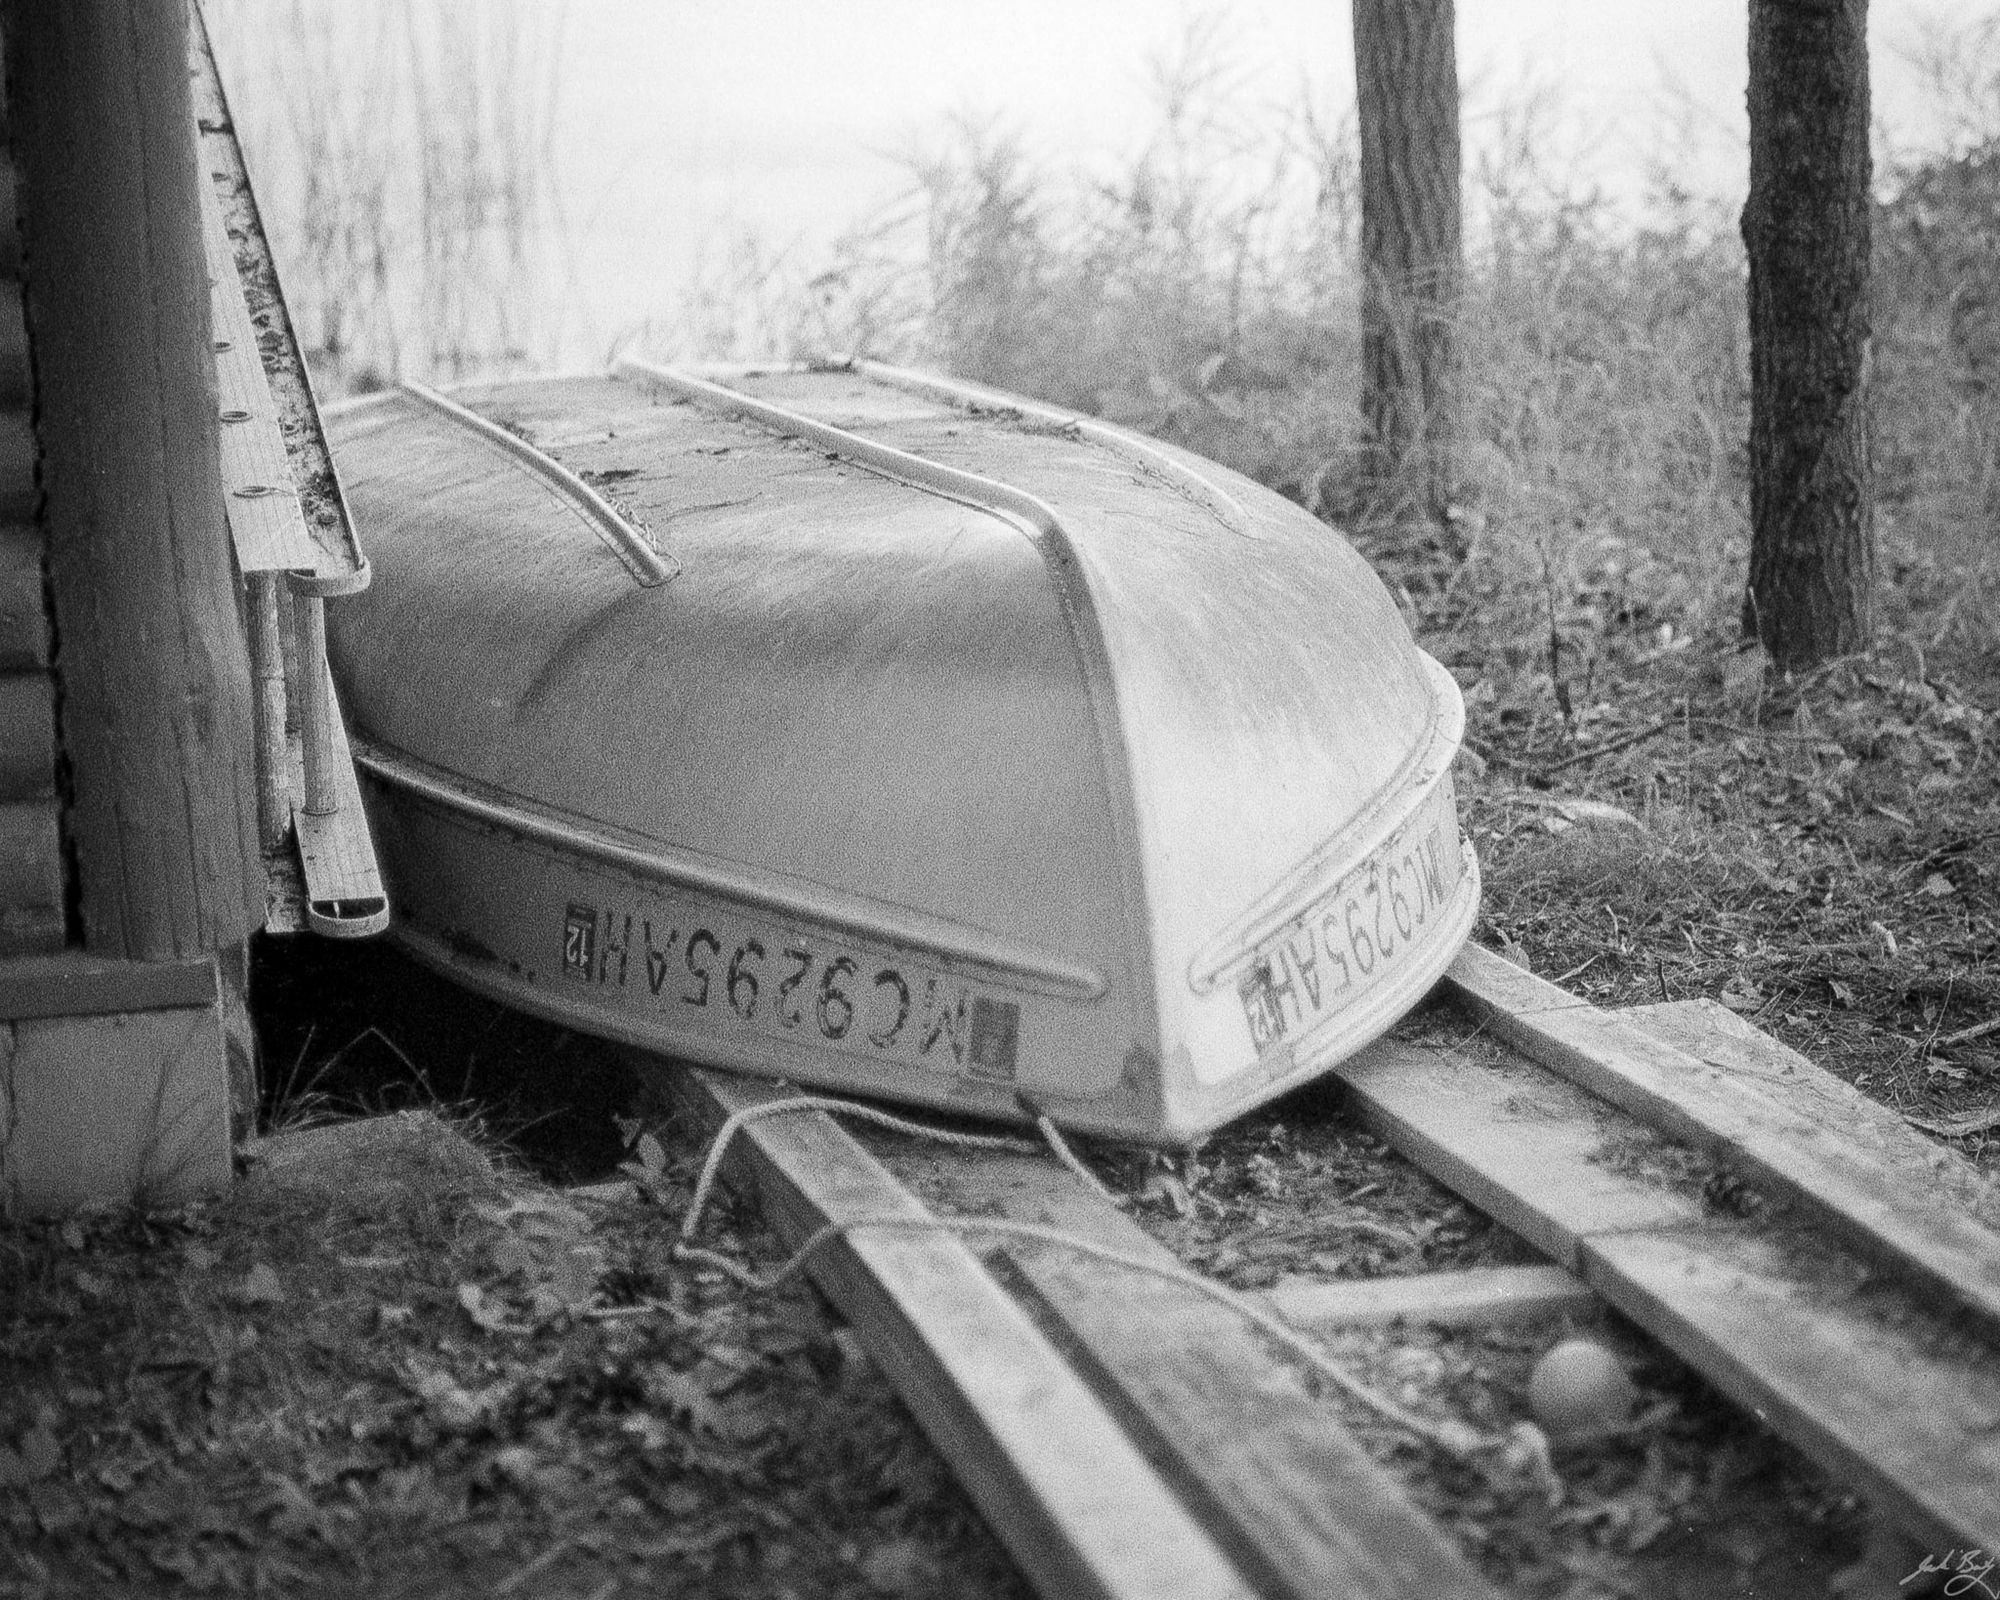
It had been a while since I used the Olympus OM-1n. The Zuiko 85mm f2.0 has been a favorite lens for a long time, so I put a roll through the kit while helping a friend take his boat and dock out of the water for the season.
Olympus OM-1n with Zuiko 85mm f/2.0
The OM’s viewfinder is still one of the biggest and brightest I’ve ever used. The camera itself is actually smaller than a Leica M. It’s a great setup. Here are a few highlights from the roll.
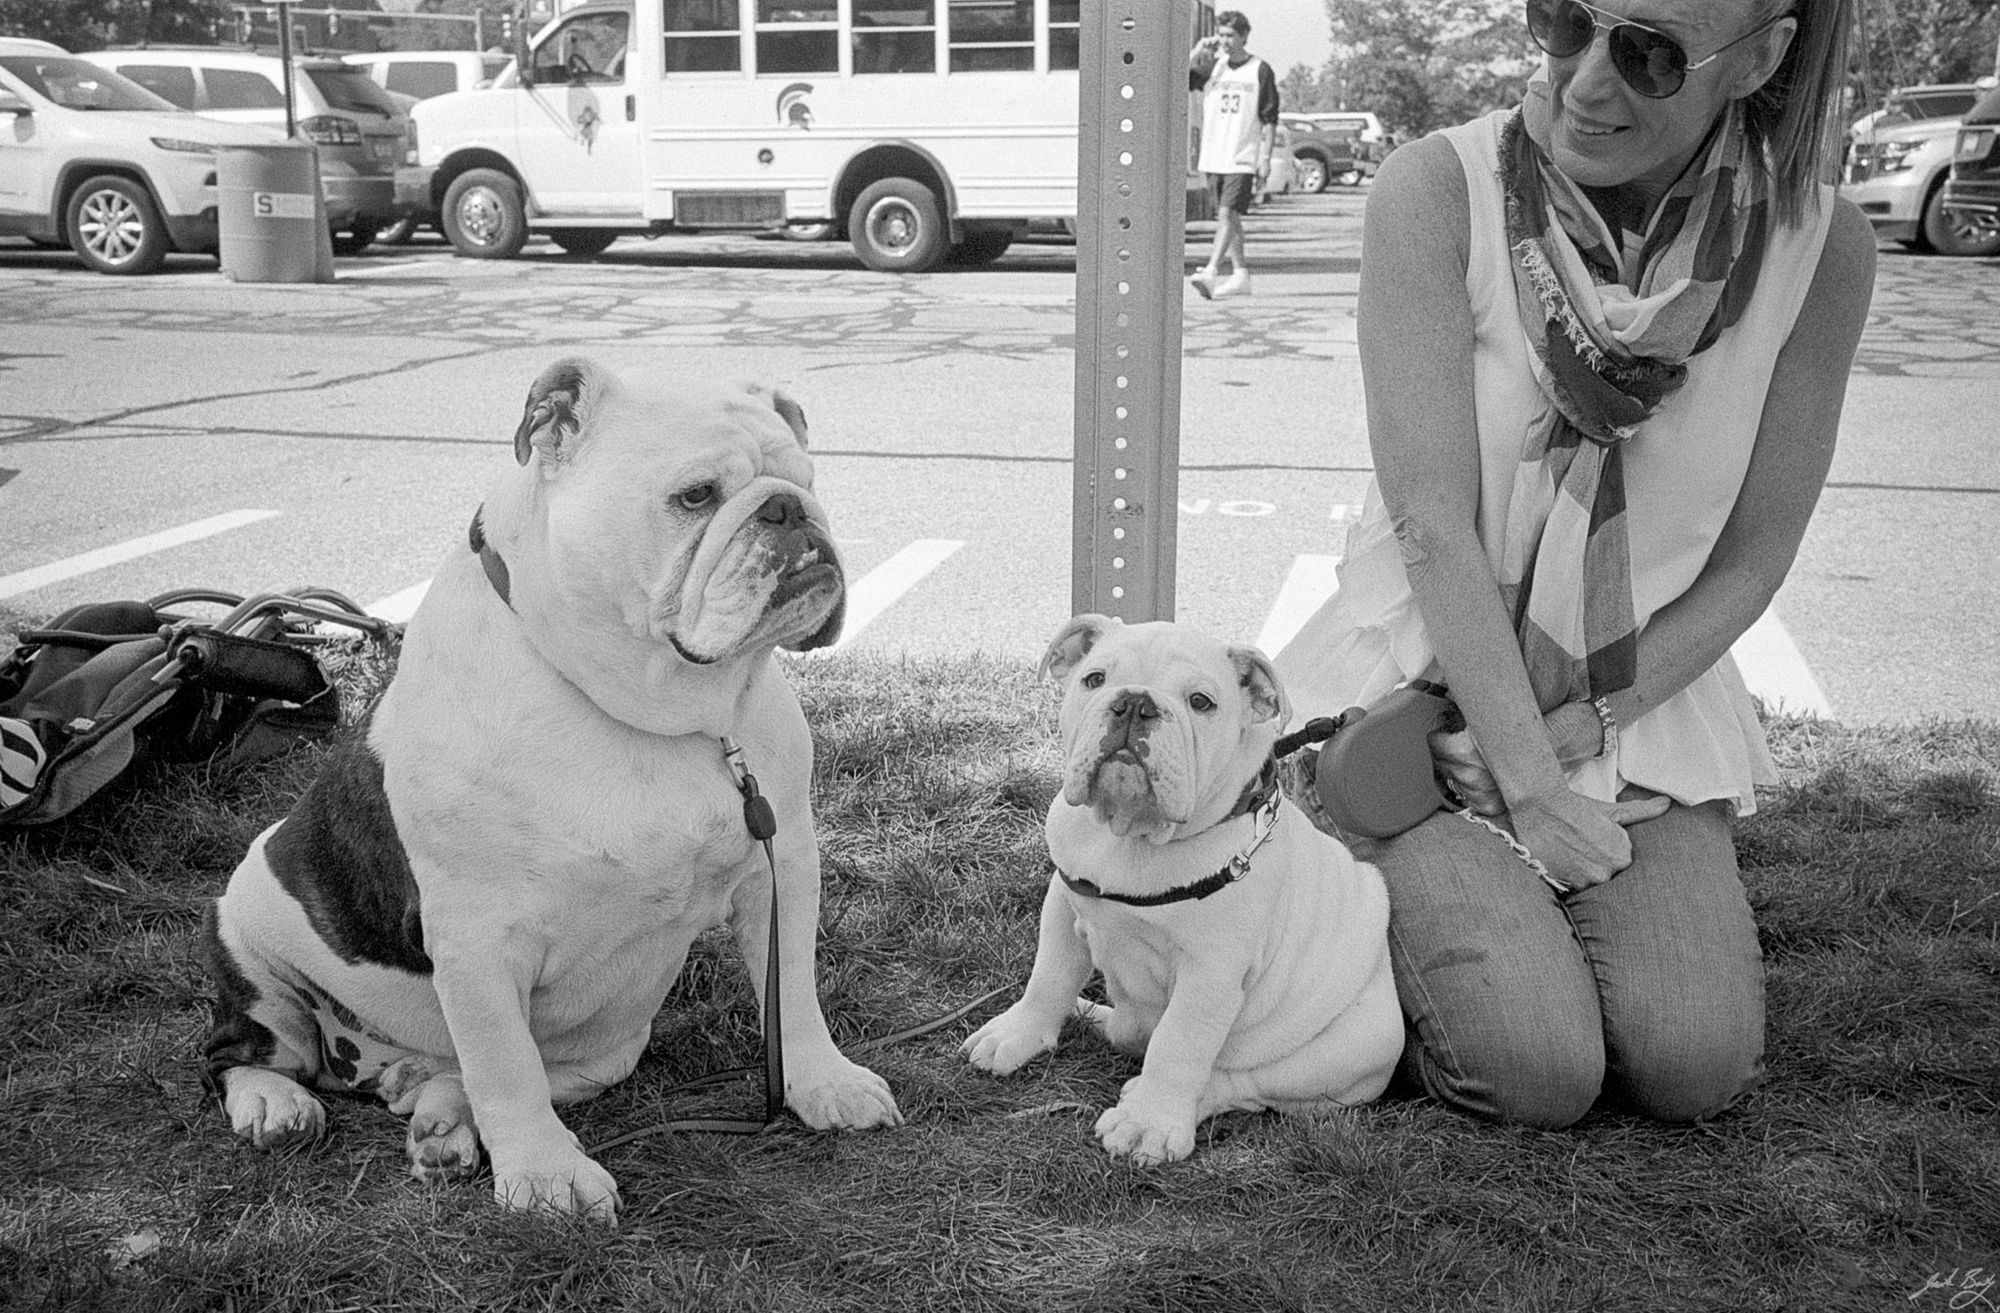
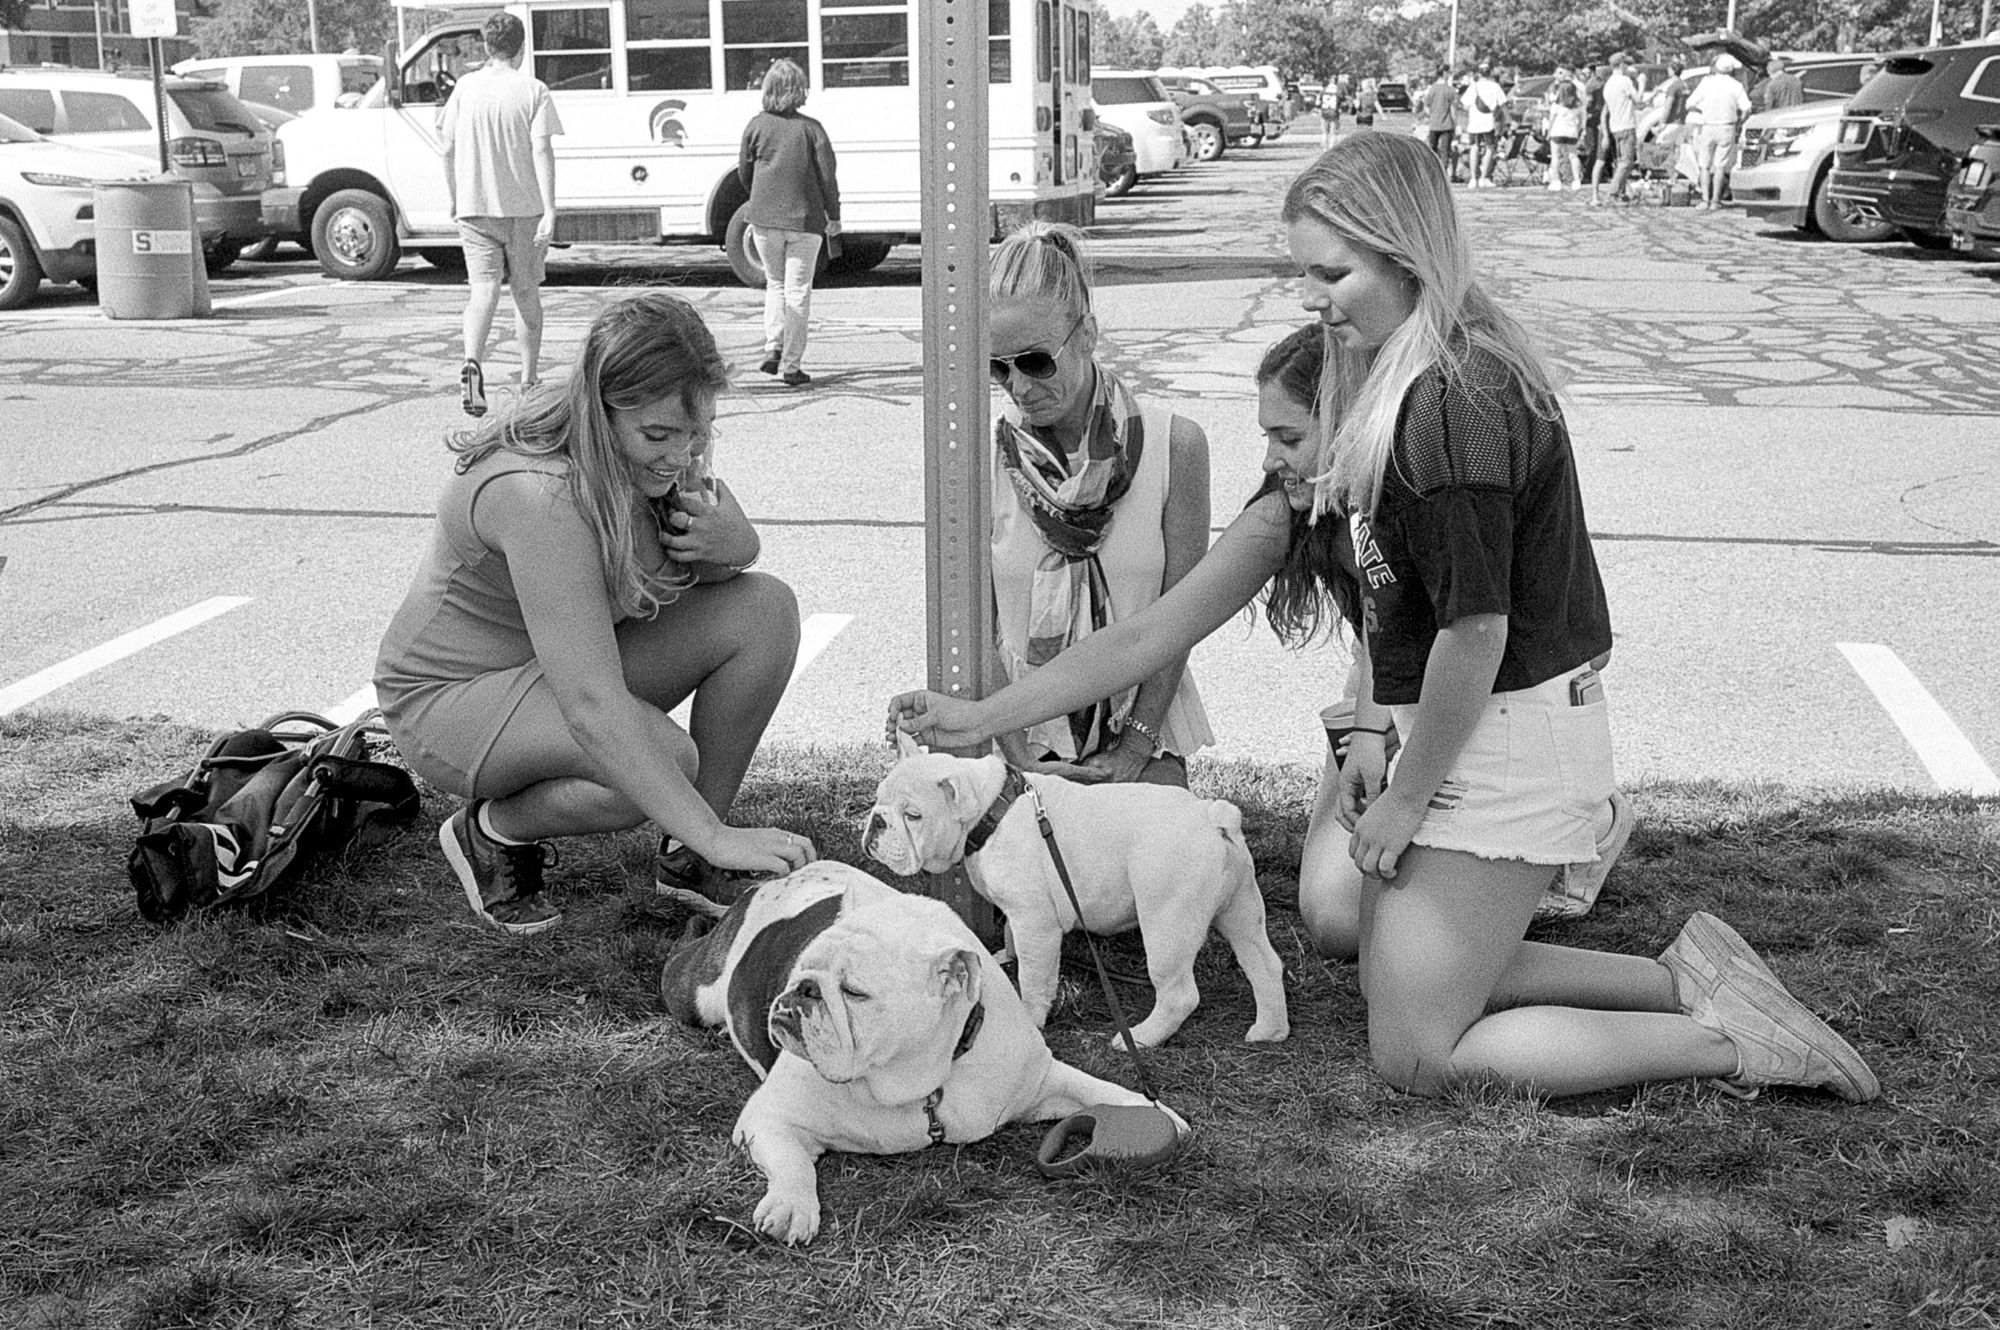
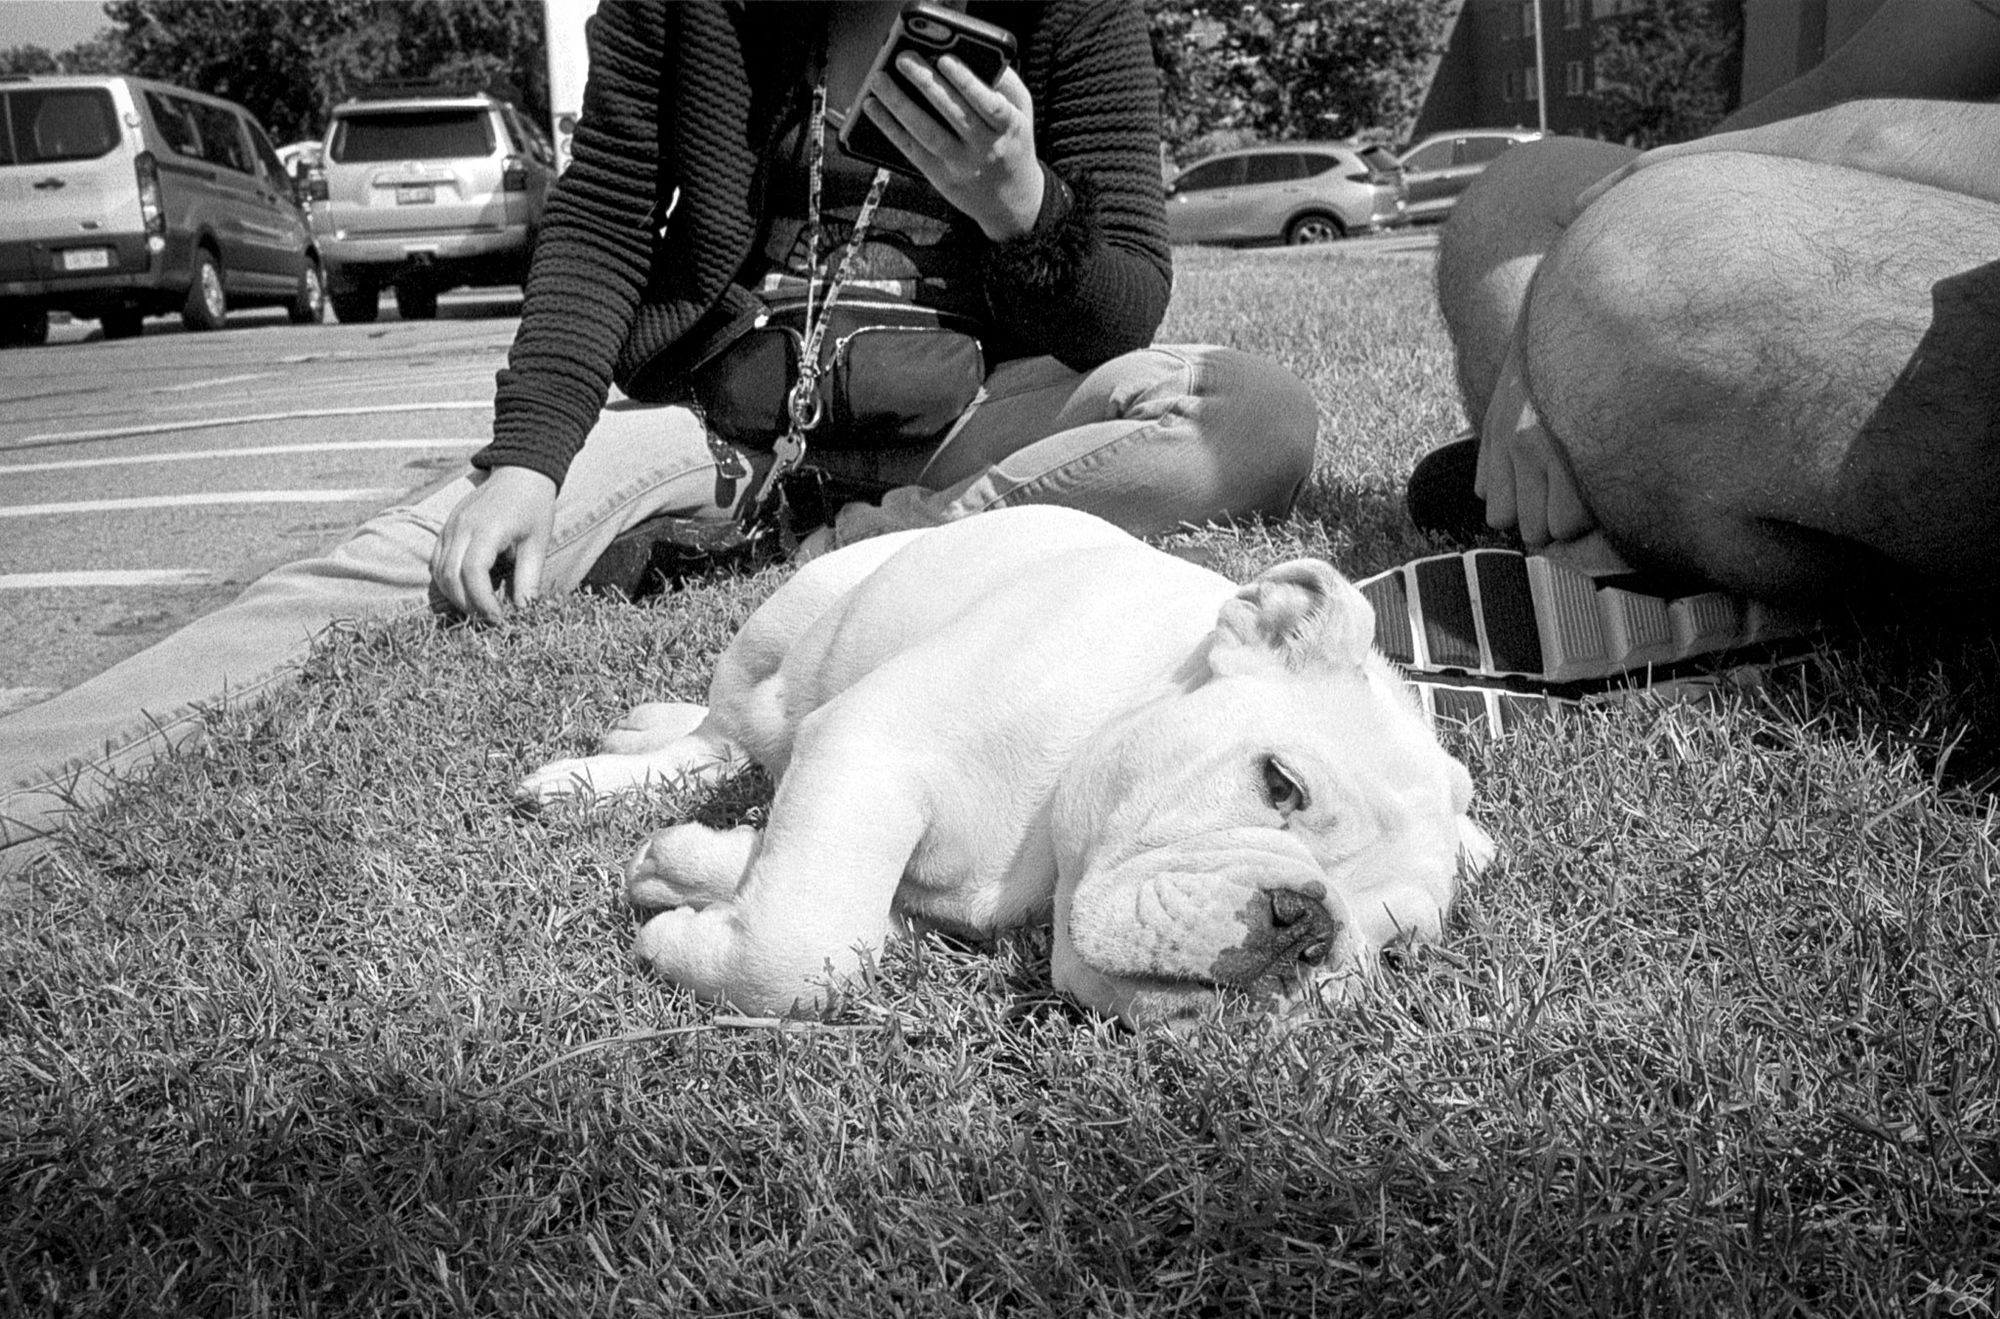
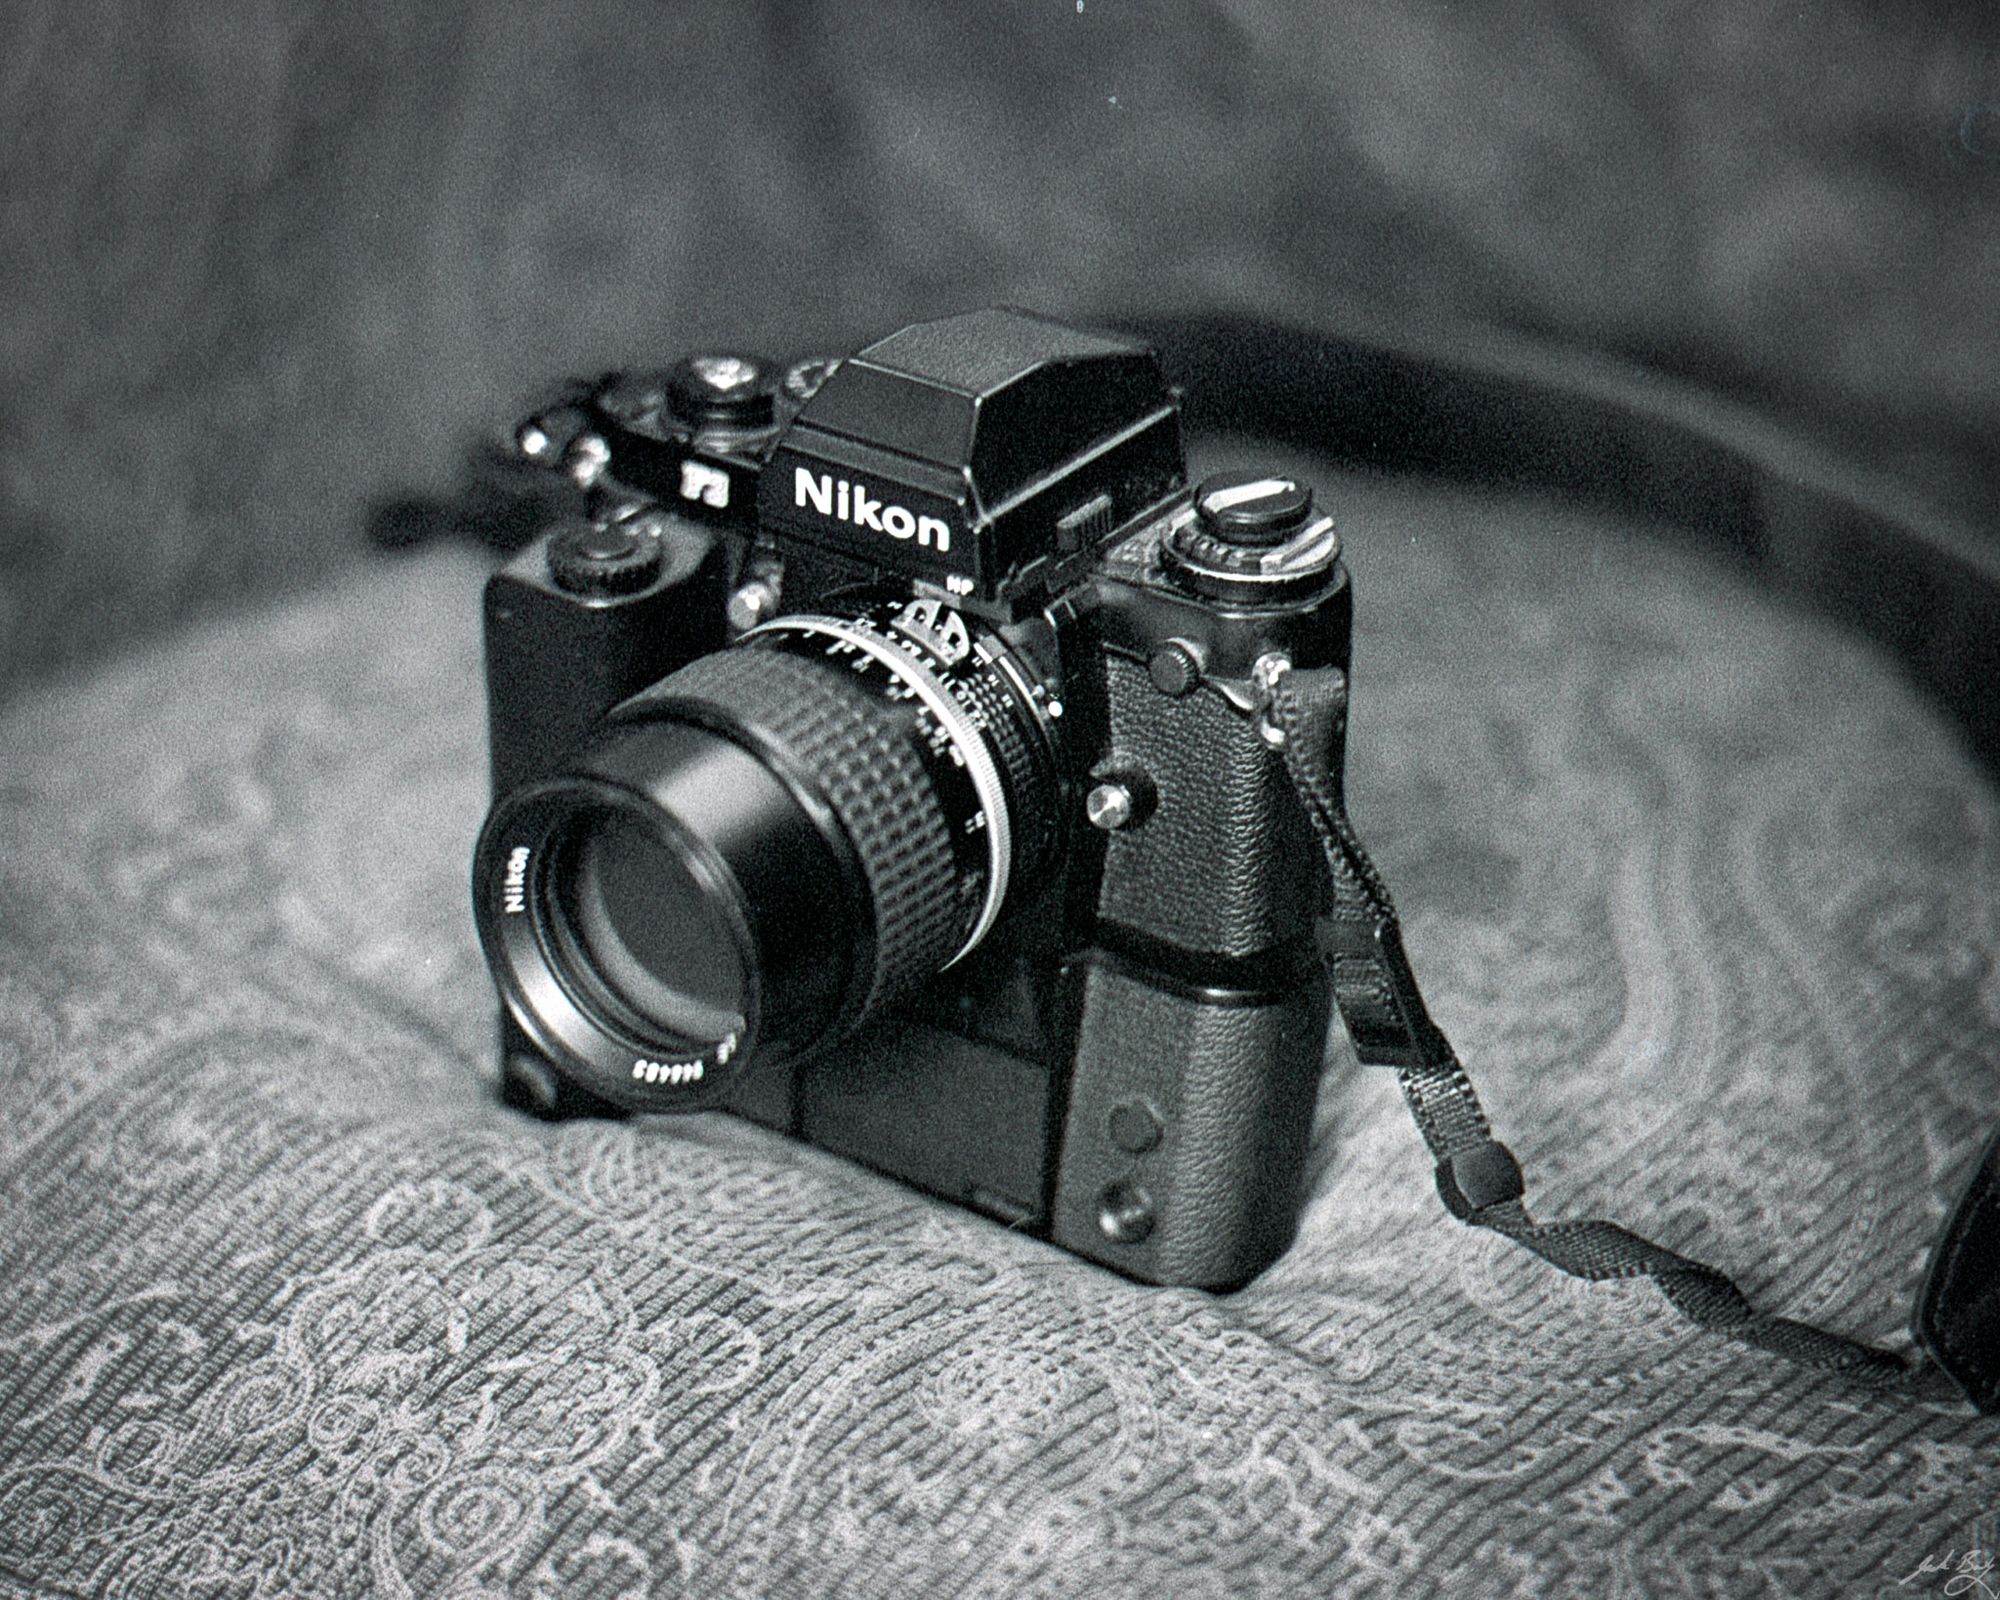
Steve and ChuckThe dogs were very popular, especially Chuck, the puppyMaybe too creepery, but I thought it was a beautiful and powerful configuration.Charlie was tuckered_25.jpg 600w, /img/size/w1000/2021/09/2021-Roll-031_25.jpg 1000w, /img/size/w1600/2021/09/2021-Roll-031_25.jpg 1600w, /img/2021/09/2021-Roll-031_25.jpg 2048w" sizes="(min-width: 1200px) 1200px" />My Nikon F3HP and motor drive_40.jpg 600w, /img/size/w1000/2021/09/2021-Roll-031_40.jpg 1000w, /img/size/w1600/2021/09/2021-Roll-031_40.jpg 1600w, /img/2021/09/2021-Roll-031_40.jpg 2048w" sizes="(min-width: 1200px) 1200px" />Megan and Aidan_55.jpg 600w, /img/size/w1000/2021/09/2021-Roll-031_55.jpg 1000w, /img/size/w1600/2021/09/2021-Roll-031_55.jpg 1600w, /img/2021/09/2021-Roll-031_55.jpg 2048w" sizes="(min-width: 1200px) 1200px" />Megan, Chuck, and Aidan
I had an expired (in 2006) roll of Kodak BW400CN (C-41) film in 120 so I figured I didn’t have much to lose. The film looks ok, but the camera scratched the hell out of it on the way through. And the frame spacing was all over the place, including a couple of frames with no space between them.
The old Autocord was fun to shoot, but I think it’s time for it to retire. It looks cool on the shelf, so that’s something.
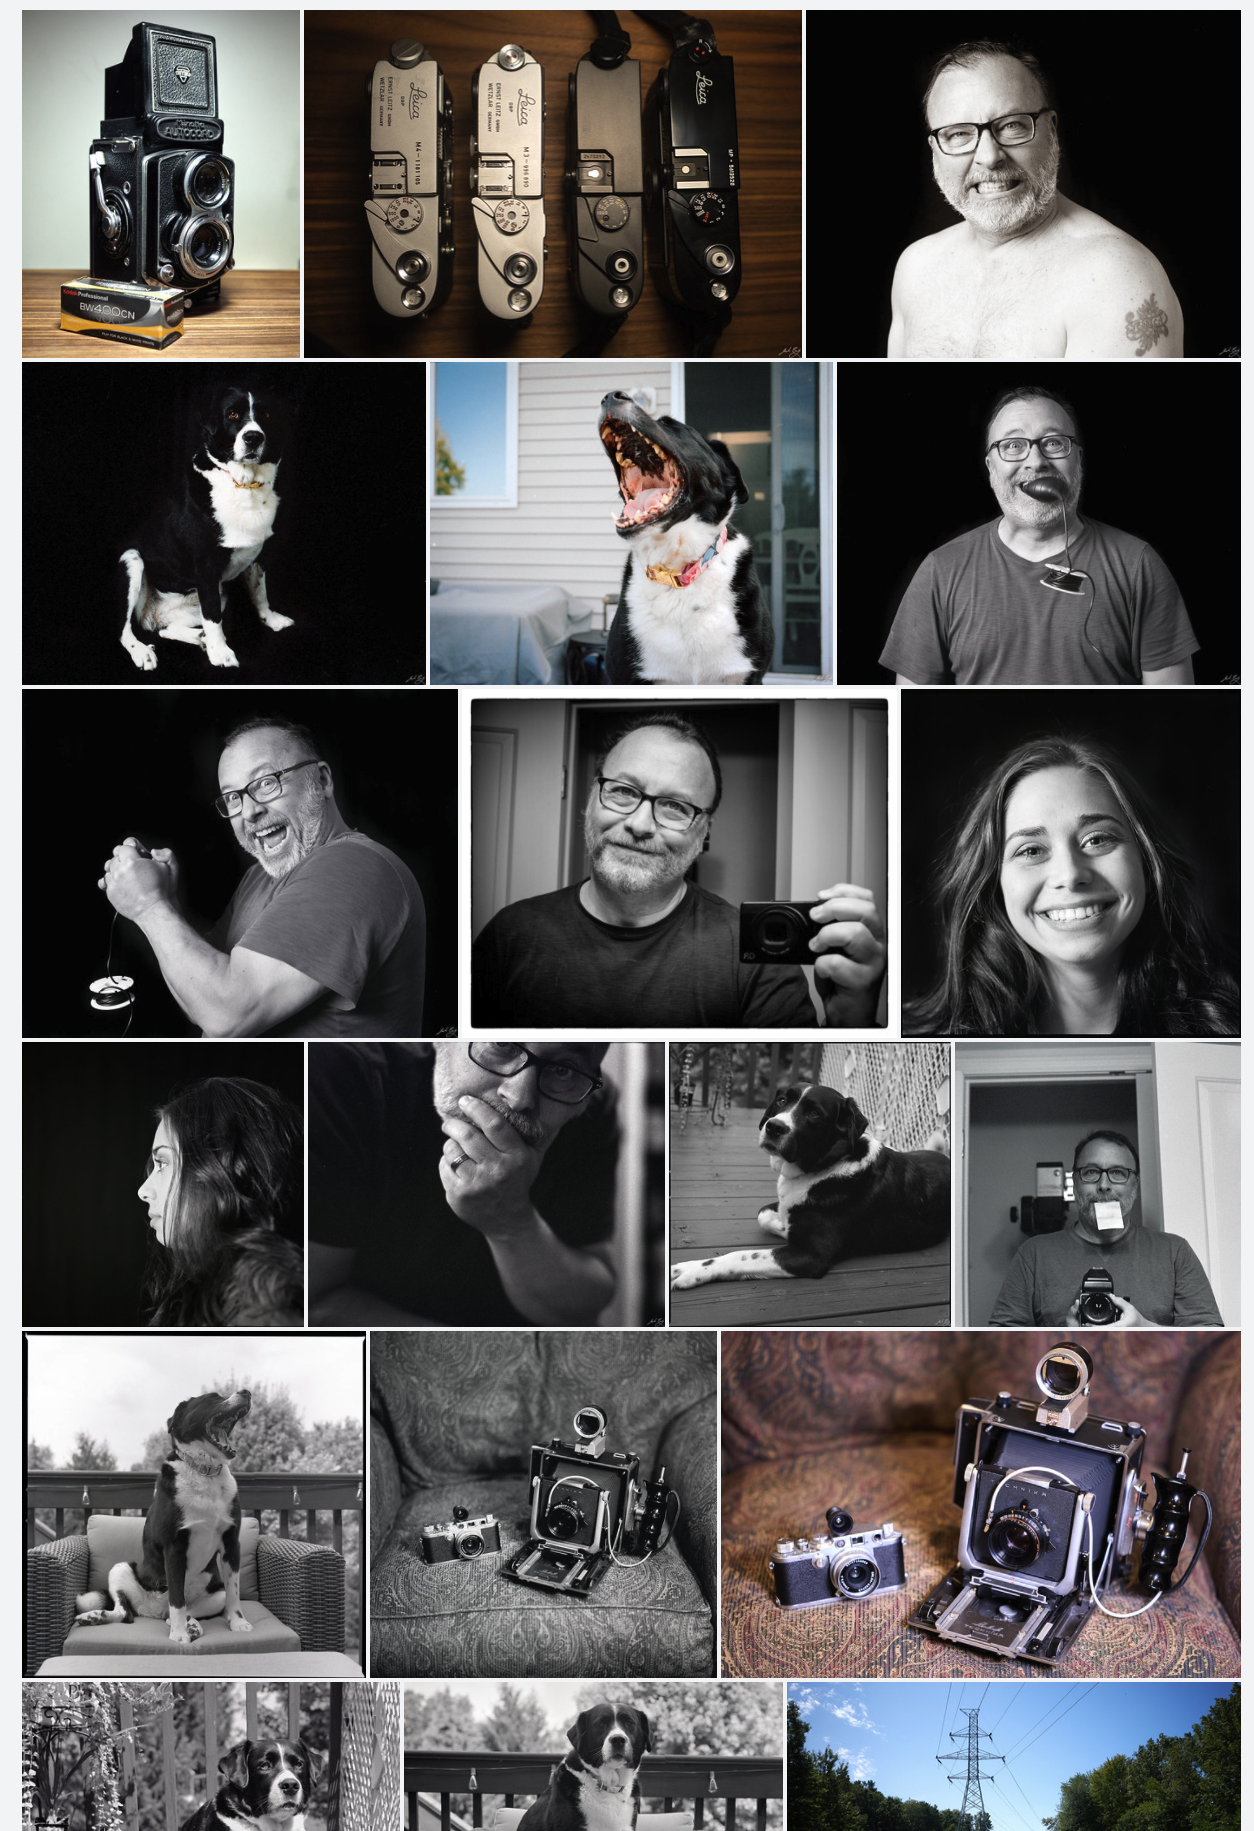
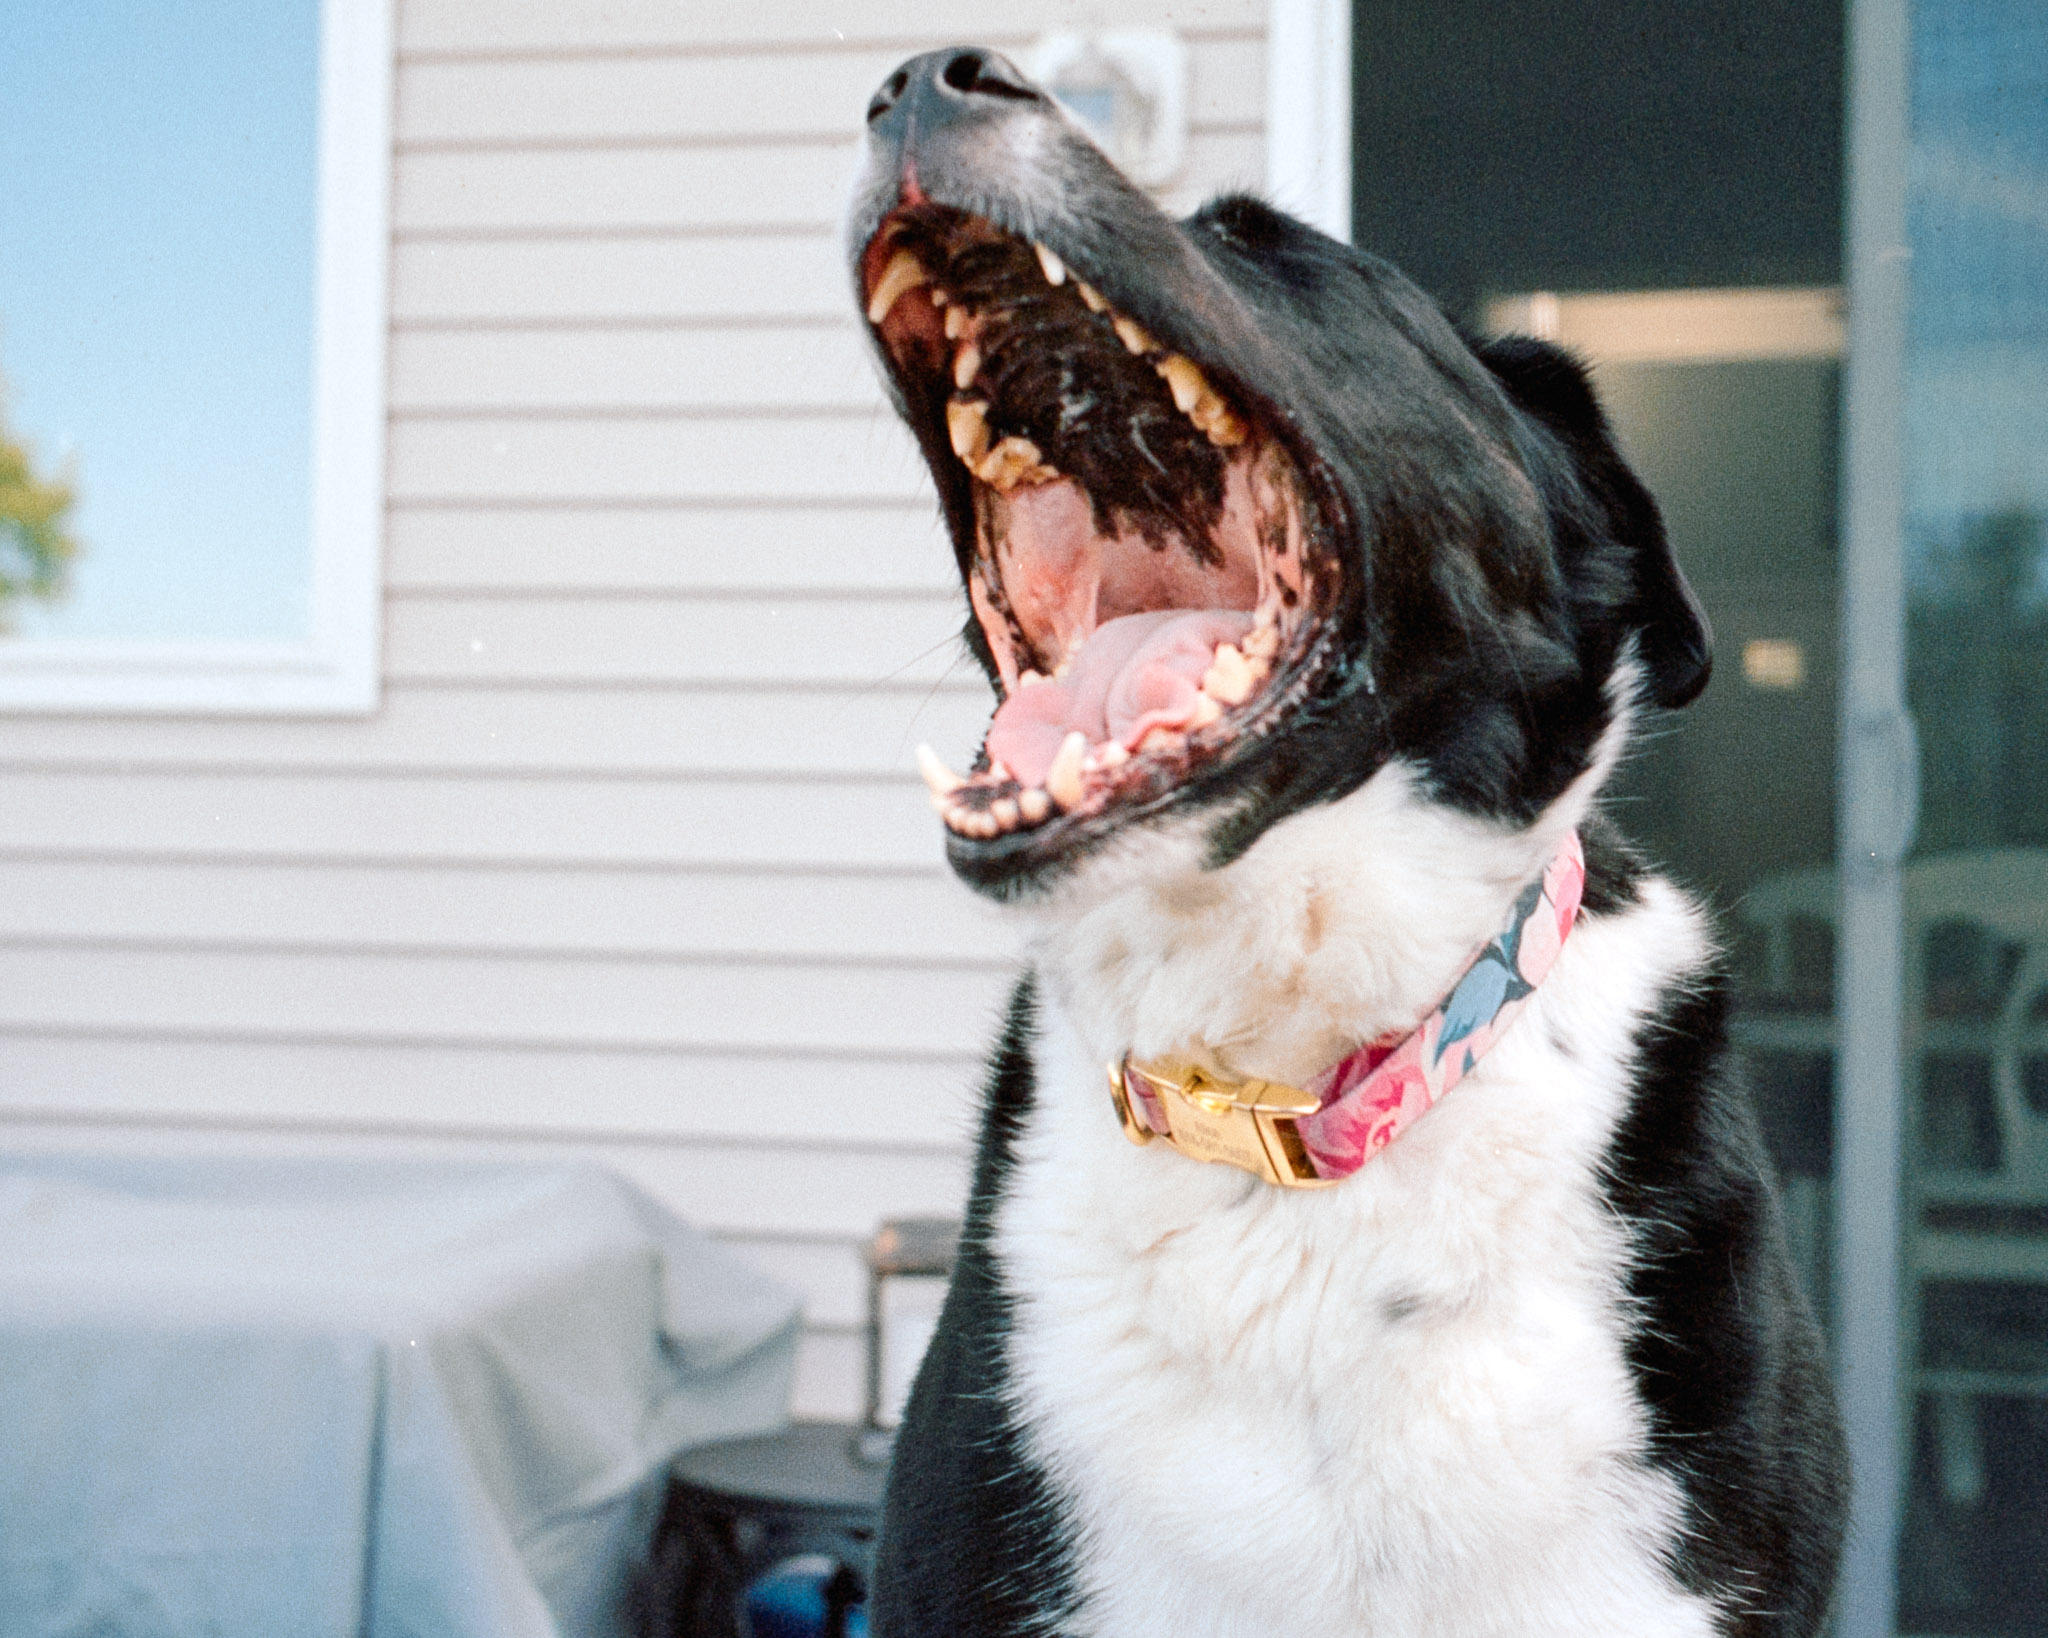
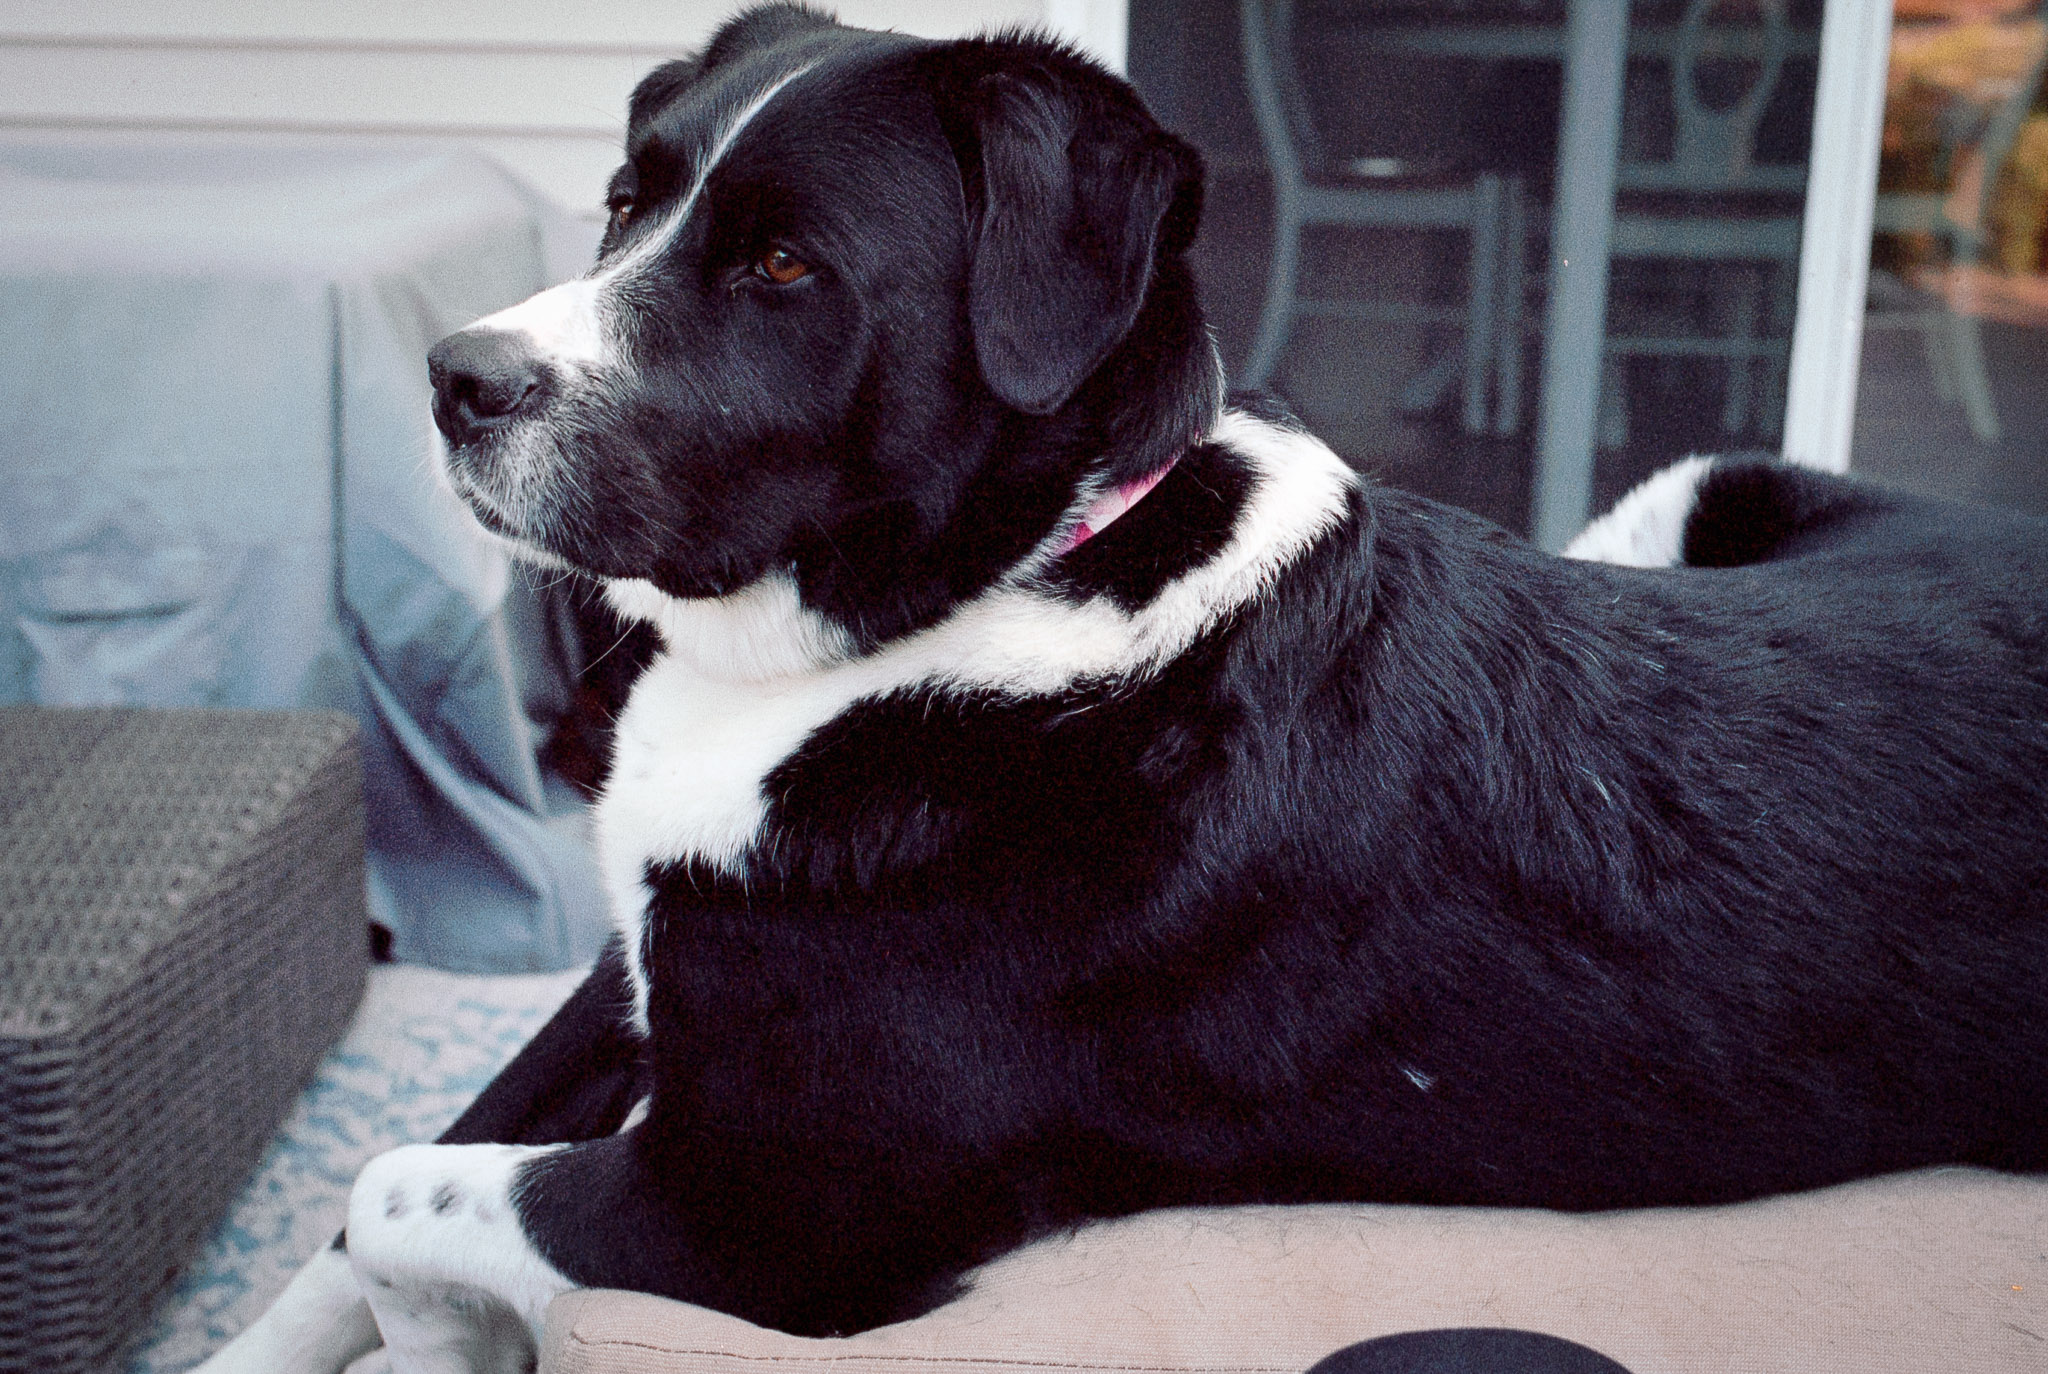
Dogs, myself, and cameras are about the only things I’ve been photographing lately. I just don’t seem to have any ideas. Well, that’s not true; I have plenty of ideas, but I’m too lazy to act on them. So, I sit around the house and shoot what’s in front of me.
The little Leica IIIf is adorable, tiny, and capable. Built in 1946, it’s showing its age a bit. Also, it’s kind of a pain to use, so I only drag it out occasionally. I notice there’s also a light leak.
This time I used a long-expired roll of Ilford XP2 Super.
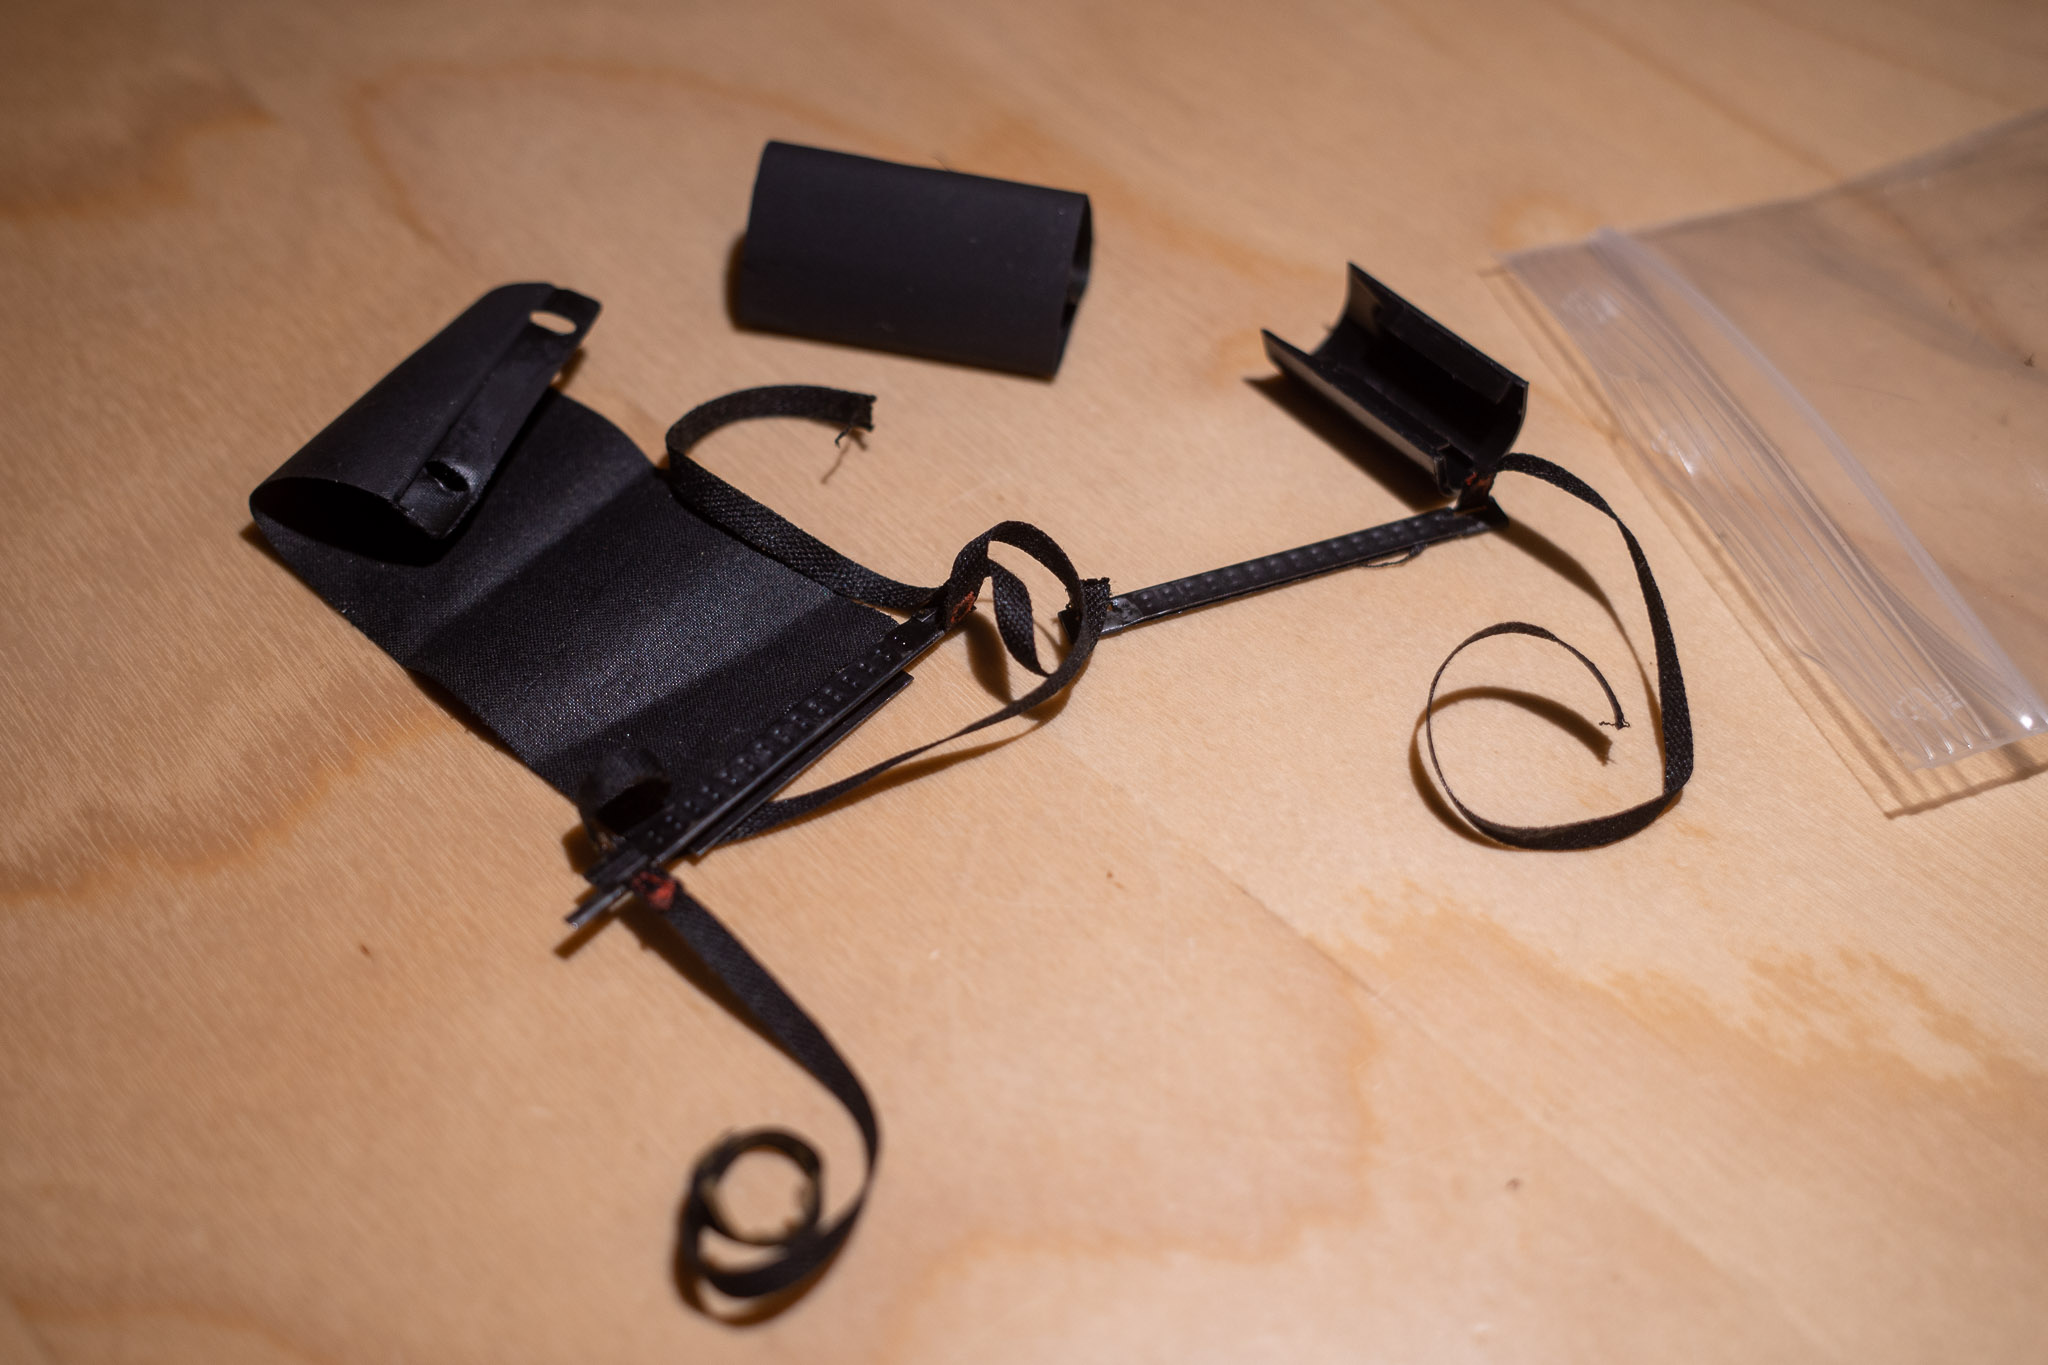
My repaired and overhauled Leica M4 was returned to me today. It’s beautiful, and with new shutter curtains and gearing, it works flawlessly. It’s so smooth! Apparently, most of the original lubricants had dried, which was making it a little catchy. Now it’s like butter again.
Original (broken) Leica M4 shutter curtain
So I currently have four beautiful Leica M cameras in perfect working order. They are (from left to right in the photo)…
Leica M4 (1966). I purchased this M4 in 2009. It’s not my first Leica (that was an M6TTL bought in 2004(?)), but I’ve had it the longest. One cool feature of this particular camera is that it has the M3/M2 style levers, which I prefer. I’m happy to have it back.
Leica M3 (1960). The OG Leica M that started it all. I love the super-bright, high-magnification viewfinder with a 50mm or 90mm lens.
Leica M6 (1998). Purchased in 2017, this particular M6 is one of the last 10 made, which I think is cool. It’s had the MP finder upgrade and the unneeded frame lines masked out. Since it has a meter, this is the body that gets color film when I’m in the mood for color. A great workhorse of a camera.
Leica MP (2021). The idea of having a brand new Leica film camera has haunted me for years. This year I was fortunate enough to find and purchase a brand new black paint MP. It’s just the most beautiful thing. My “forever” camera (assuming I never change my mind about shooting film ????.)
That’s sixty years of innovation, Leica style. It’s what happens when you get it right the first time.
I’ve been making 5×7″ prints for several years. I like small prints that are handy to toss around on the coffee table, are easily mounted in notebooks, and don’t take too much wall space (or storage).
But I also complain a lot about the problems with viewing tiny Instagram photos on a phone. “Too small!” I’d lament. It got me thinking about making larger prints. I don’t mean crazy 16×20″ monsters that eat up ink, paper, space, and money. I was thinking maybe 8×10″ would be a nice, larger change of pace.
I can only enlarge 35mm negatives in my current darkroom, meaning that for anything larger than that, I need to print digitally. So, I made a few (digital) prints on 8×10″ Canon photo paper with my 10-year-old Canon Pixma Pro-100 printer.
The prints look fine, but they don’t feel good. They feel flimsy and cheap. It bugs me. I almost never mount and frame my prints, so I prefer something meatier. Something that handles better. You know, like a proper silver gelatin print on fiber paper. But, as I mentioned, my darkroom can’t do anything other than 35mm. Besides, making fiber darkroom prints is a ton of work, and reserved for only special images.
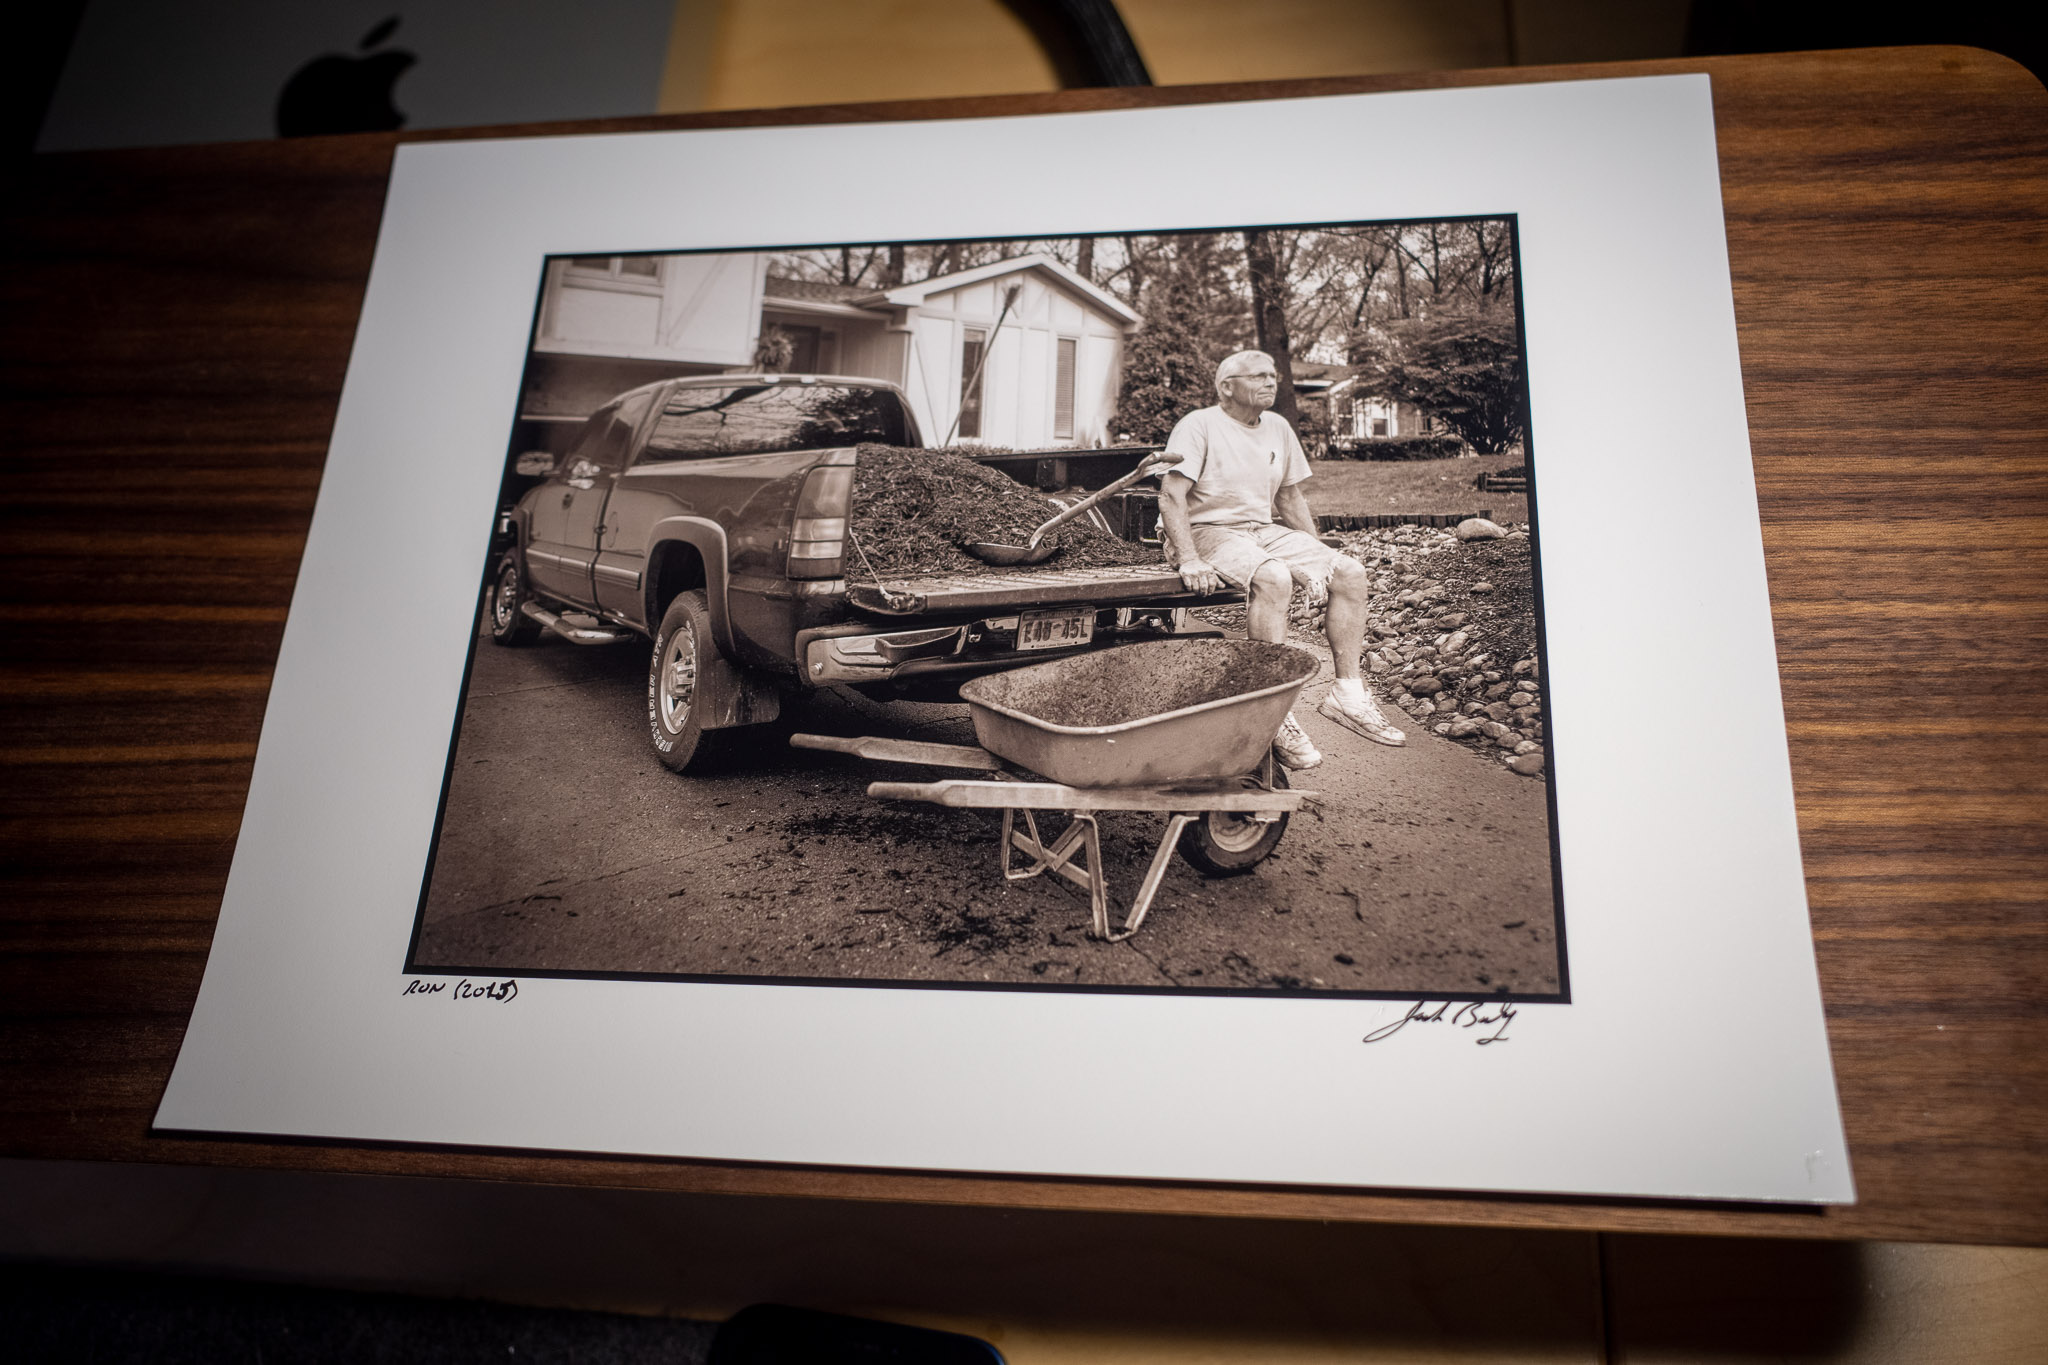
I want to print the more mundane stuff, too, but I don’t want the prints to feel cheap, so I bought some Canson Infinity Platine Fibre Rag Paper. Wow, what a difference good ink jet photo paper makes.
Digital print on 8.5×11″ Canson Platine paper
I installed the ICC profile from Canson for my printer and made a few test prints out of Lightroom. I really like them. Instead of going full-bleed borderless, I added a giant border on all four sides and added a narrow black border around the image itself. It may be a little gimmicky, but I think they look great and the border makes them easy to handle as well.
The actual image area ends up being only about twice the size of the 5×7″ prints, but bigger is better, and this is a good compromise between size, convenience, and cost.


 Golden looking out back of party bus. (Leica MP. Summicron-M 35mm ASPH)
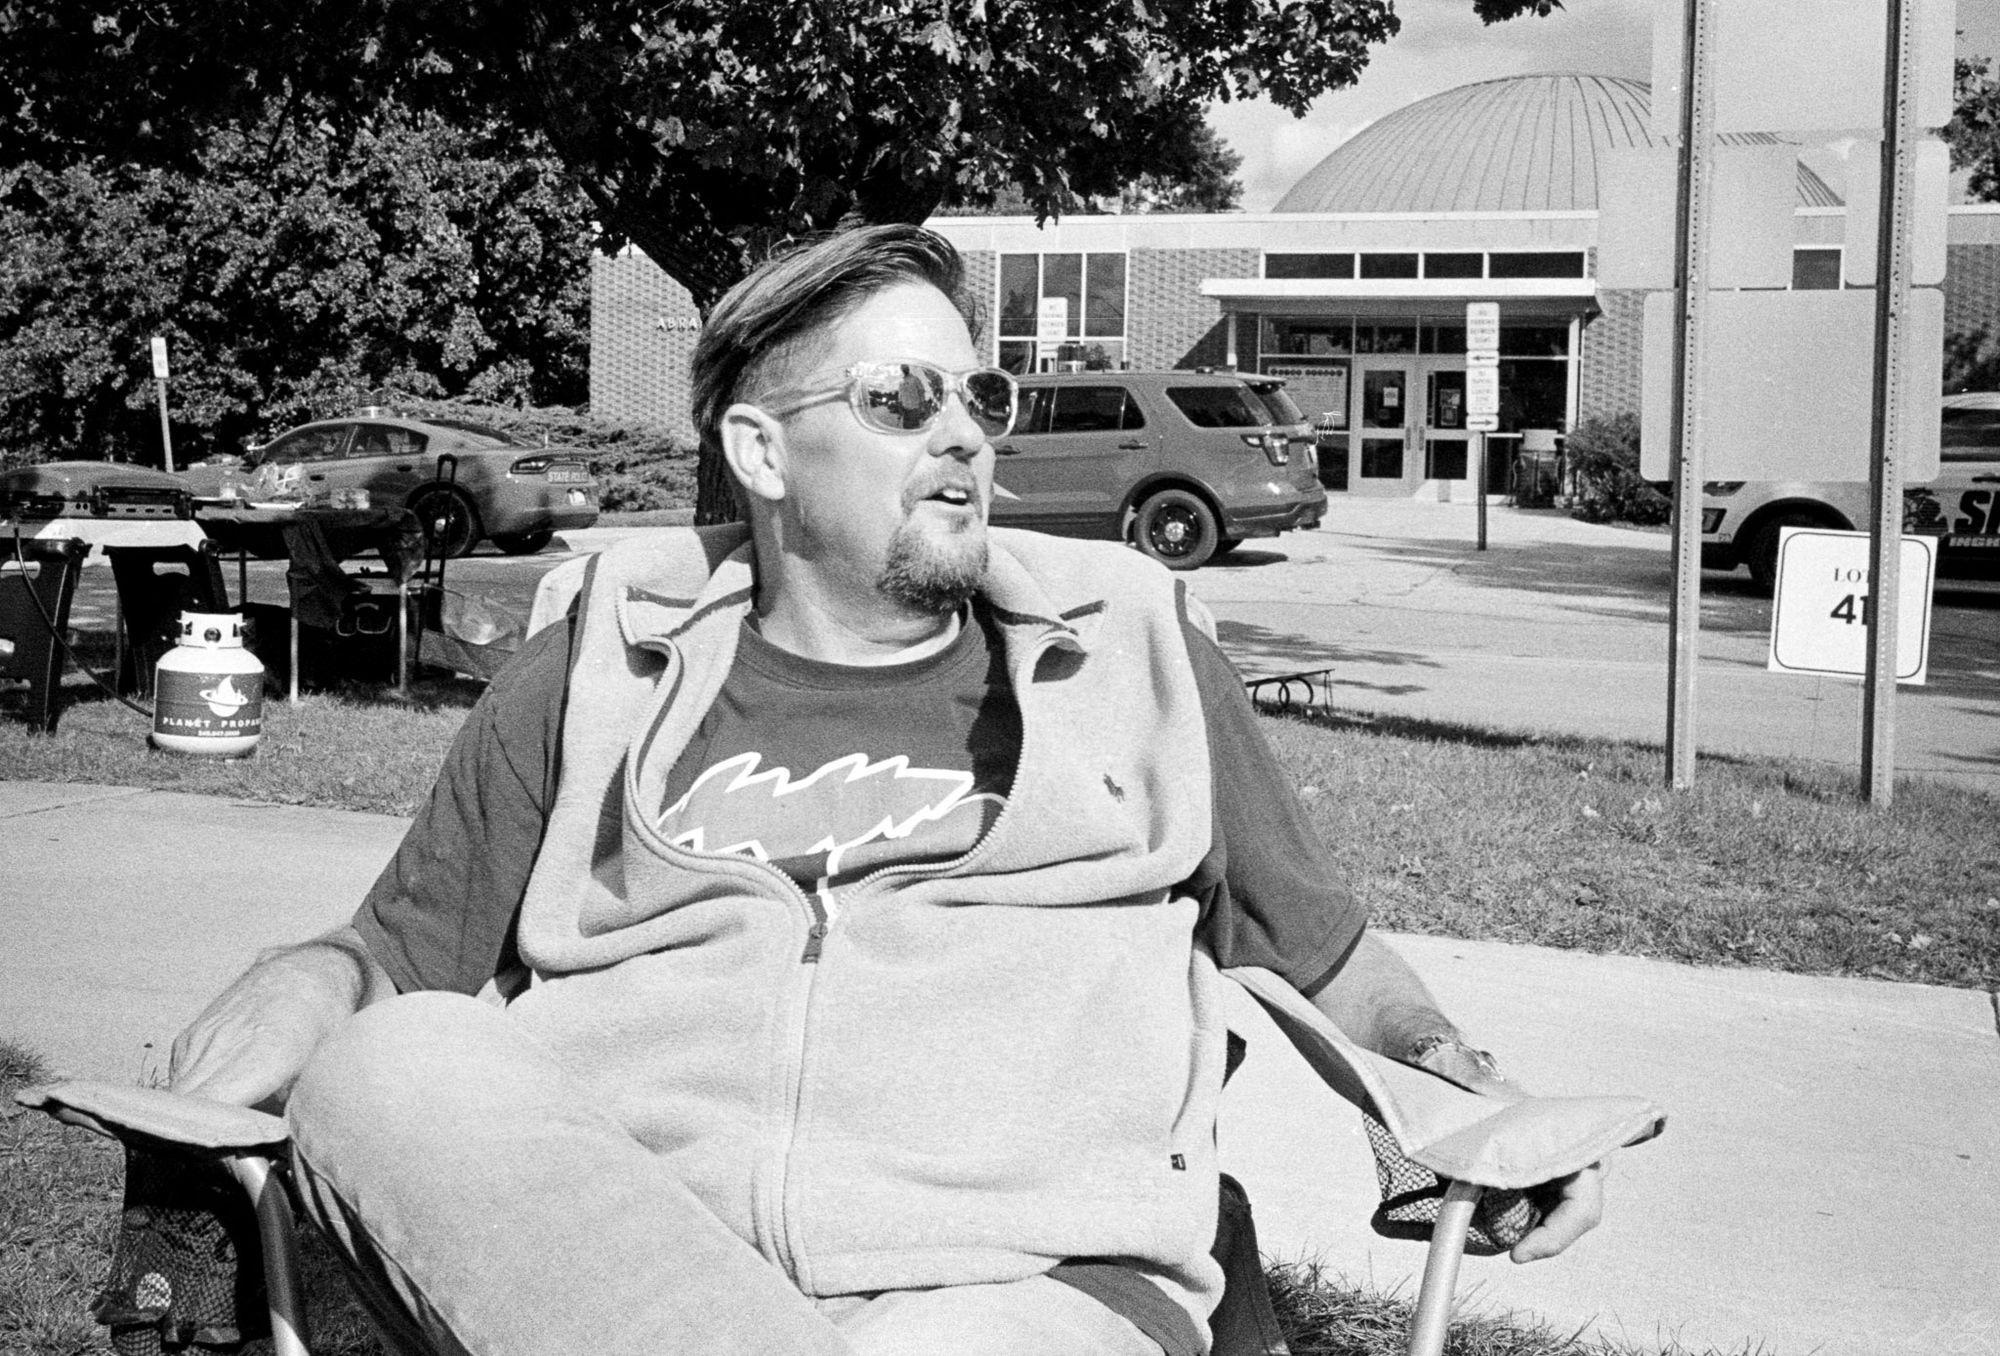 Jeff. (Leica MP. Summicron-M 35mm ASPH)
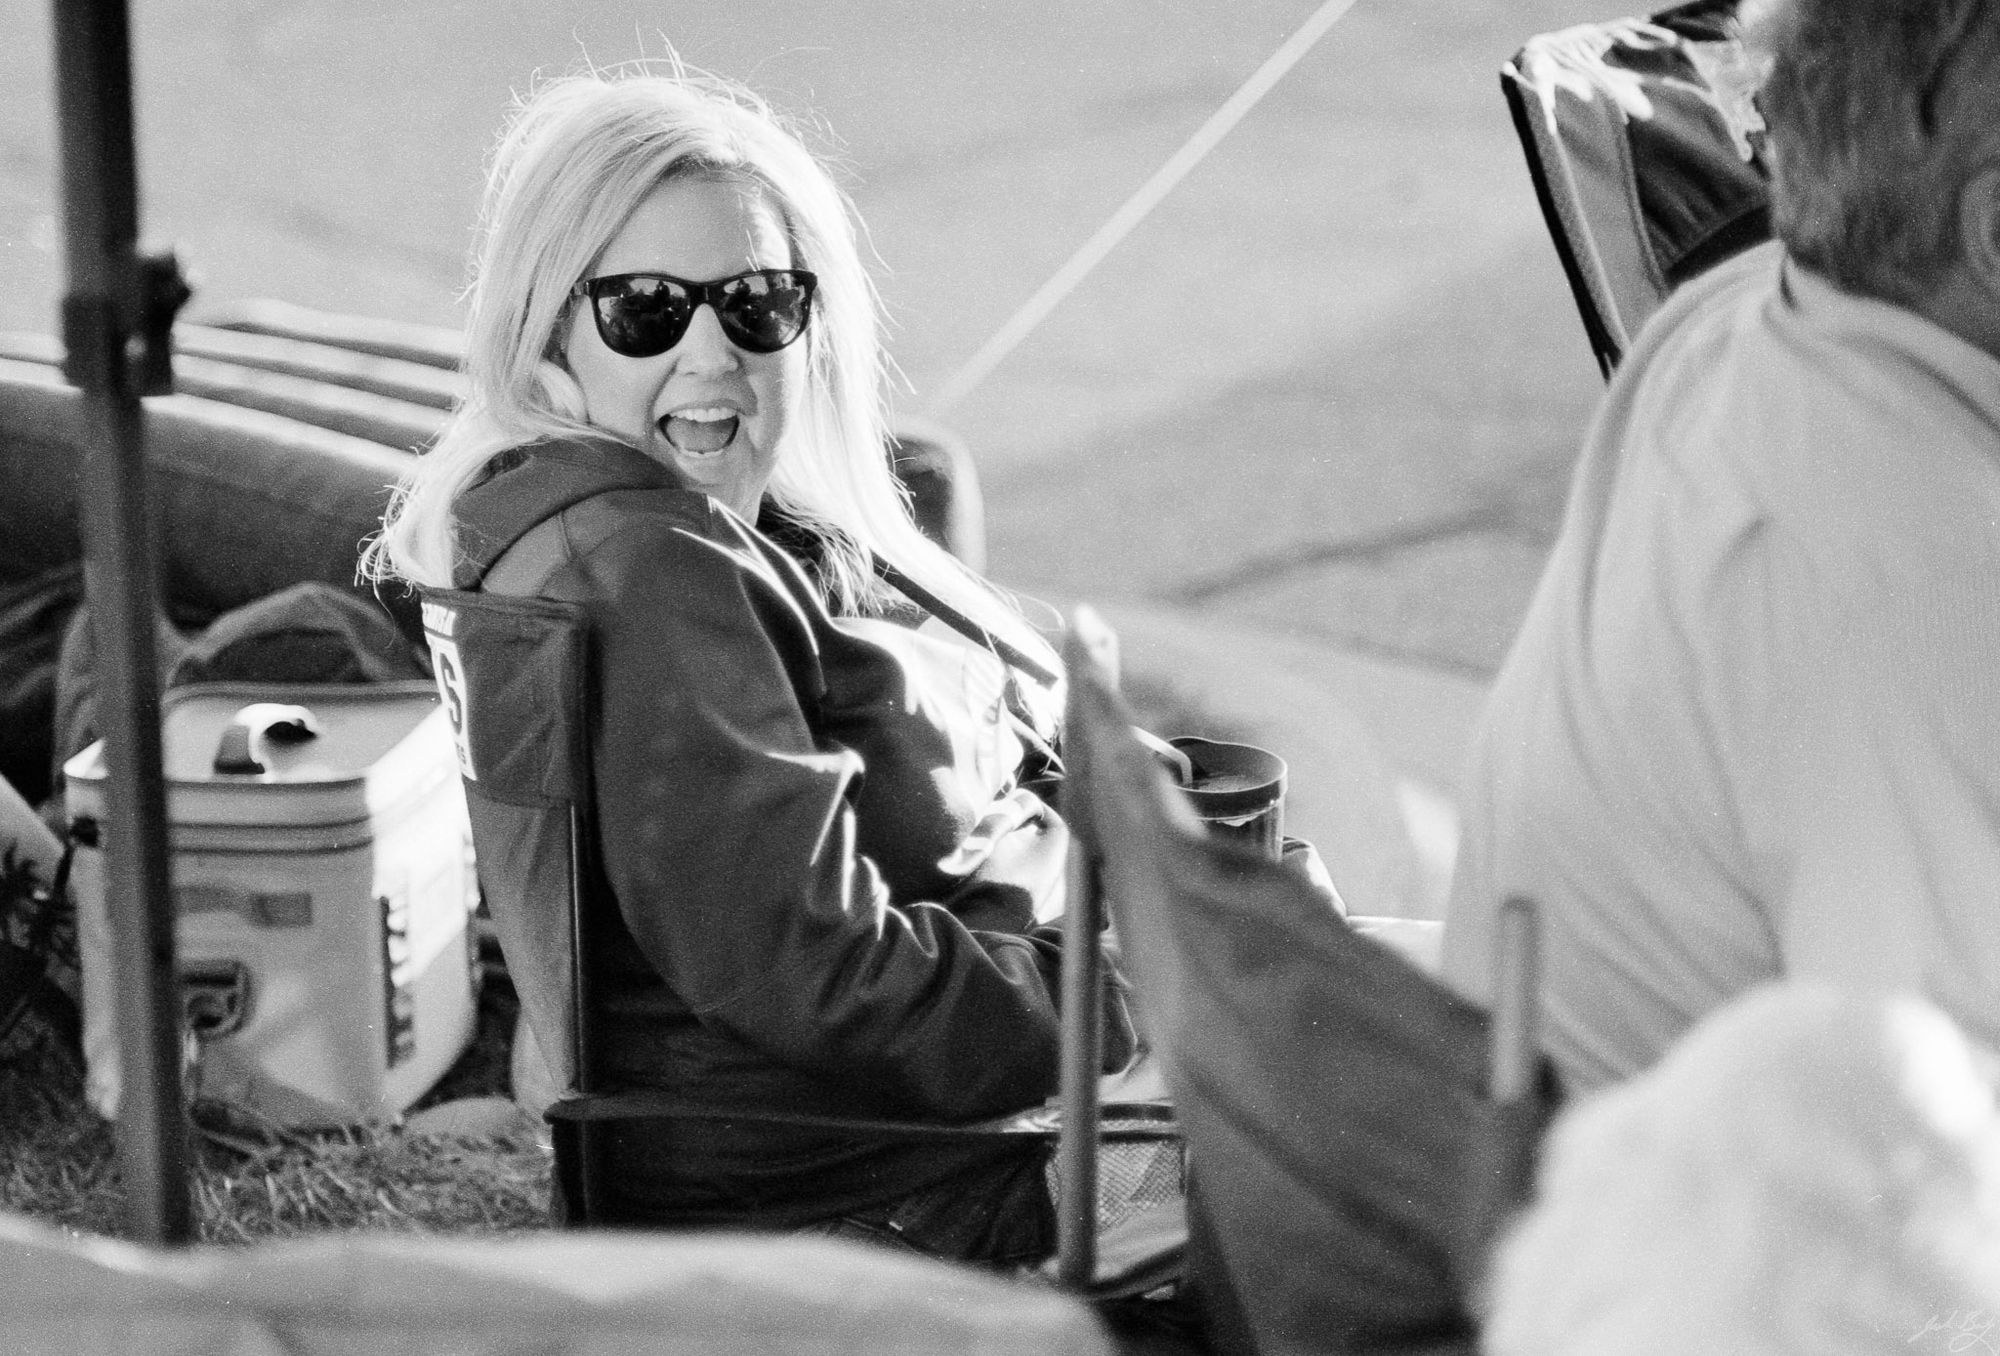 Shelley enjoying the tailgate. (Olympus OM-1n. Zuiko 85mm f/2.0)
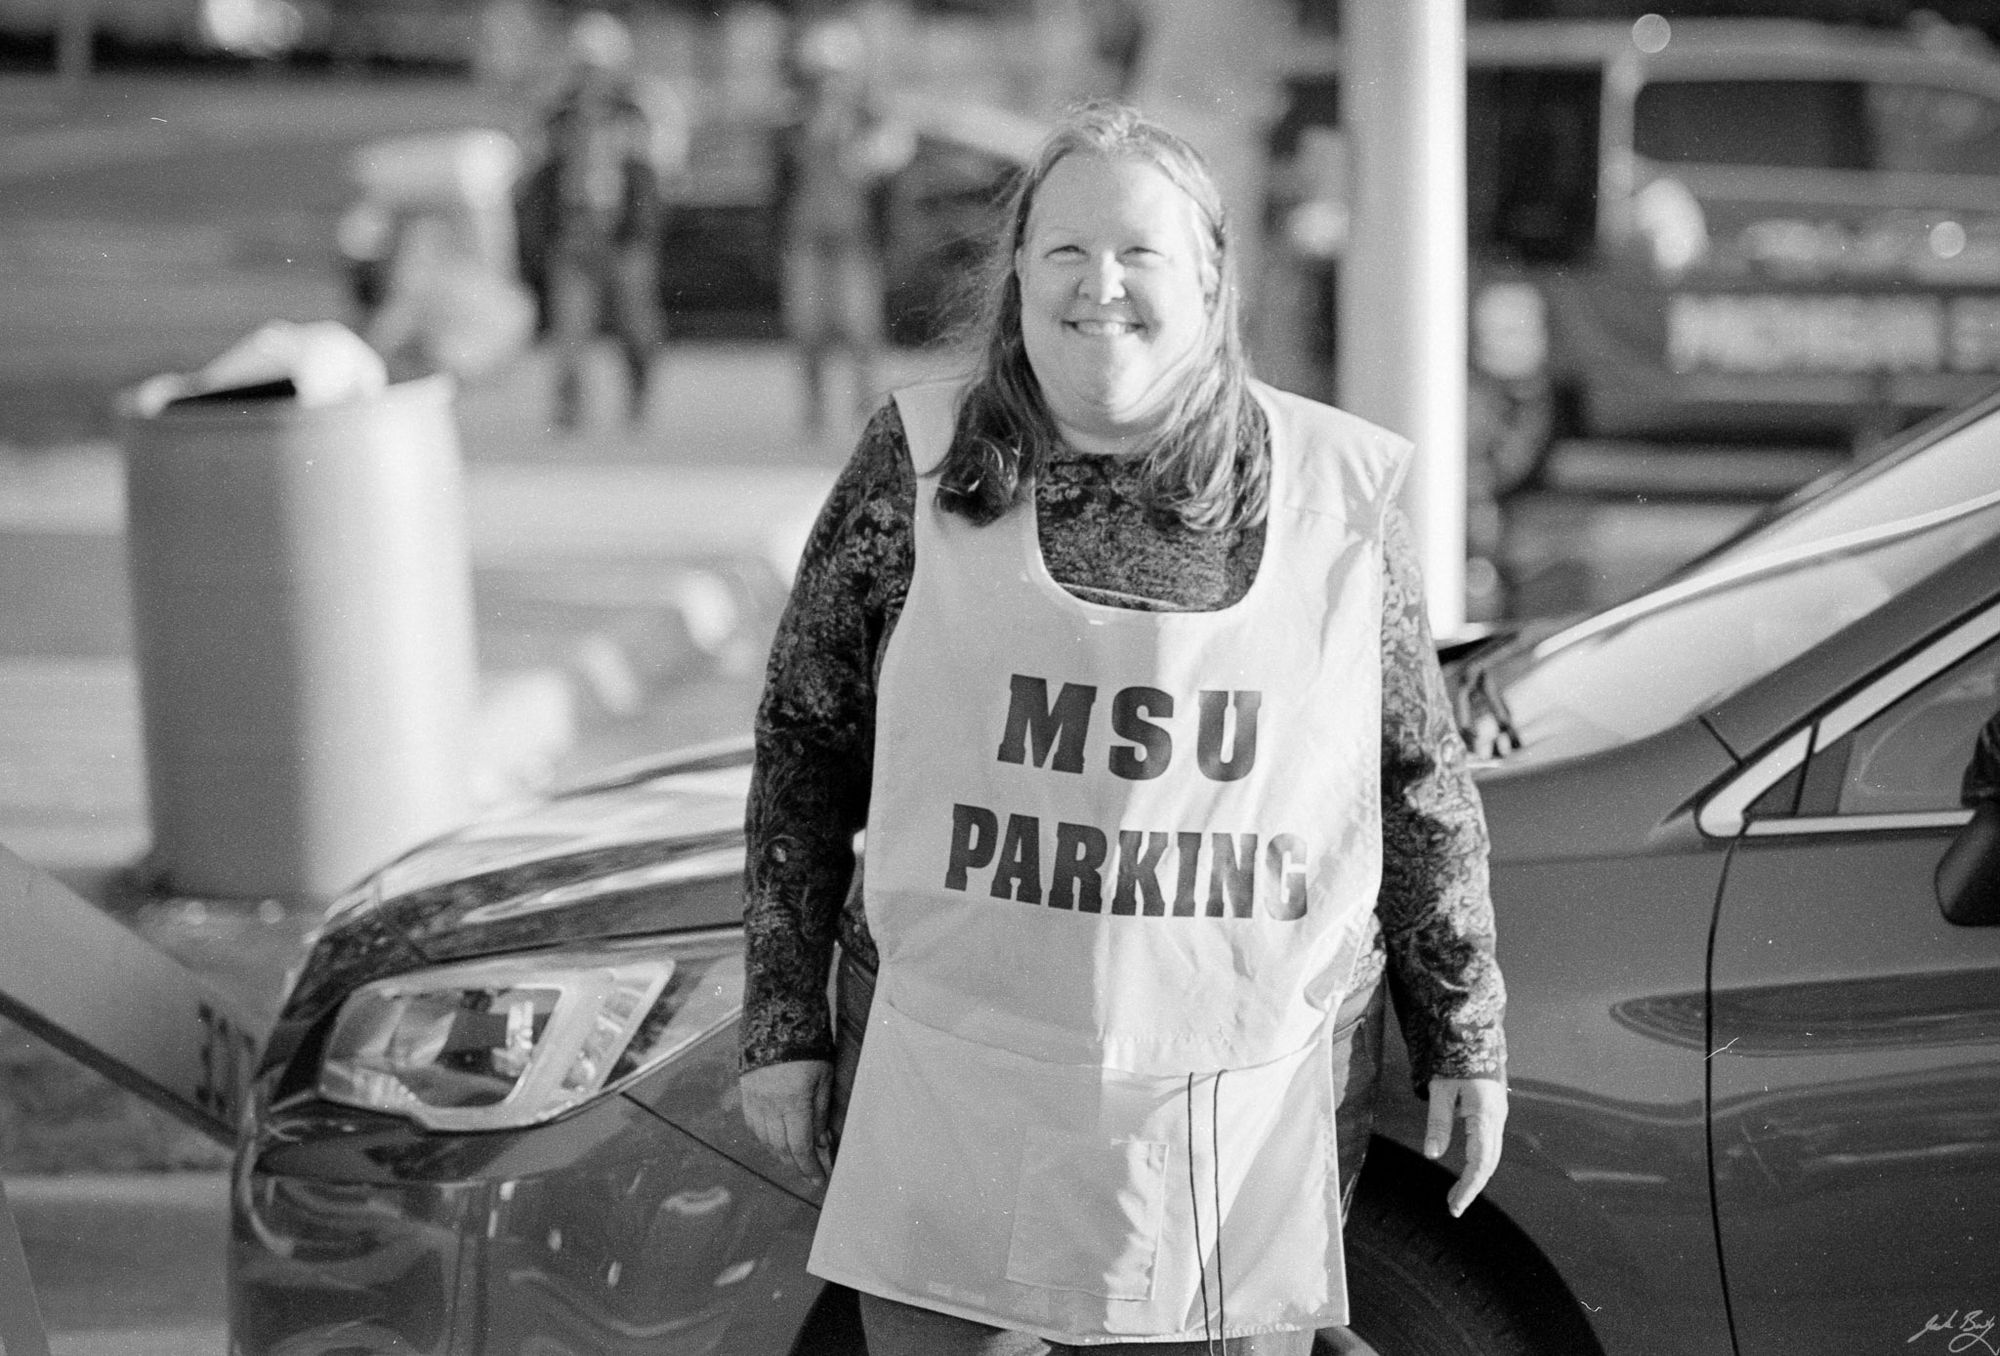 MSU parking attendant. (Olympus OM-1n. Zuiko 85mm f/2.0)
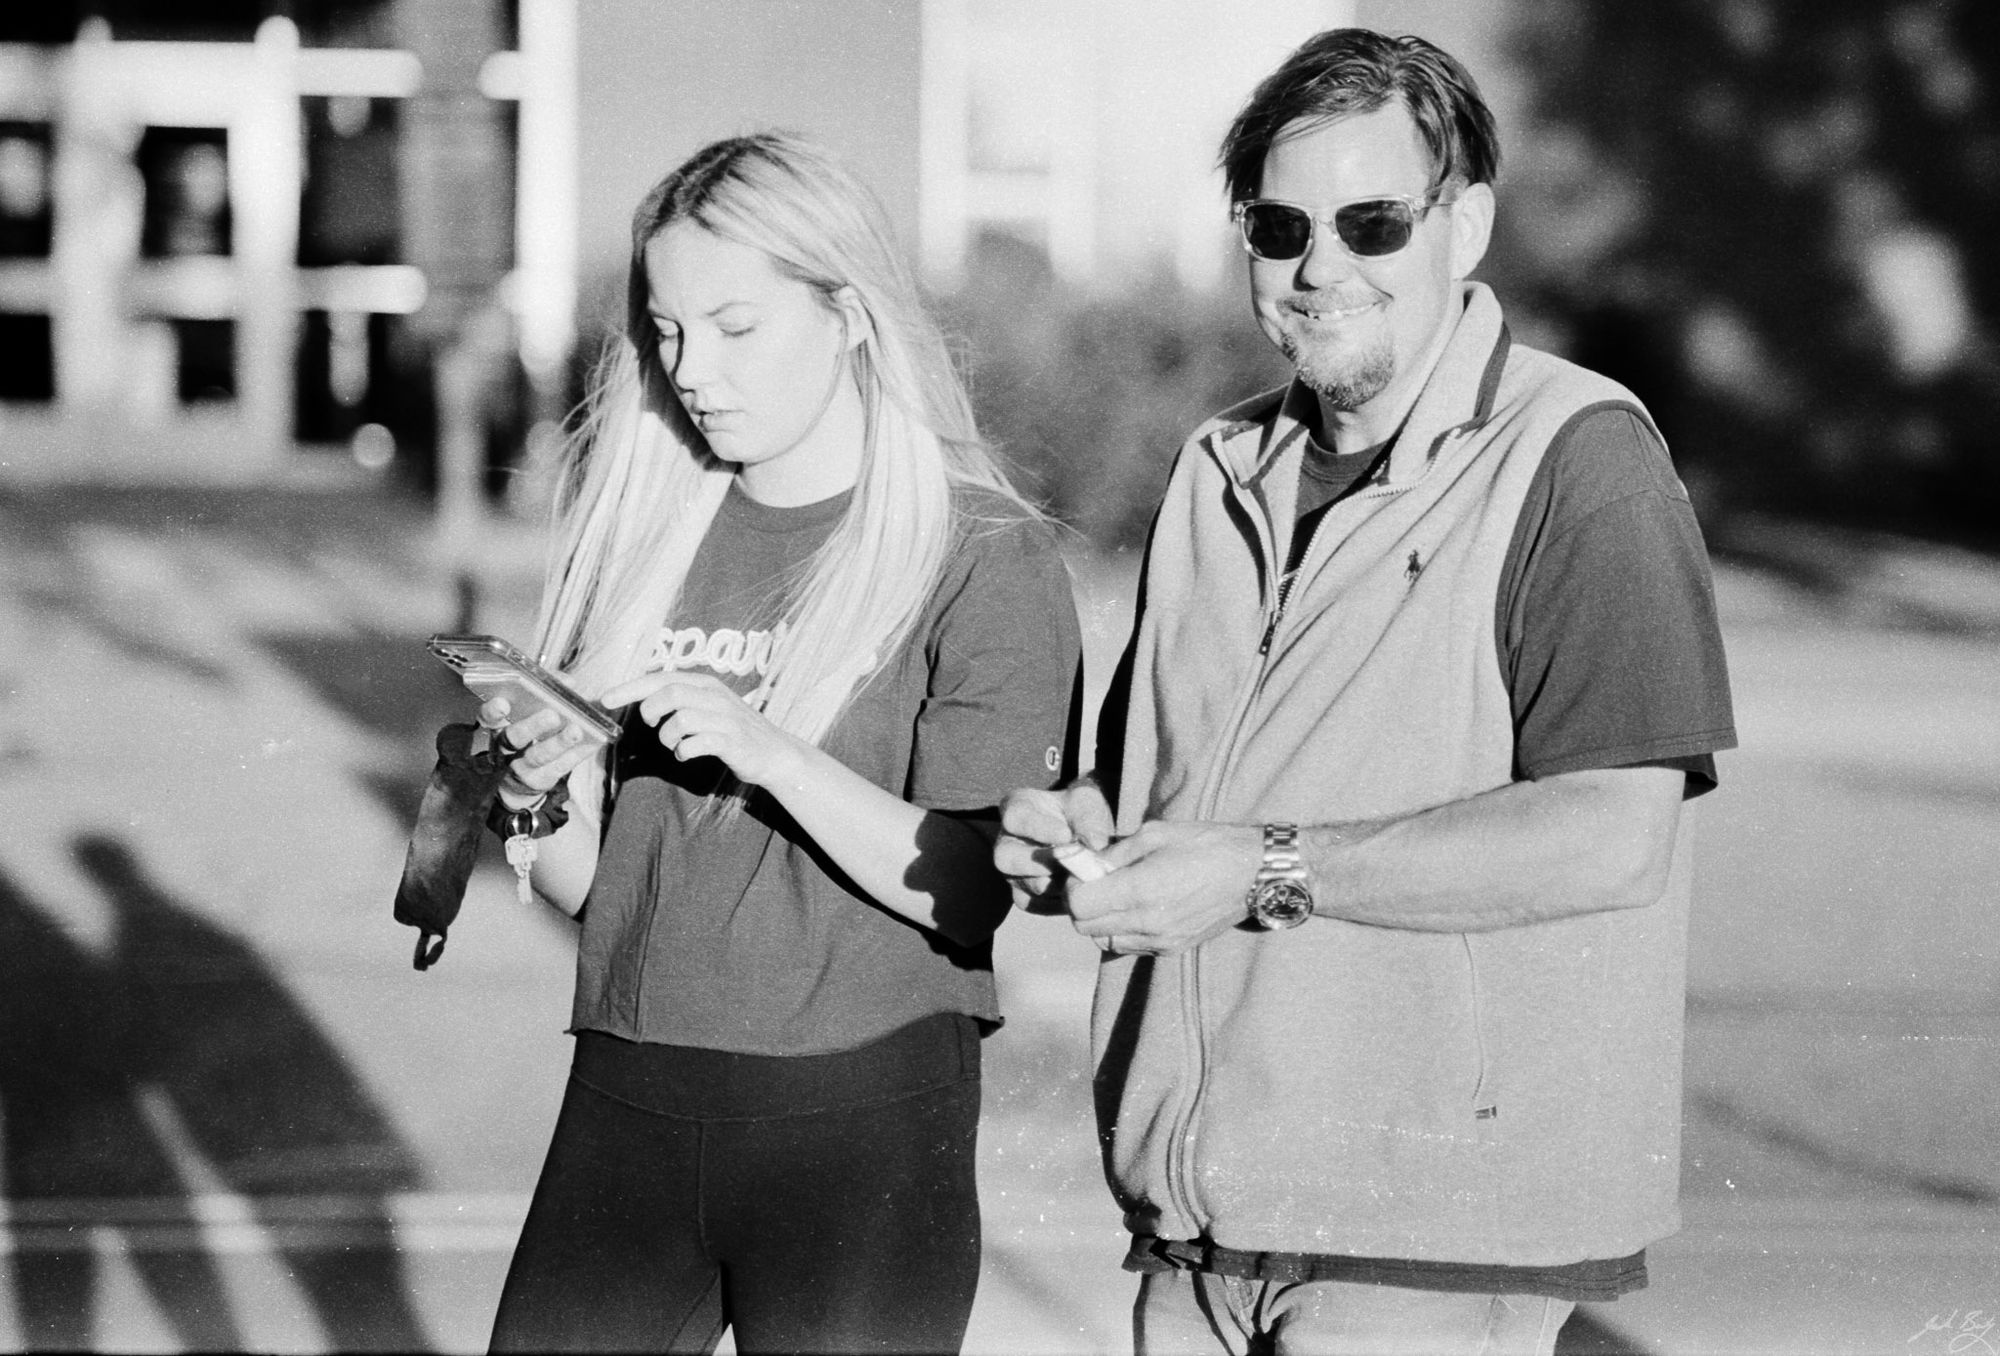 Jeff's daughter stopped by to visit. (Olympus OM-1n. Zuiko 85mm f/2.0)
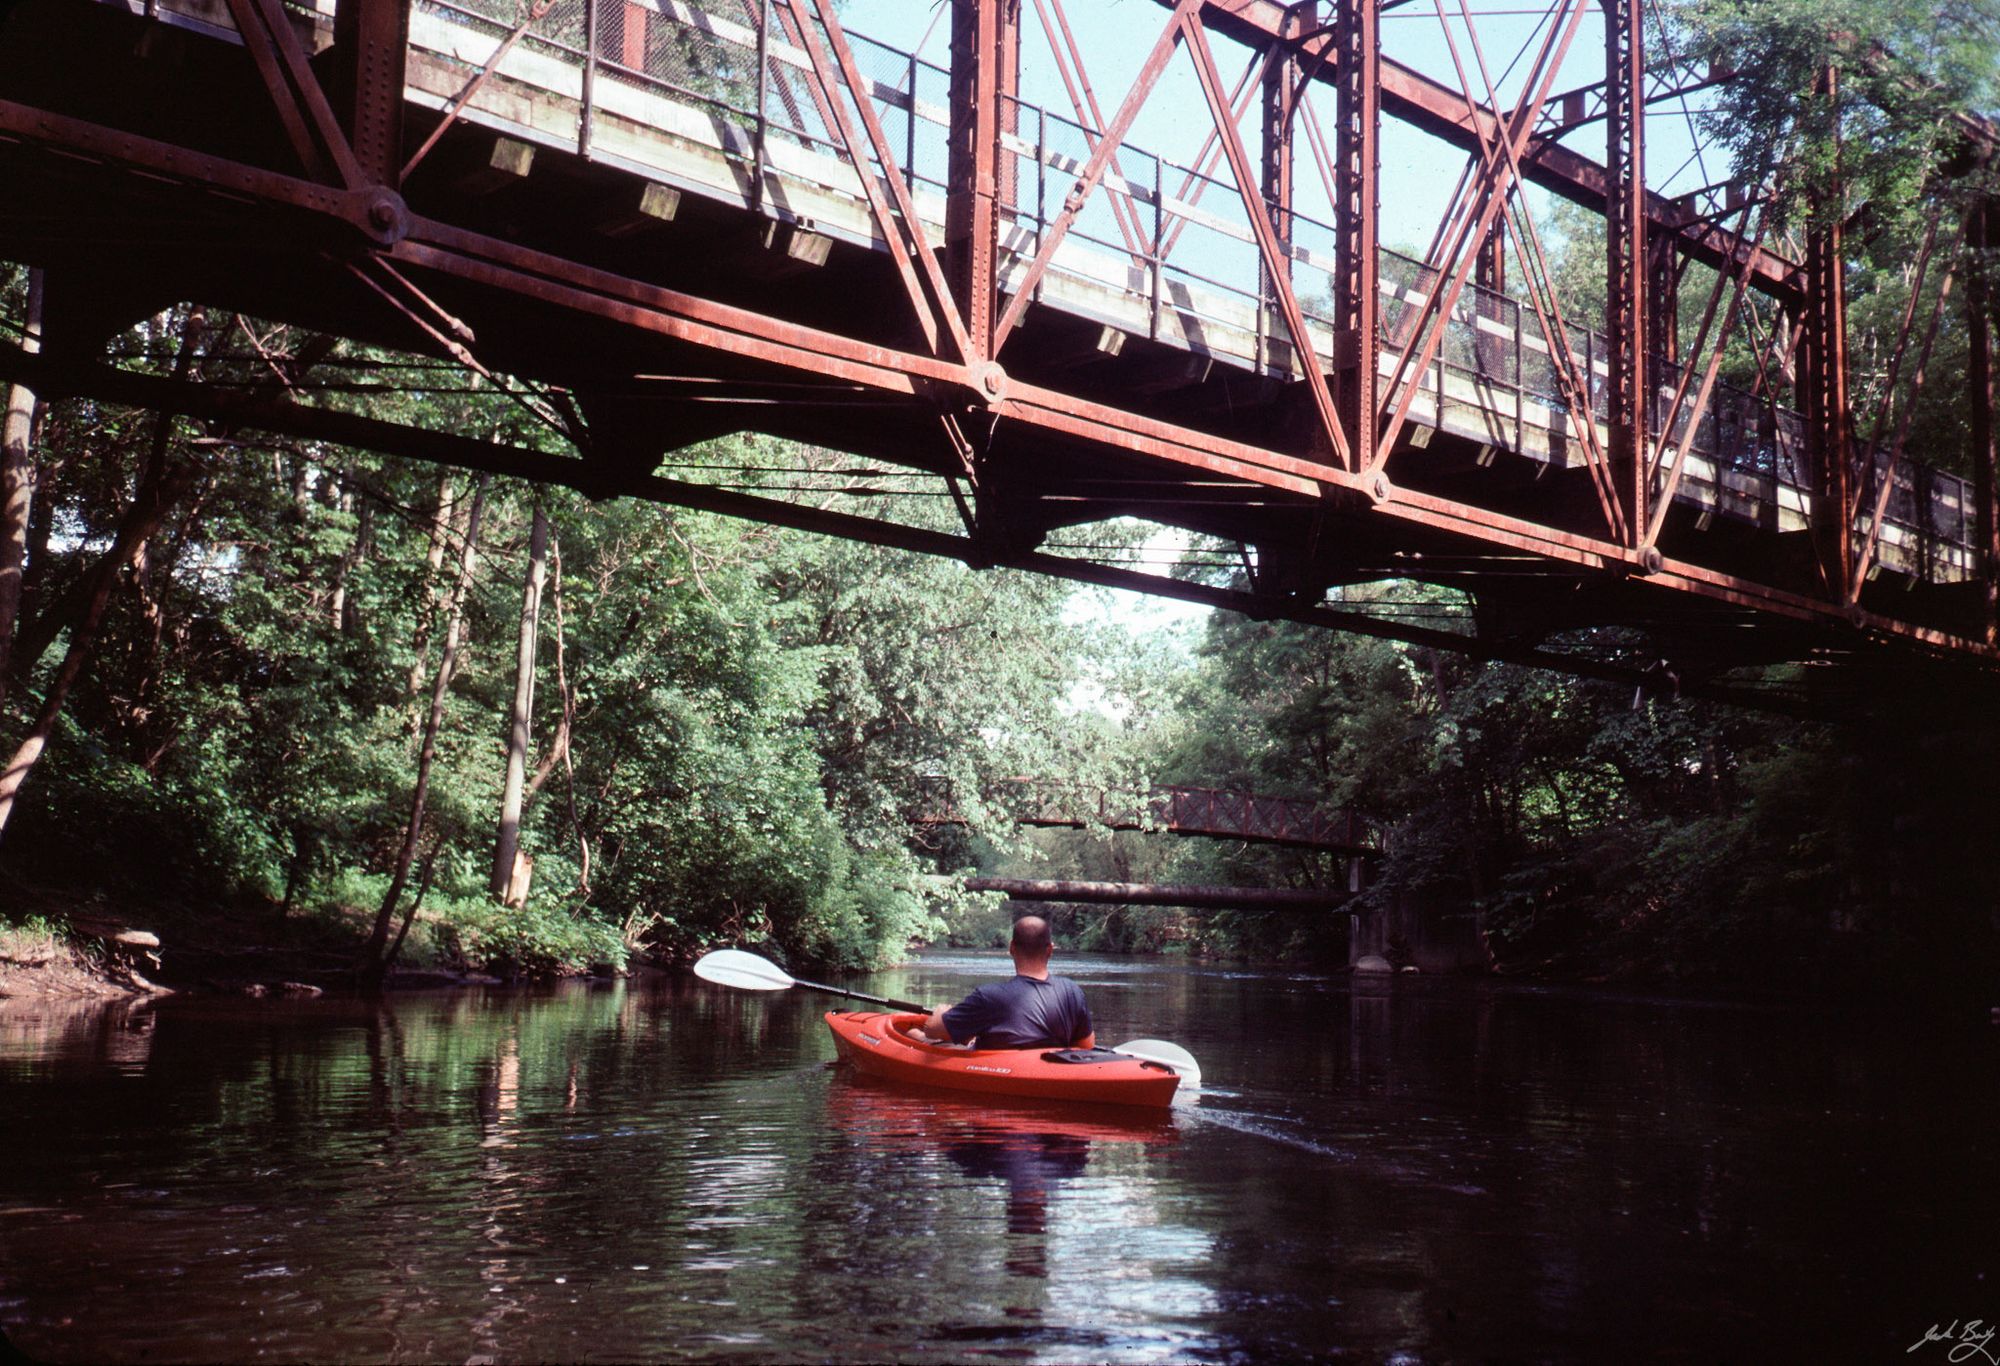

 _25.jpg 600w, /img/size/w1000/2021/09/2021-Roll-031_25.jpg 1000w, /img/size/w1600/2021/09/2021-Roll-031_25.jpg 1600w, /img/2021/09/2021-Roll-031_25.jpg 2048w" sizes="(min-width: 1200px) 1200px" />
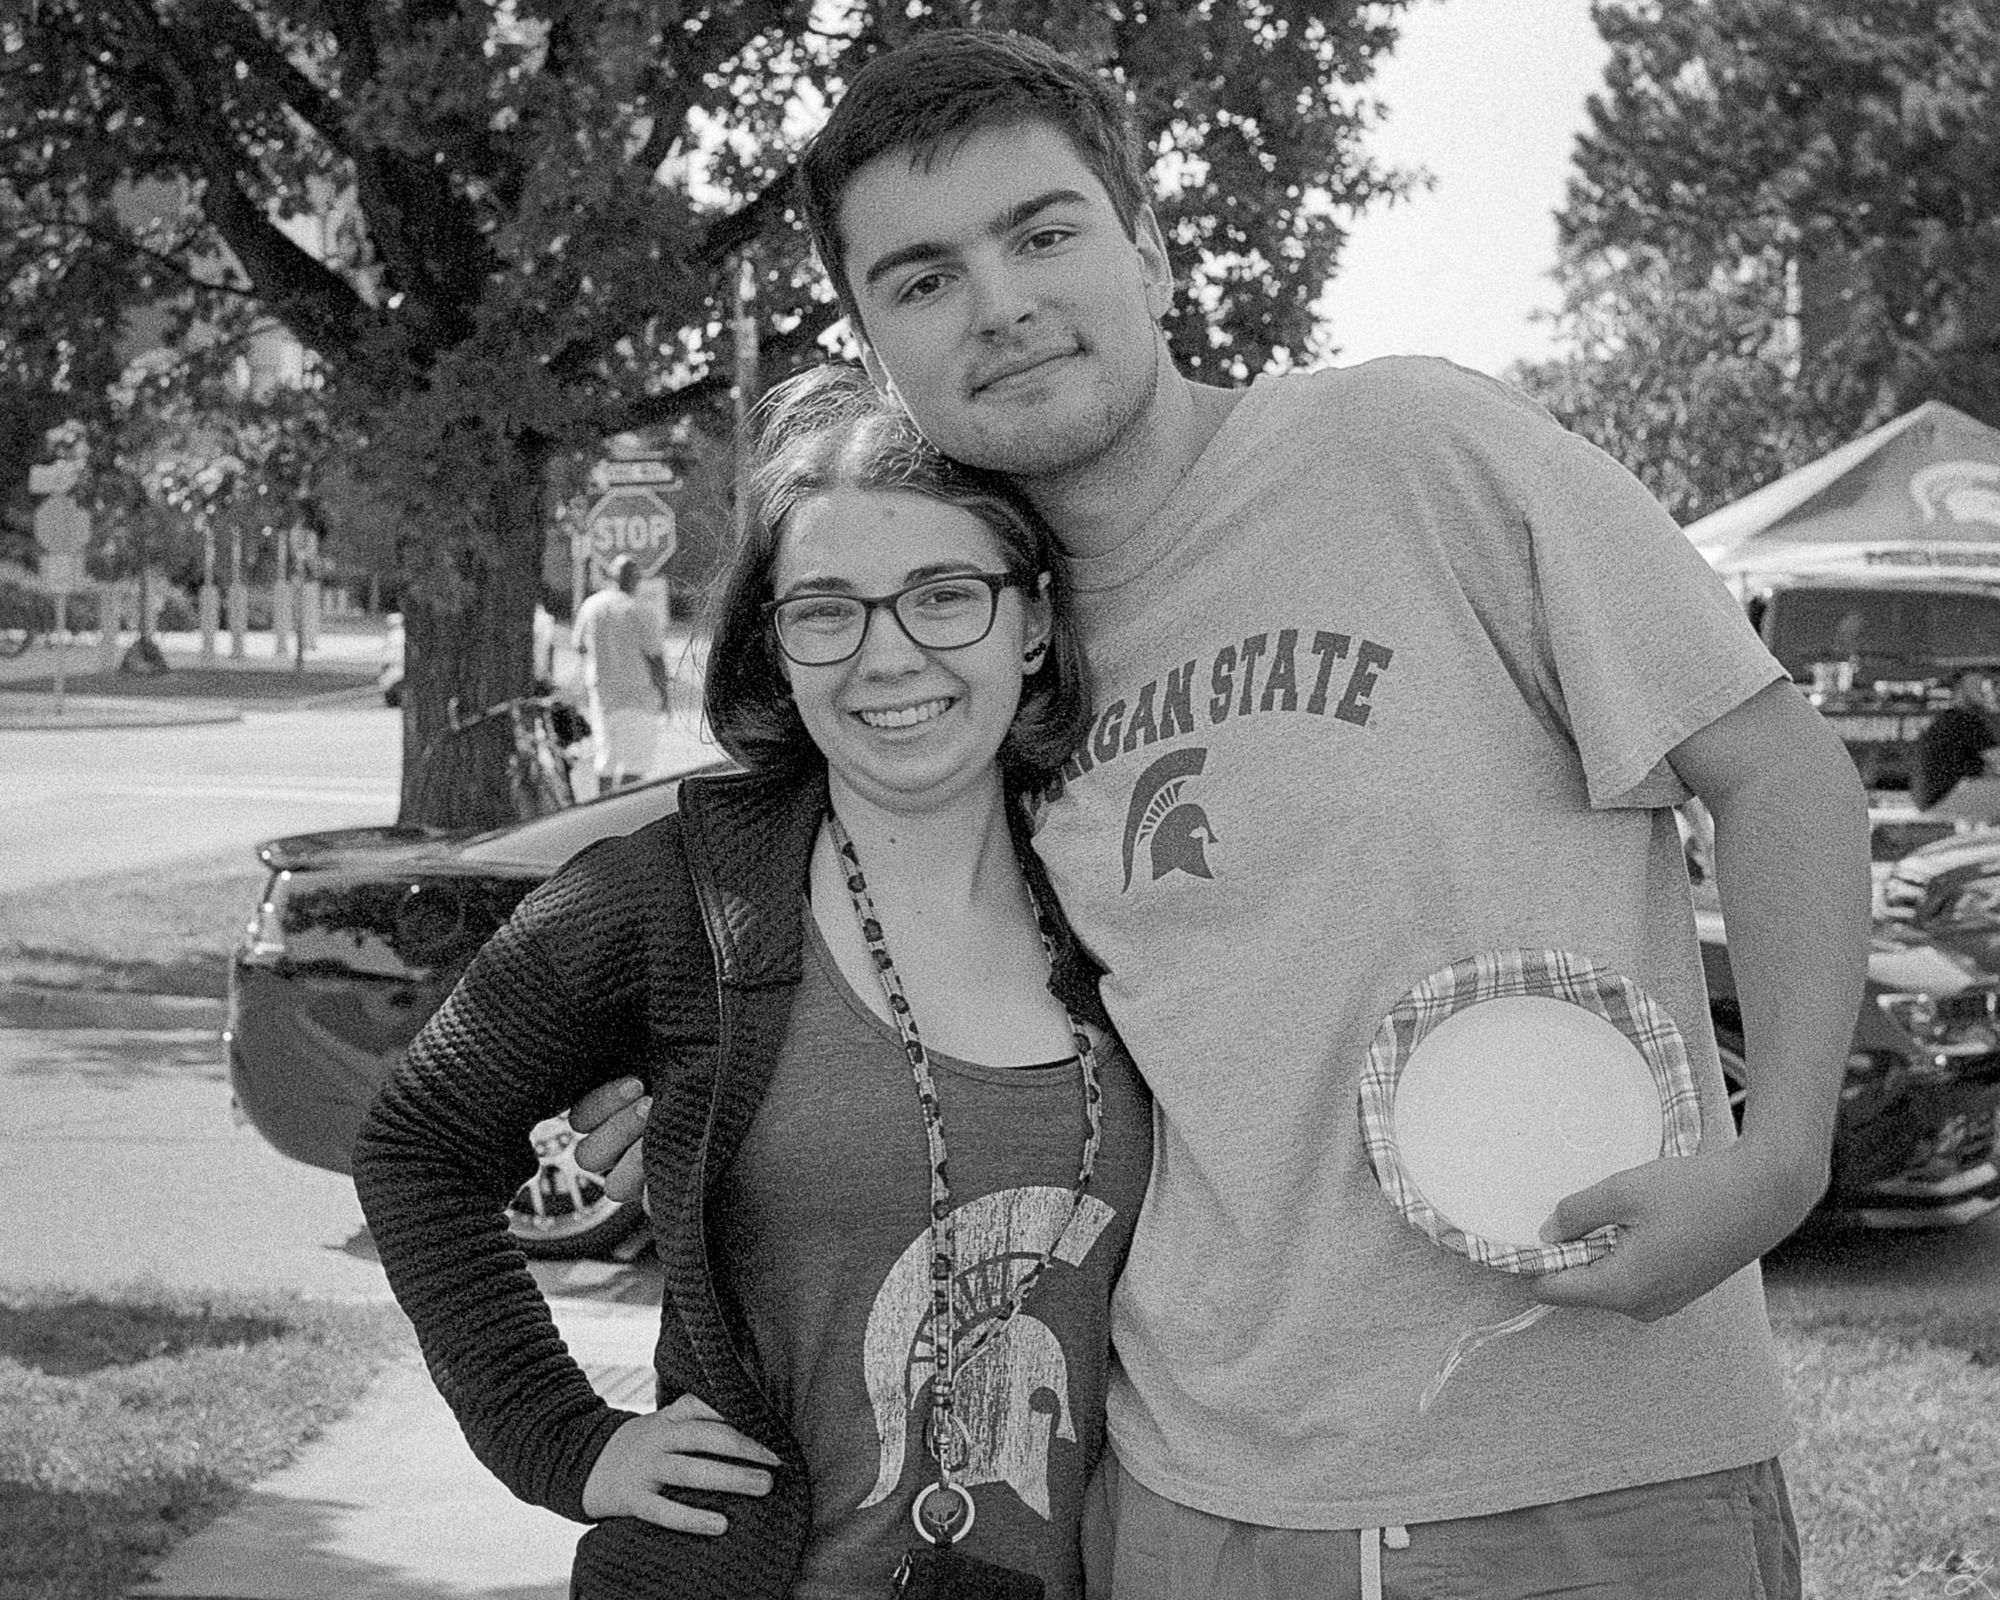 _40.jpg 600w, /img/size/w1000/2021/09/2021-Roll-031_40.jpg 1000w, /img/size/w1600/2021/09/2021-Roll-031_40.jpg 1600w, /img/2021/09/2021-Roll-031_40.jpg 2048w" sizes="(min-width: 1200px) 1200px" />
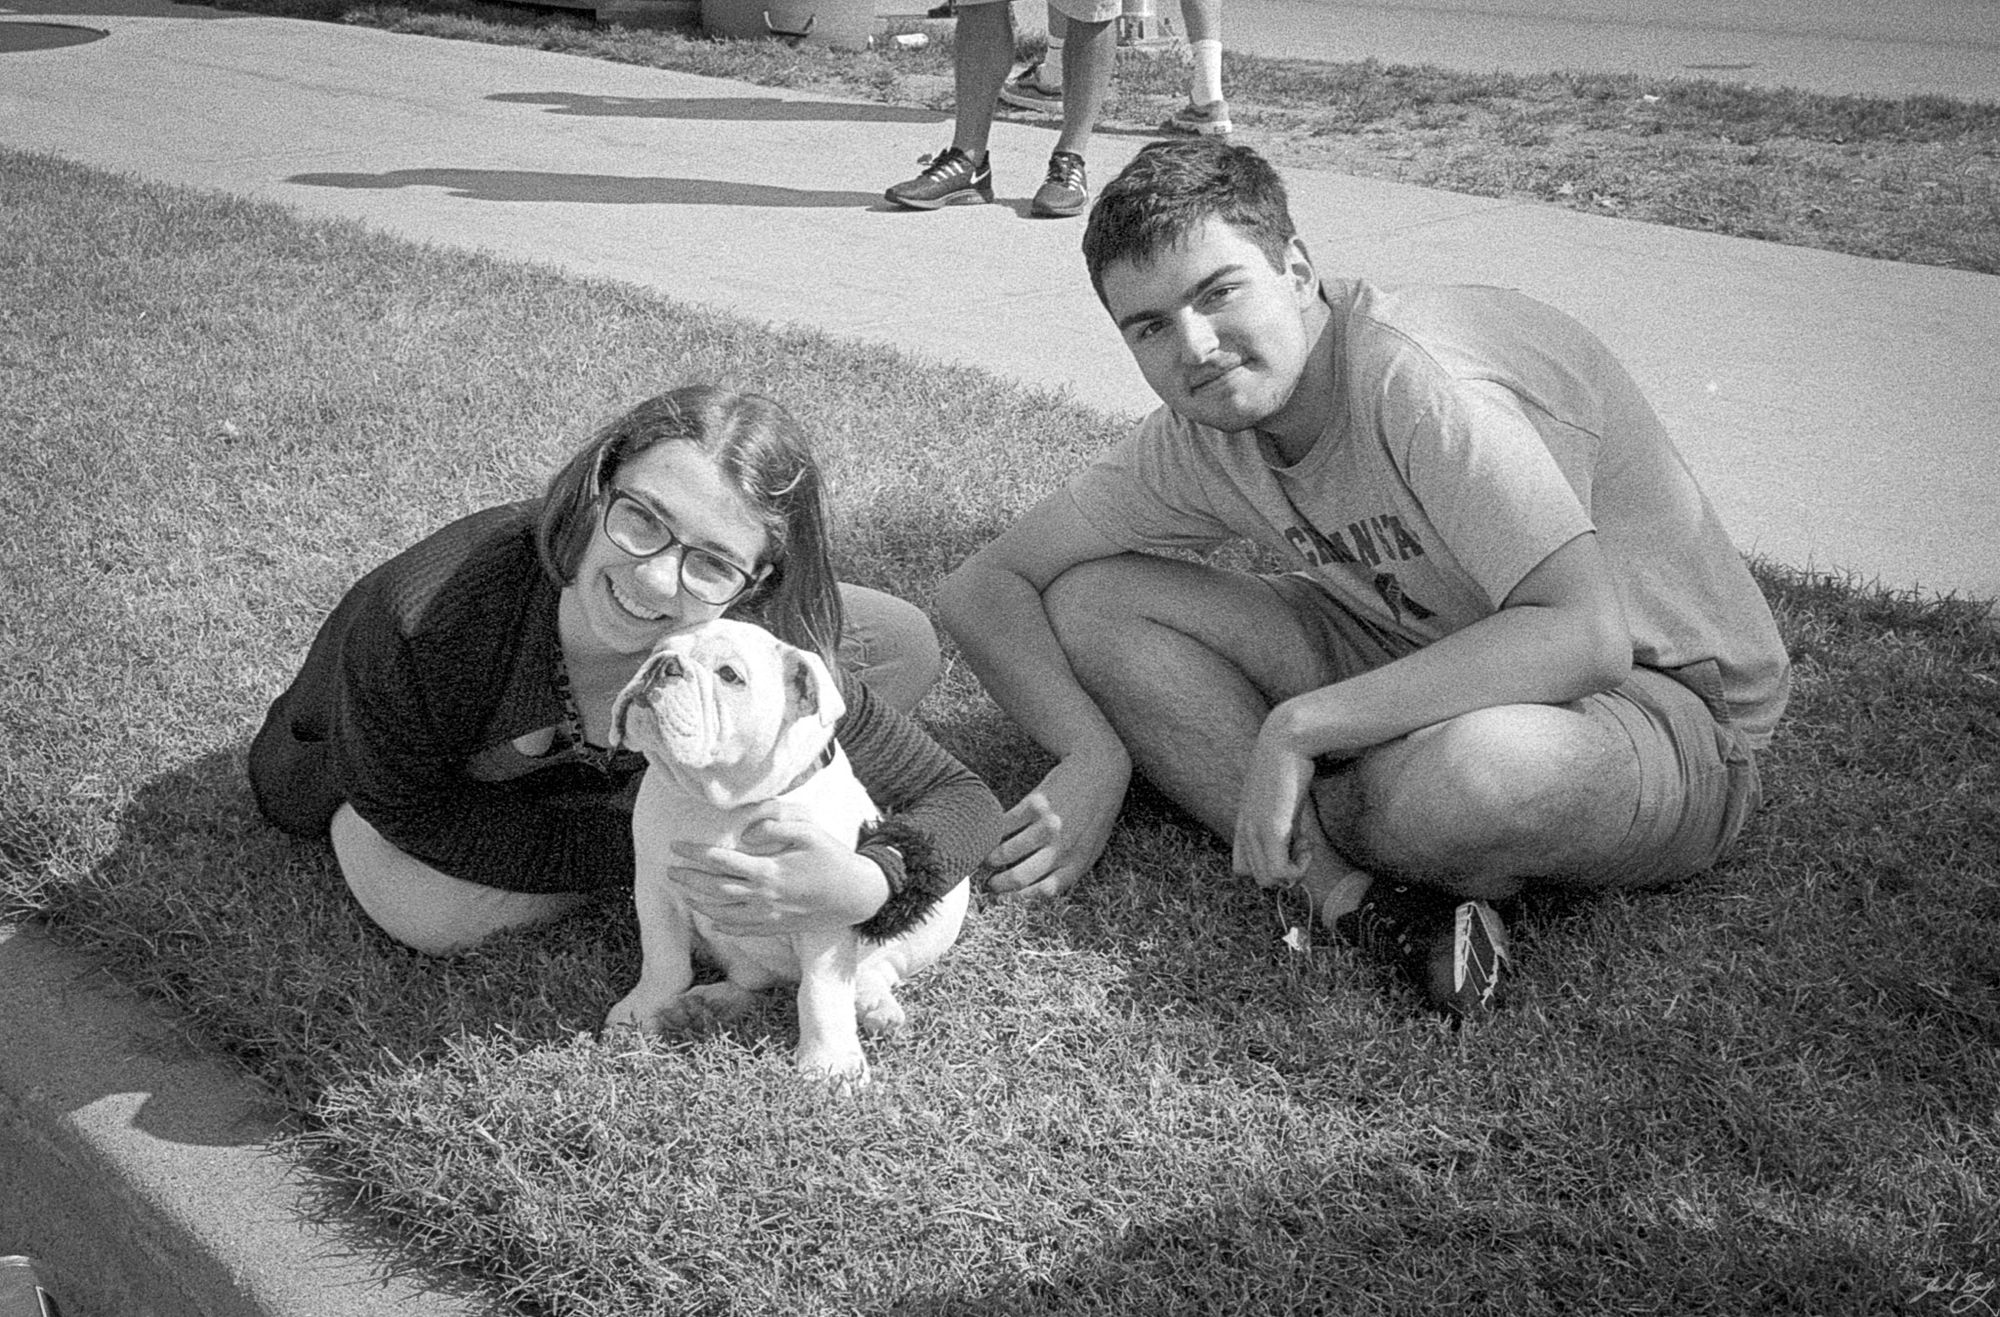 _55.jpg 600w, /img/size/w1000/2021/09/2021-Roll-031_55.jpg 1000w, /img/size/w1600/2021/09/2021-Roll-031_55.jpg 1600w, /img/2021/09/2021-Roll-031_55.jpg 2048w" sizes="(min-width: 1200px) 1200px" />